Quick Navigation
If you’re a coffee devotee, you know that a Keurig coffee maker is a convenient and easy way to brew a cup of coffee in the comfort of your office/house. However, even the most reliable coffee machines can experience problems, and the Keurig K-45 is no exception. From brewing issues to leaks and strange noises, there are a number of common problems that can arise when using a Keurig K-45. But before you give up on your machine or call a technician, it’s worth trying some simple troubleshooting techniques to solve these problems. In this article, I’ll discuss the most common Keurig K-45 problems and provide you with step-by-step solutions to get your machine back up and running in no time.
Overview
The Keurig K-45 is a popular coffee maker known for its convenience and ease of use. However, like any appliance, it can experience problems that can be frustrating for users. Some of the most common problem with your Keurig K-45 include:
- Not Brewing: This could be caused by a clogged needle or reservoir, a malfunctioning power button, or incorrect K-cup placement.
- Leaking Water: Water leaking from the machine can be a sign of a broken water reservoir or a loose water line.
- Slow Brewing: A slow brewing process may indicate a clogged needle, a dirty water line, or a malfunctioning heating element.
- Noisy Operation: If your Keurig K-45 is making strange noises, it could be due to a malfunctioning pump or mineral buildup in the water line.
These issues can be frustrating and may leave you without your beloved cup of coffee. Fortunately, many of these problems can be solved with simple troubleshooting techniques, which we’ll cover in detail in this article.
Related: How to use Keurig K-45.
Getting Started
Before you start troubleshooting your Keurig K-45, there are a few essential tools you’ll need to have on hand. These tools will make the process smoother and quicker, so it’s a good idea to gather them together before you begin. Here’s what you’ll need:
1. A Clean, Damp Cloth
This will be used to wipe down the exterior of the machine and clean any spills.
2. A Needle-Cleaning Tool
Keurig sells a specialized needle-cleaning tool, but a paperclip can also work in a pinch.
3. White Vinegar
This will be used to descale the machine and remove mineral buildup, or you can also use a descaling solution.
4. A Clean, Empty Cup
This will be used to catch any water or vinegar during the descaling process.
Once you have these tools, you’re ready to start troubleshooting your Keurig K-45. Now, let’s get straight into the main part of this article!
Problem 01: Keurig K-45 Does Not Have Power
Power is one of the major requirements the brewer needs for working. When you turn your brewer ON, you see that there is no power (no light indication) in the Keurig K-45. Even when you turn the machine on, it means your brewer is experiencing a power shortage. This could make you a bit worried, but I want you to relax and try the below method to solve this power deprivation problem.
Cause 01: Power Button Turned Off
A small yet problematic reason for the power deprivation is that the power button is not turned ON. If you see no green light on the power button, then it means it is not turned on.
Solution 01: Turn On The Power Button
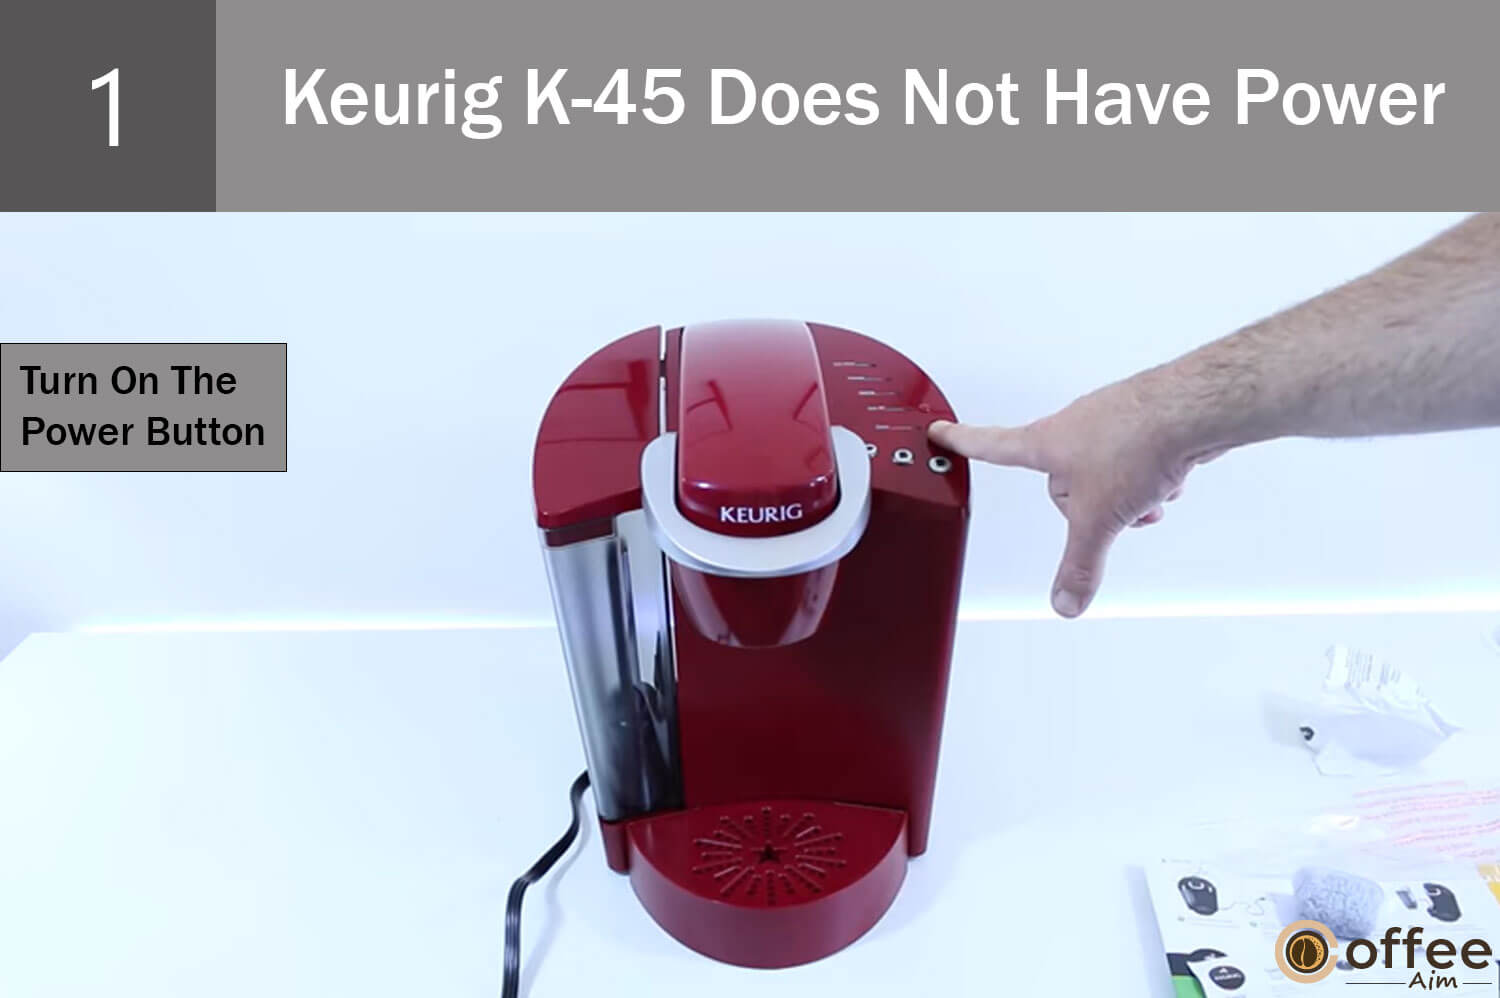
As a Keurig K-45 user, you know that it has a power button; you should press it to turn the machine on. Once you press the power button, the green light will be illuminated.
Cause 02: Using Dependent Outlets
If you are plugging your brewer’s cord into an electric board that has more than two sockets and these sockets are getting power from one single power source, then it could be the reason your brewer is not receiving the power it should to turn ON.
Solution 01: Use Independent Outlets

You should always plug the brewer’s cord into the electric board in which each socket receives power from a separate power source and has a separate wall circuit breaker to prevent this power deprivation problem.
Cause 03: Fluctuating Voltage Plug
If the socket in which you have plugged the brewer’s cord is not stable or in the limit of what Keurig brewers demand, then it can make the brewer not turn ON. Fluctuating voltage is also a threat to electric machines, including Keurig K-45.
Solution 01: Make Sure To Use Secured Plugs
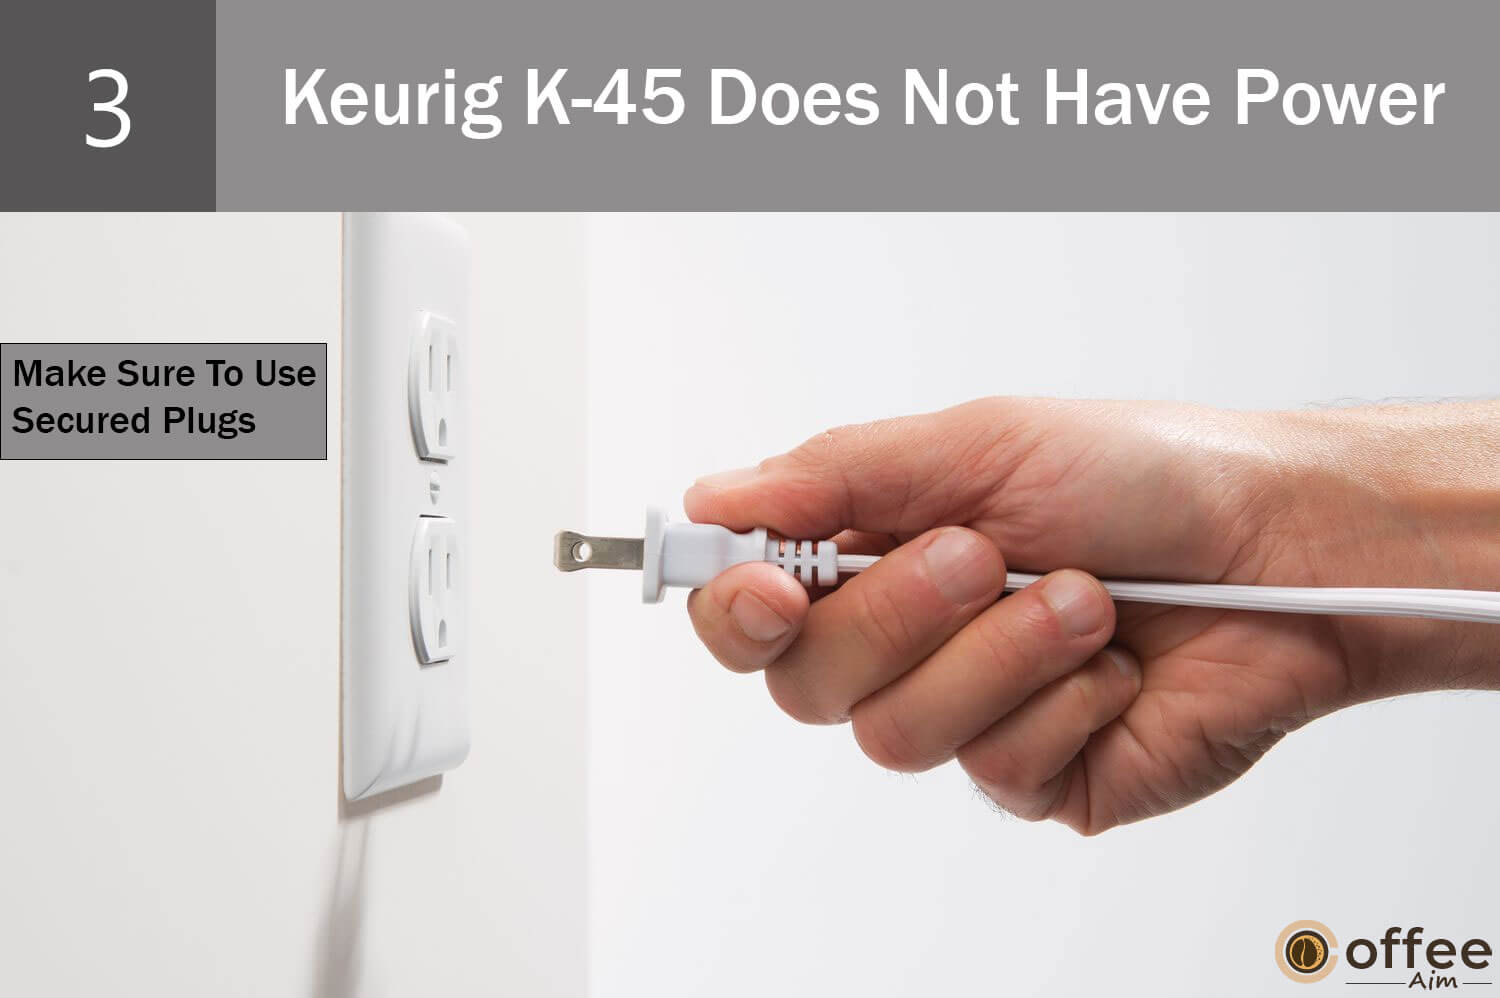
It’s always better to use plugs whose voltage is secured or stable and within reach. For instance, the most common voltage used in house plugs is between 220 to 240 V, and in America, it is 120V which is suitable for average Keurig machines, including Keurig K-45, as they demand a Voltage of 120V.
Solution 02: Use A Different Outlet
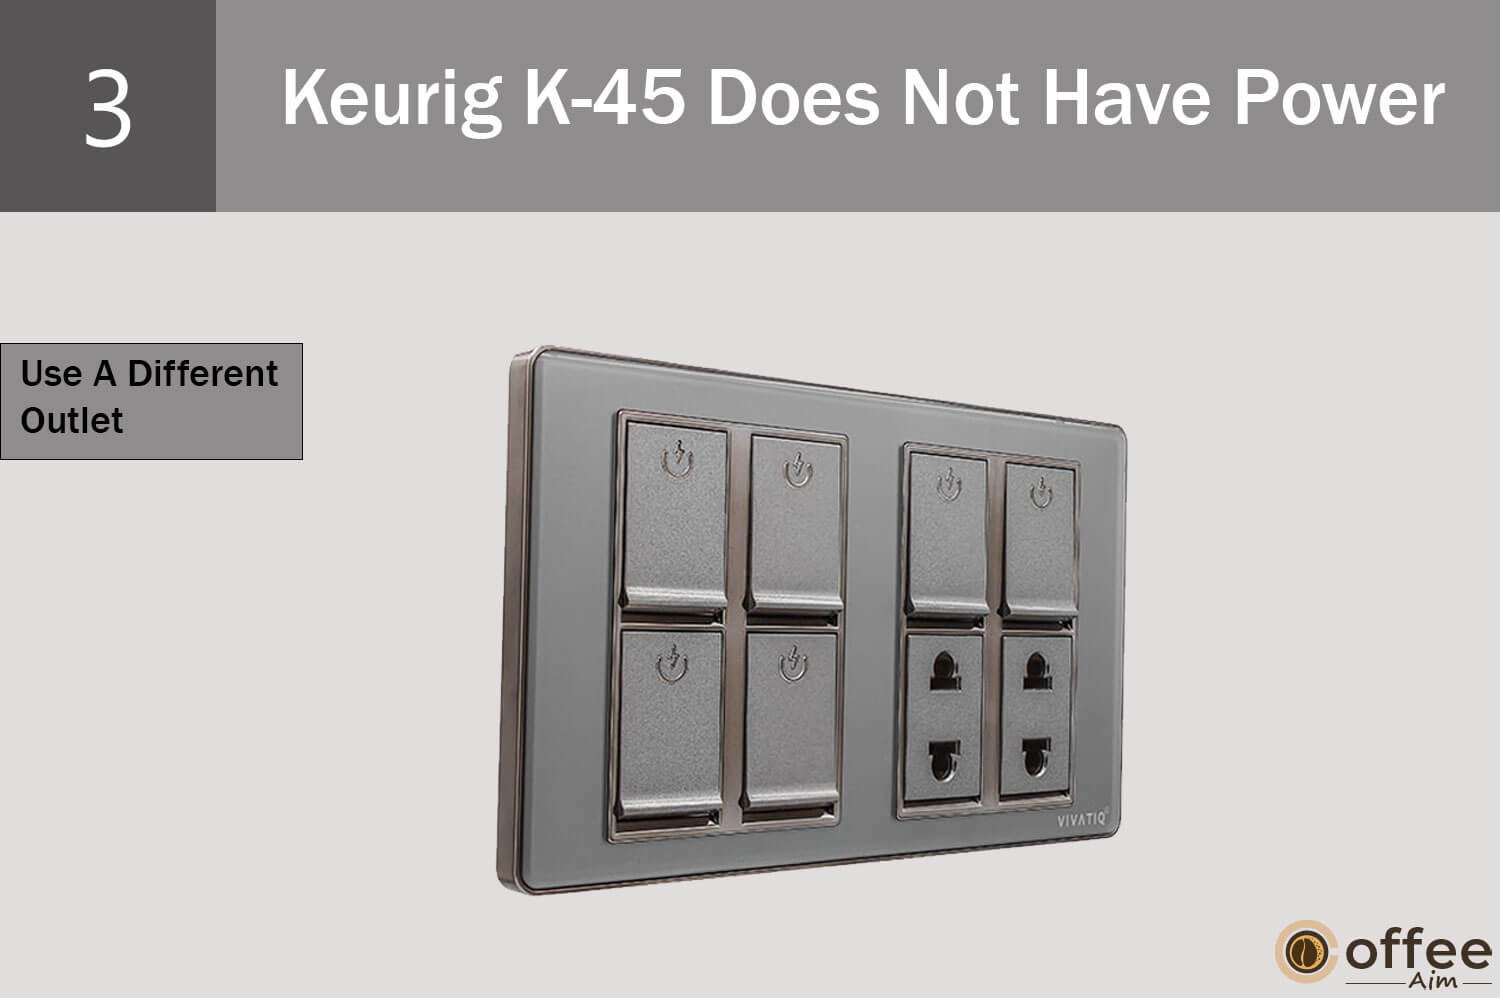
If one outlet is not giving power to the brewer, then you should give another outlet a try. Plug the brewer’s cord into a different socket.
Solution 03: Reset Circuit Breaker
Another solution for the power deprivation problem is, you should reset your Home’s Circuit breaker. To know how you can reset the circuit breaker, follow the below instructions;
Instructions:
- Firstly you have to locate where the breaker panel is in your house (Its mostly located in the garage)
- Once you find it, one by one, turn off every breaker in the breaker panel.
- For resetting, you have to find the main breaker. Either it is located in the breaker panel or near your electric meter.
- Once you have found the main breaker, turn its switch OFF and ON, and repeat this step one more time. It will reset the main circuit breaker.
- Now after resetting, turn on each breaker in the breaker panel; you have just turned OFF in Step 2.
Video: How to Reset Circuit Breaker →
Problem 02: Keurig K-45 Is Not Brewing
If your machine is turned ON (the green light is illuminated from the power button), yet your brewer is not working, then there are a few things you should keep in check, I will let you know about these things, and then you can make adjustments accordingly.
Cause 01: K-Cup Pack Holder Is Not Closed Properly
After you have placed your k-cup pack in the k-cup pack holder, chances are there that the lid handle is not properly pushed down, which causes the k-cup pack holder to remain open. It can make your brewer not work.
Solution 01: Pushed The Handle Down To Close The K-Cup Pack Lid Holder Properly.
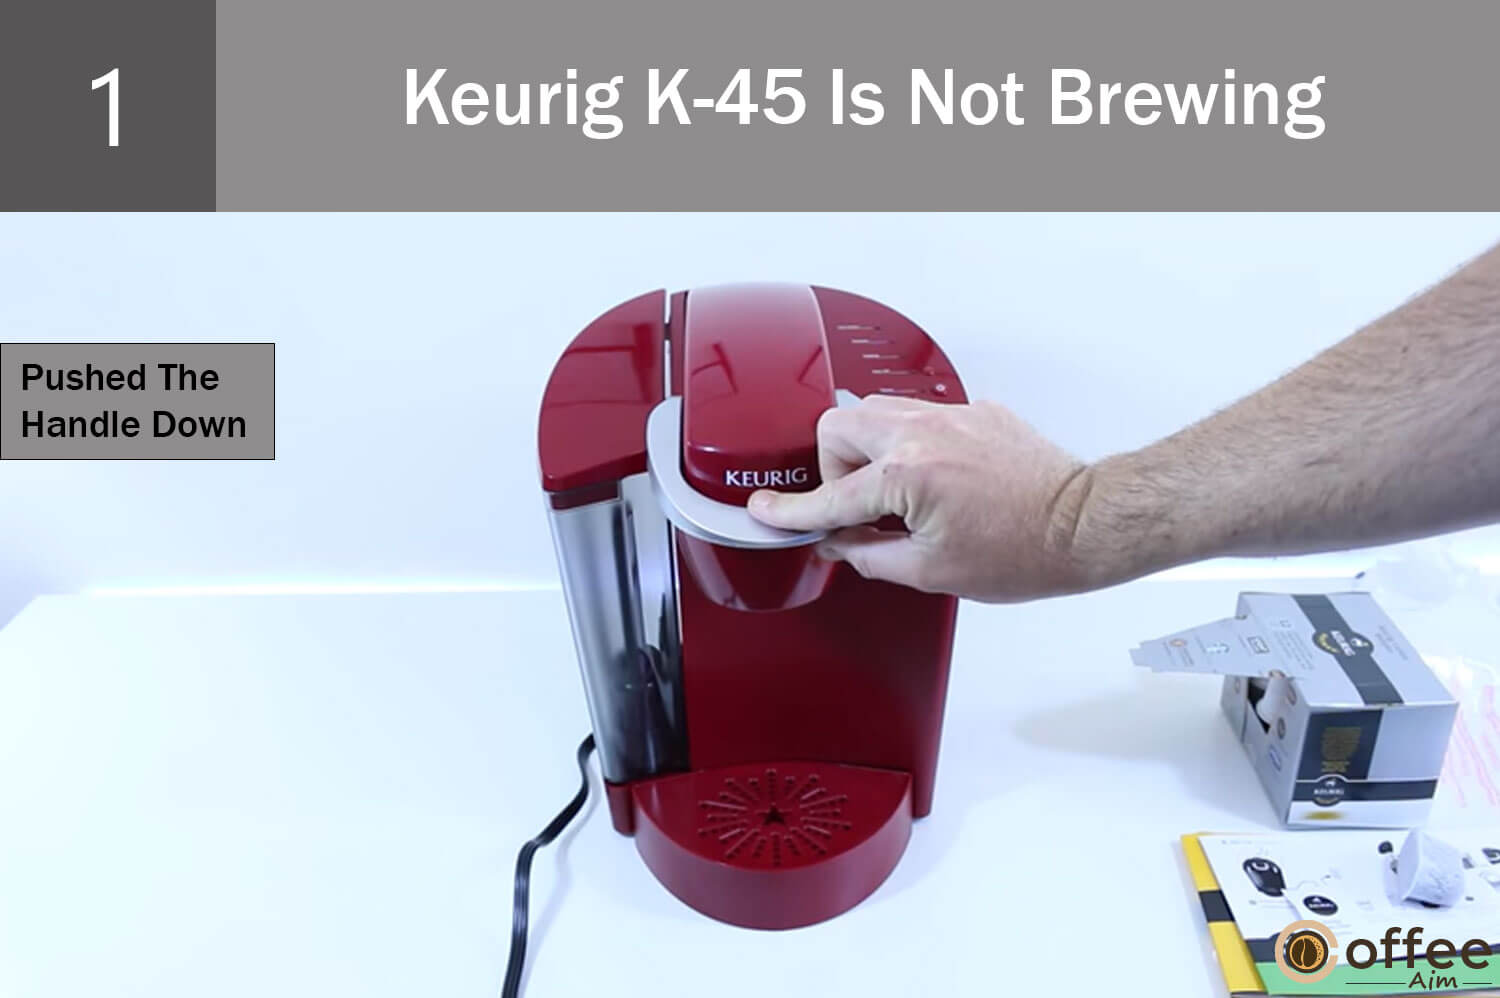
When you place your k-cup pack in the K-Cup pack holder, make sure the lid handle is properly pushed down, and the K-Cup Pack Holder is completely closed. You can also check if the K-Cup pack holder is closed or not by simply seeing the brew buttons. If the brew buttons LEDs are flashing Blue, it means the k-cup pack holder is completely closed.
Cause 02: Insufficient Or No Water In The Tank
Machines need water in order to brew coffee. The first step machine does after turning it ON is to heat water to saturate the coffee grounds. If there is no water in the water tank, then the machine will not detect the water, hence no water heating, resulting in no coffee. There is also ADD WATER LIGHT indicator on the machine, which lets the user know when it is required to fill the water tank. If the “ADD WATER LIGHT” is flashing Blue, it means the water level is low in the water tank.
Solution 01: Fill The Water Tank
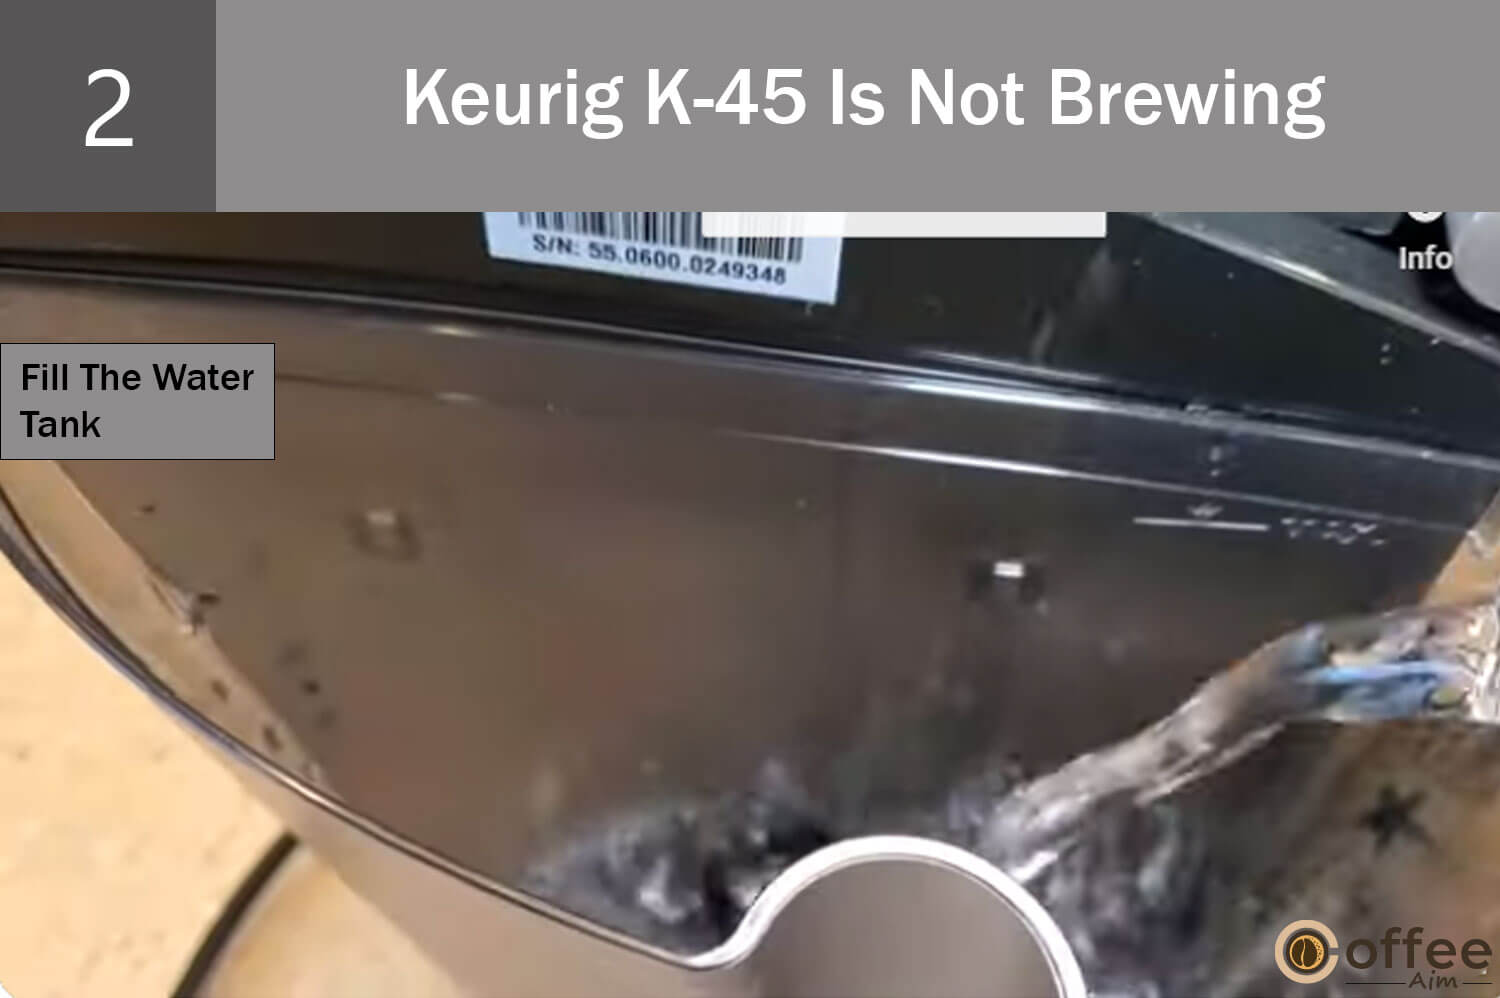
You should fill the water tank with fresh drinking water up to the marked “MAX FILL” Line. Also, place the water tank correctly on the base so that machine can take water from it for brewing. To see if the machine has enough water in the water tank, check the “ADD WATER LIGHT”; if there is no blue flashing, then it means water is enough and vice versa.
Solution 02: Contact Customer Service

After you have filled the water tank with fresh water up to the marked level and still the blue ADD WATER LIGHT is flashing, then you should contact Customer Service. To know how you can contact them, check the section “When to seek professional Help for your K-45″.
Problem 03: Lights Are Flashing Simultaneously; Add Water Light, Small Mug Button, And Heating Light
As you are using a keurig k-45, you will be well informed that there are many indicating lights, but for the concern with a respective problem, you have also seen the ADD WATER LIGHT, HEATING LIGHT, and SMALL MUG BUTTON. If these three buttons are simultaneously flashing from the time you have to turn the machine ON or suddenly start flashing, then check the reason and solutions for it below.
Cause 01: Water Tank Is Not Securely Placed Or Filled
Not only an Empty water tank but improper water tank adjustment can make the ADD WATER LIGHT flash blue but also be a reason for other indicators to flash, such as the red heating light and small mug button light.
Solution 01: Fill The Water Tank And Placed It Correctly
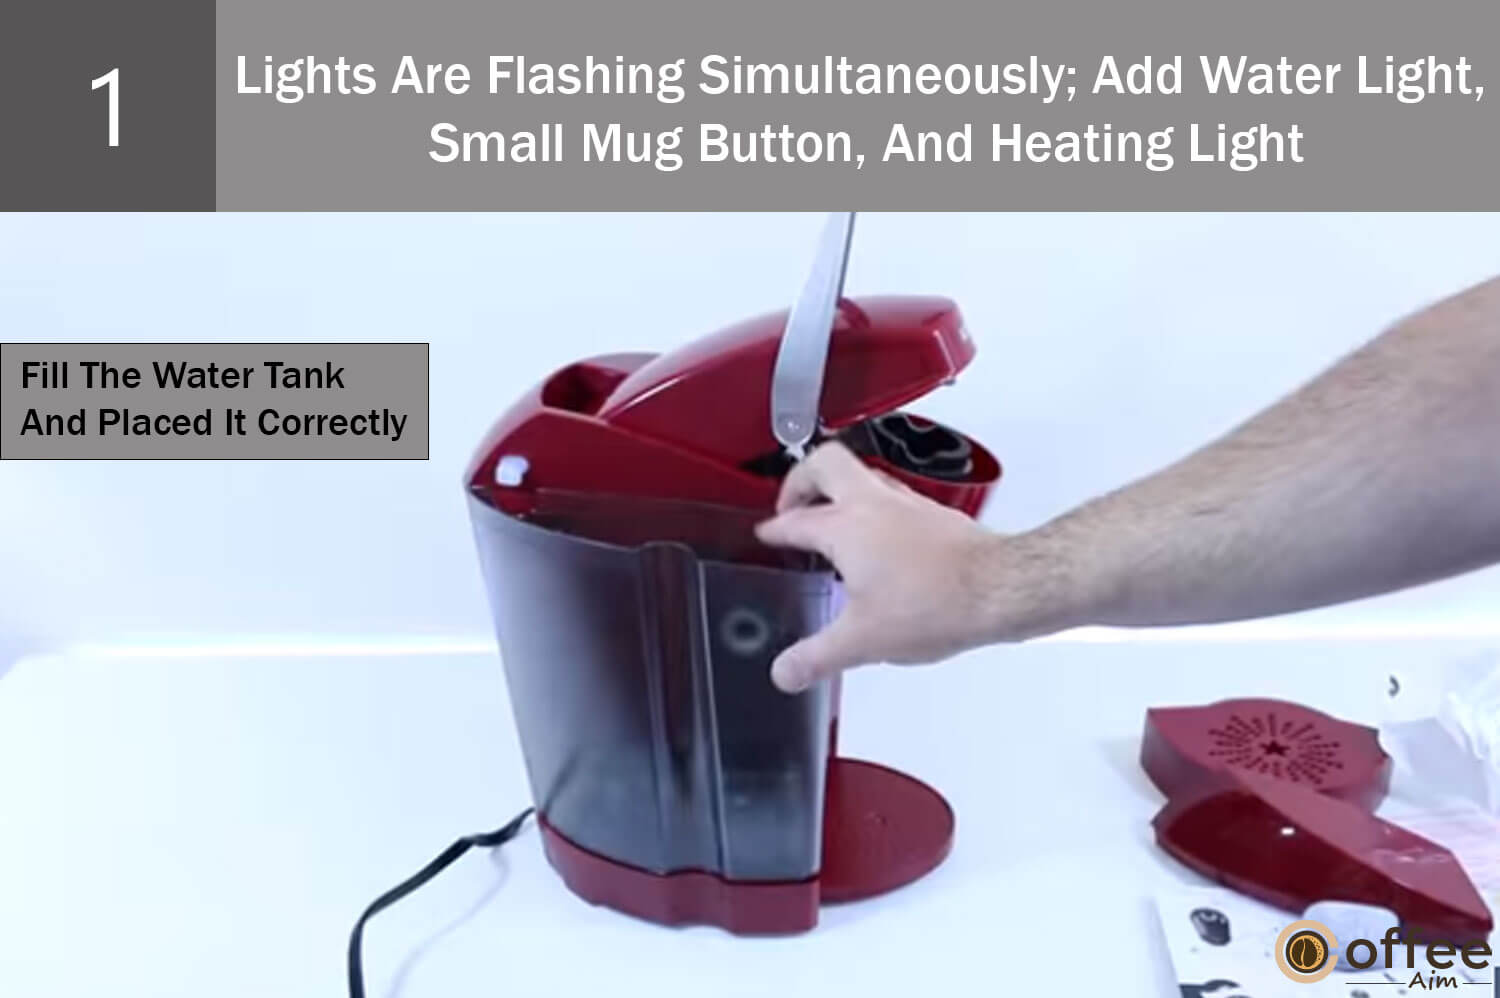
You should remove the water tank from the machine, rinse it and fill it with fresh drinking water up to the marked “MAX FILL” Line. Then place the water tank correctly on the tank base. After doing all this, press the small mug button. It will make the flashing stop.
Solution 02: Contact Customer Service.

If you see no improvement, then you should contact Customer Service. To know how you can contact them, check the section “When to seek professional Help for your K-45″.
Problem 04: Keurig K-45 Is Only Brewing A Partial Coffee Cup.
Your brewer is turned on nicely, and you have prepared it well for brewing a nice cup of coffee, but when you press the brew button, you see only half of the coffee drip from its actual volume. Let’s see what makes the machine brew a partial cup instead of a full volume.
Cause 01: Clogged Exit Needle
Clogging in the exit needles is a major cause for the coffee capsule not to get properly peirce which then results in partial coffee grounds saturation, and you only receive partial coffee volume. Let’s see how to solve this cause.
Solution: Clean And Unclog The Clogged Exit Needle
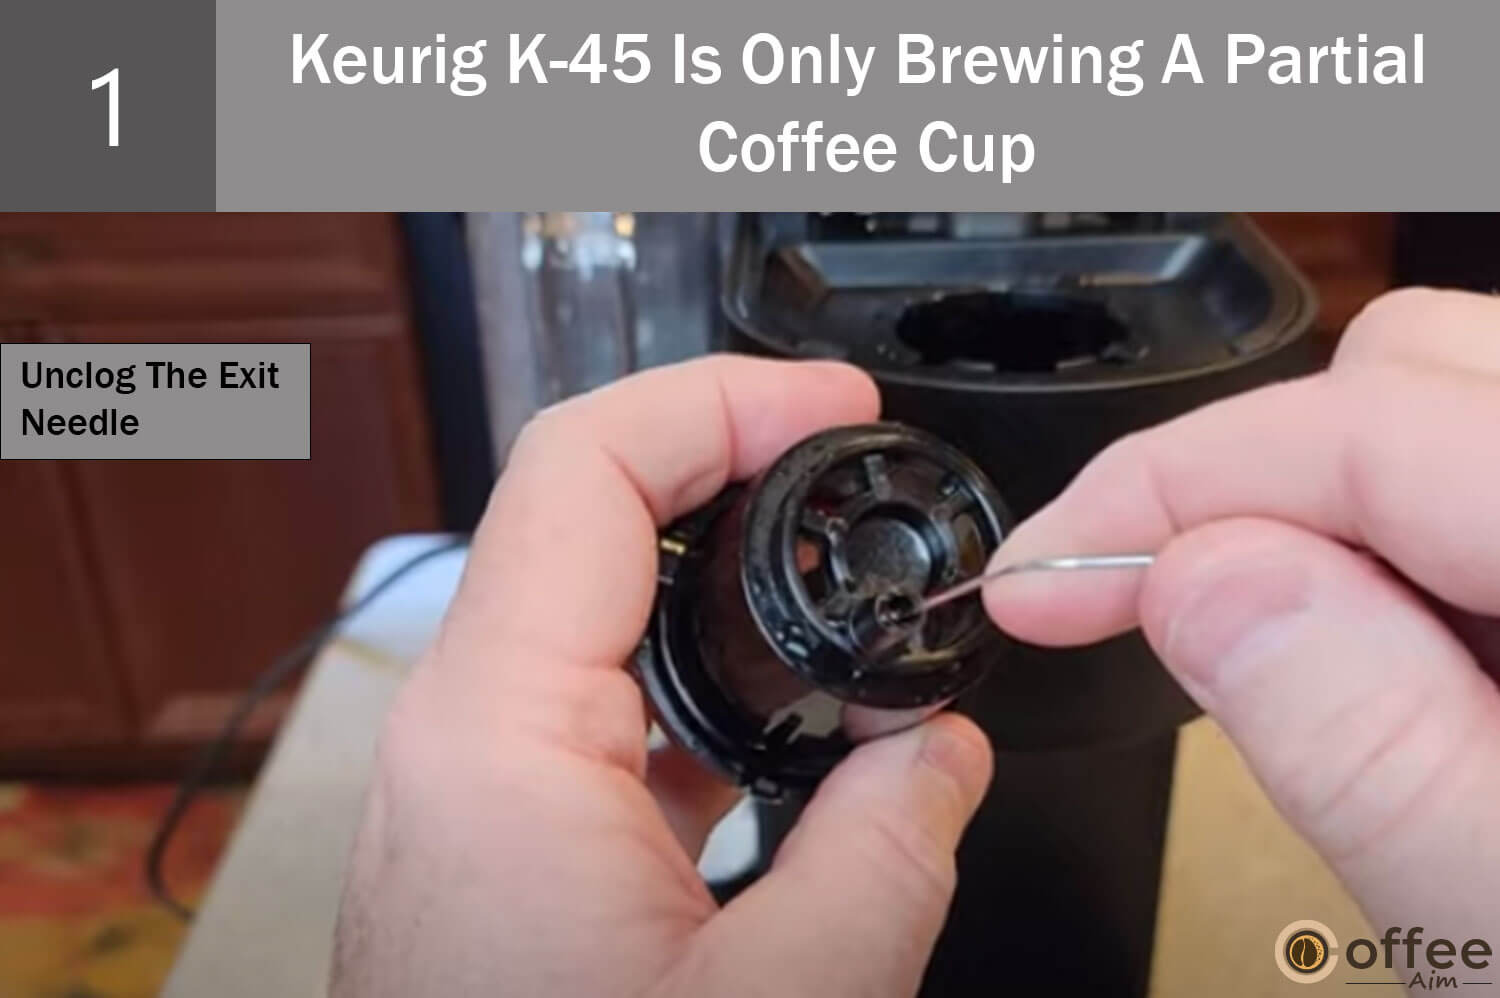
To clean the exit needle, you have to be careful as the needle is quite sharp, and you can hurt yourself if you are not careful while cleaning. Cleaning will make the exit needle unclog, and the saturated coffee will easily be able to drip into the placed cup. To know how you can clean the exit needles, check out the section “Cleaning Of Clogged Exit Needle” below in this article.
Cause 02: Dirty K-Cup Pack Holder
Besides the exit needle, the place where you place your coffee pods can also get dirty over time and can partially clog the nozzle from where the coffee comes out and is poured into the placed mug/cup.
Solution: Clean The Dirty K-Cup Pack Holder
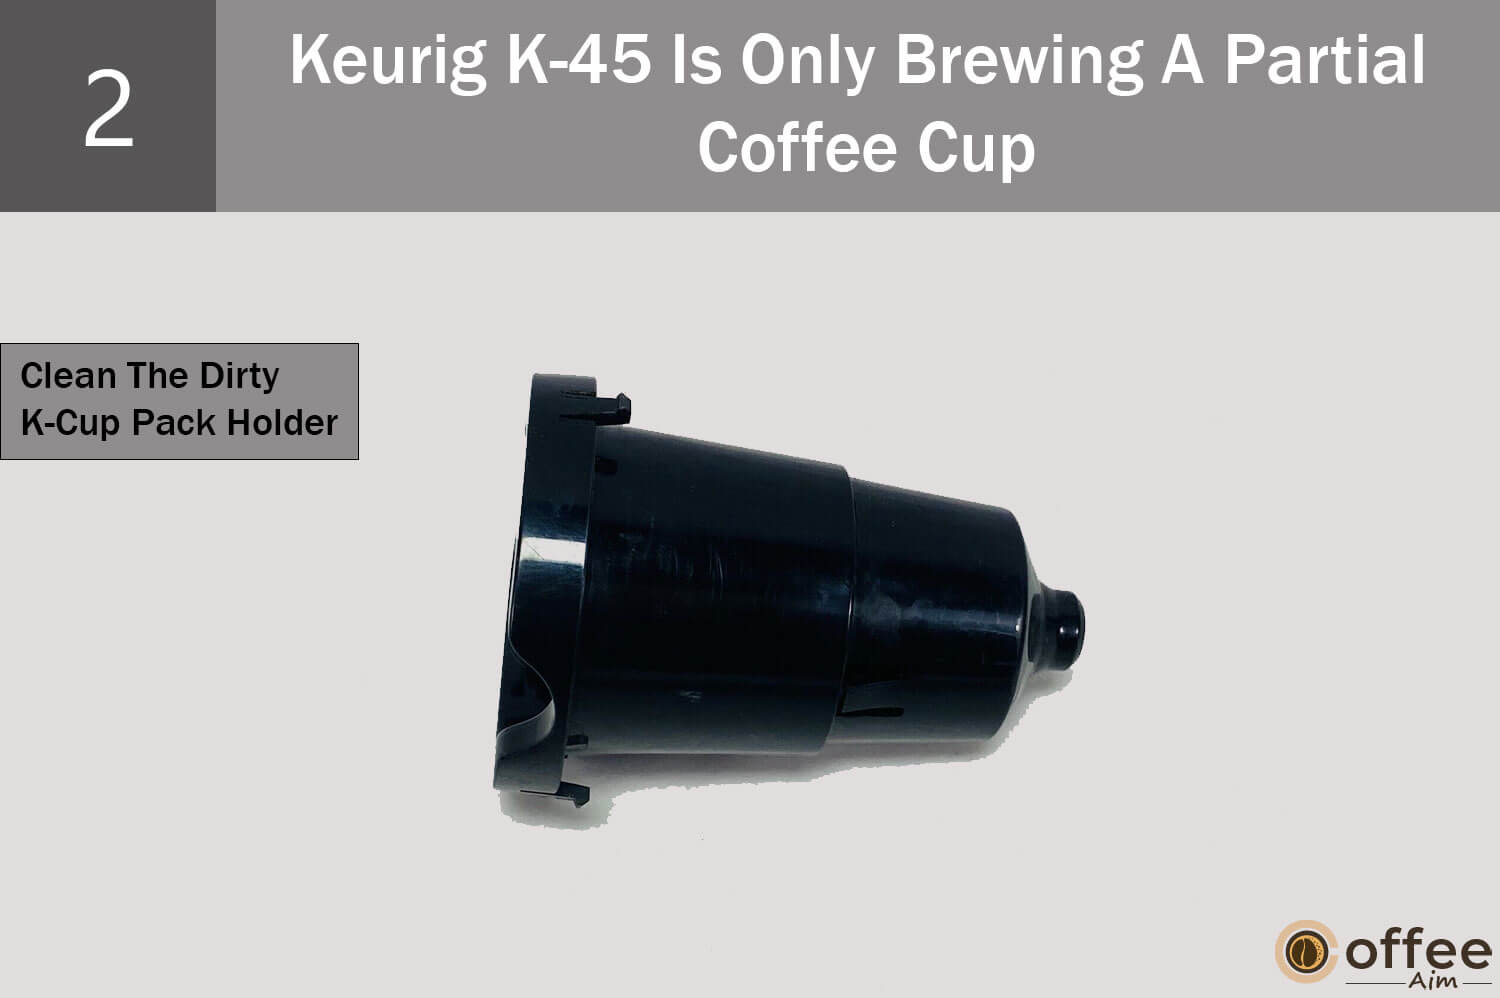
It’s better to clean the K-Cup Pack Holder and the partial clog nozzle whenever you feel any decrease in the coffee volume. To know how you can clean the dirty K-Cup Pack Holder, check the section “Cleaning the dirty K-Cup Pack Holder and Cleaning Clogged Nozzle” below in this article.
Cause 03: Water Tank Is Removed During Brewing Process
If you are brewing a coffee cup and you removed the water tank during the coffee brewing process, then it can brew you only a partial cup of coffee as there is no water supply for saturating the coffee in the coffee pods. And for the next brews, there will be no water remaining; hence you will get no coffee.
Solution: Perform The Cleaning Brew By Replacing The Water Tank
If you have made the mistake of removing the water tank during the brewing process, then what you should do is;
- Place the tank back on the machine.
- Remove the k-Cup pack by lifting the handle and removing it by yourself.
- Close the handle and press any beverage button to start the cleaning brew process.
- After performing the cleansing brew, brew yourself a nice cup of coffee.
Cause 04: Brewer Is Not Descaled For A While
If you have not descaled your brewer for a while, then it could be a reason for partial coffee cup brewing. Over time, debris, dirt, and coffee grinds can start to accumulate, resulting the buildup formation. These buildups hinder the coffee flow and coffee saturation process, thus serving you less flavorful and less volume coffee.
Solution: Descale Your Machine

Keurig K-45 has a descaling indicator. If the red indicator is illuminating, it means you should descale your machine. To know how to descale, check the “Descale Keurig K-45″ section below in this article.
Cause 05: K-Cup Is Not Placed Correctly
If your K-Cup is not placed correctly in the K-Cup Pack Holder, then it could be the reason your pod is not able to saturate with water properly, thus resulting in the brewing of a partial cup of coffee.
Solution 01: Position The K-Cup Pod Properly

Take out the K-Cup pod and place it back correctly. The dome shape side of the pod should be placed lower, and the flat surface area should be on the upper side. Try to rotate the pod as well to let it help you sit better in the chamber.
Final Solution: Contact Customer Service
If the partial cup brewing problem persists, then you should contact Customer Service. To know how you can contact them, check When To Seek Professional Help For Your Keurig K-45.
Problem 05:Keurig K-45 Shuts Off Automatically
Your machine is sitting while being ON, and after some time, you see your machine automatically turned off unannounced. It could be worrisome, but there are some things you should keep in mind that can be the reason for the machine to such uncommon action. Read below to know the cause for this and the solution as well.
Cause: Auto-Off Timer Is Active
If your machine is in the Auto-Off timer mode, then it is programmed to turn off automatically 2 hours after your last brew.
Solution: Disable Auto-Off Timer
If the green Auto-OFF Light is illuminated, then it means your machine is in Auto-OFF Mode. To disable this mode, press the Black Auto-OFF button.
Problem 06: Water Appears In The Machine Base With The Removed Water Tank
If you are facing water in the machine base even when there is no water tank attached to the machine, then check the reasoning and solution for it below.
Cause: The water Tank Is Not Placed On The Machine For Quite Some Time.
If the water tank is not placed on the base of the machine for quite some time period, then water can get collected in the base of the machine. Actually, if the collected water is less than 10 ml in volume, then it’s quite a normal thing, and you should not be much worried about it.
Solution 01: Use Cloth/Paper Towel To Aboard Water
To clean the machine base, you can use a cloth or paper towel to board and wipe out extra water.
Solution 02: Place Back The Water Tank

You should place the water tank back on the machine. While placing the tank on the machine, make sure the tank’s lock tabs are engaged with the brewer, as improper tank position can hinder the brewing process.
Problem 06: Keurig K-45 K-Cup Chamber Is Not Closing Properly.
You have placed the k-Cup Pack inside the K-Cup Pack Holder Assembly, but when you try to close it, it won’t be getting closed properly. And if the K-Cup Pack holder Assembly is not closed properly, then the brewing process will not take place. Let’s see how to fix it!
Cause: K-Cup Is Not Placed Correctly Or Deformed K-Cup
If your K-Cup is not placed correctly in the K-Cup Pack Holder, then the lever will not be able to shut the K-Cup Pack Holder Assembly. Plus, deformed pods to incorrect pod sizes can also hinder the closing of the K-Cup Chamber.
Solution 01: Position K-Cup Pod Properly

Take out the K-Cup pod and place it back correctly. The dome shape side of the pod should be placed lower, and the flat surface area should be on the upper side. Try to rotate the pod as well to let it help it sit better in the chamber. If still, the chamber is not closing, change the K-Cup.
Solution 02: Use a Fresh Capsule

You should try using a new capsule if changing the position of the capsule does not work for you, as it could be possible the capsule you were using is defective.
Problem 07: Keurig K-45 All Indicator Lights Are On And Flashing
When you have turned the machine ON, you see all the indicators on and flashing uncommonly. In this situation, try the solutions given below.
Cause: Dirty/Over-Filled Water Tank
The flashing of lights could be due to the water tank being overfilled or it being dirty. The water tank has MAX Line, and if it is filled more than this limit, it can trigger the indicator to flash uncommonly.
Solution: Clean And Fill The Tank To The Max Limit
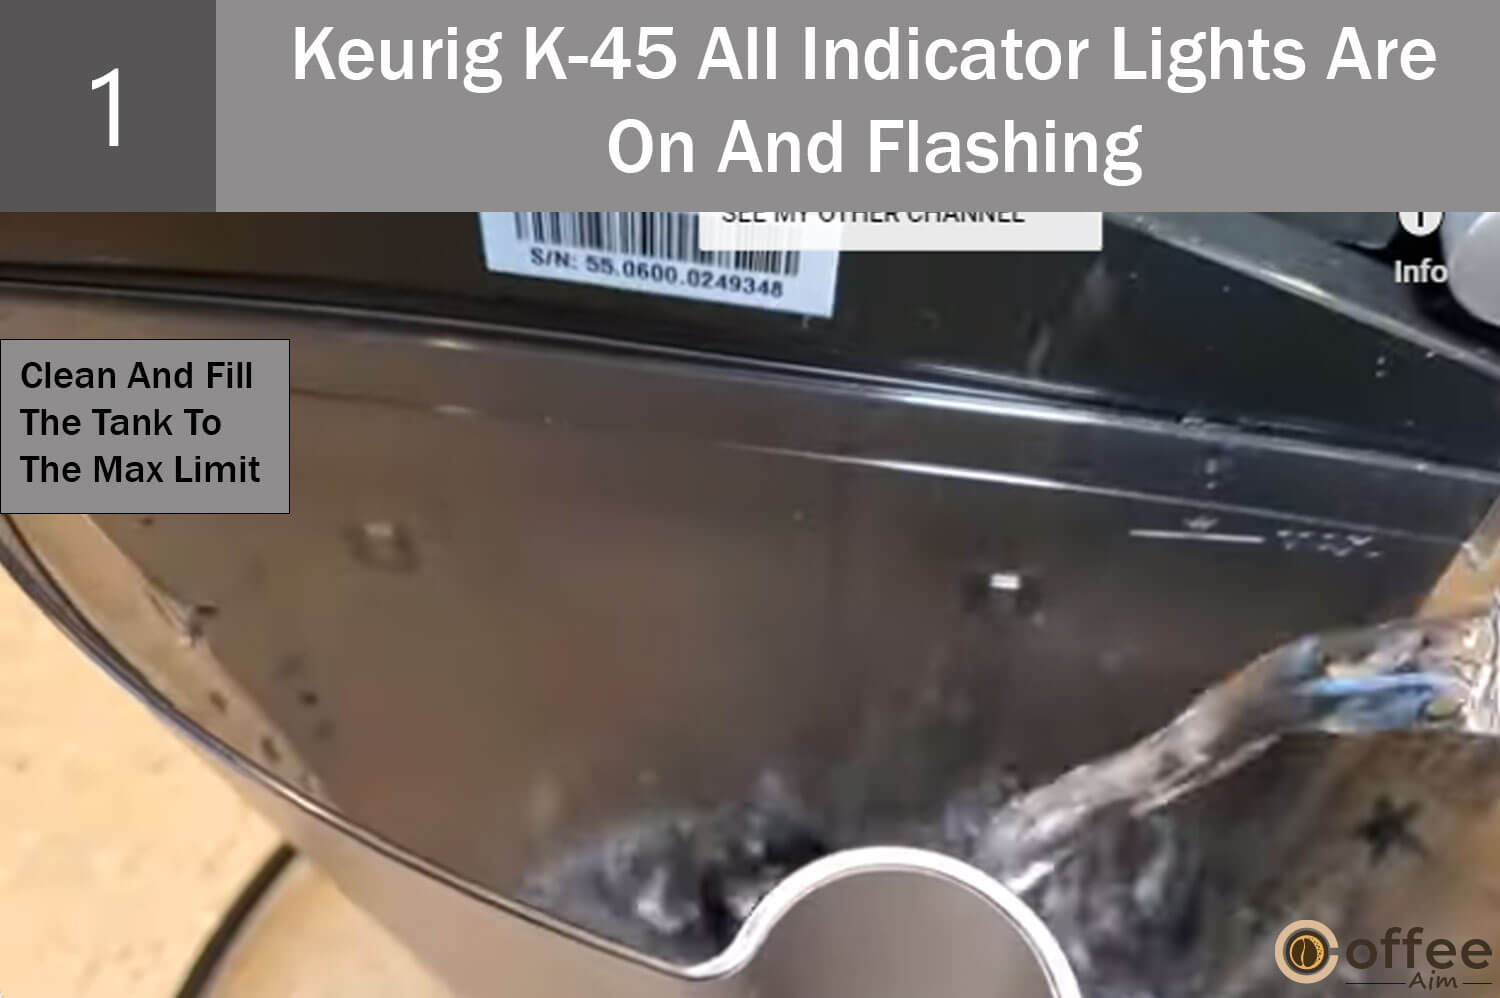
Keurig K-45 water tank has a MAX Line mark on it. You should always fill the water tank up to the given mark MAX., not more than that.
Problem 08: Water Is Leaking From The K-Cup Chamber
When you start the brewing process, you notice the water is leaking from the K-Cup Chamber. To figure out why it is occurring, read below.
Cause 01: Condensation
Condensation is the process in which water vapors turn back into a liquid state. As with the machine, when hot coffee is brewing, vapors can get trapped in the chamber and return back to a liquid state (condensation). This liquid could be the reason you are seeing some leakage in the chamber.
Solution 01: Condensation Is A Normal Process During Brewing
Condensation is a normal process, and you should let yourself worry much about it.
Cause 02: K-Cup Is Not Puntured Correctly
If the placed k-cup is not punctured correctly, then leakage could easily occur in the chamber. The reason puncturing is not occurring properly is because of clogged needles.
Solution 01: Unclog The Exit Needle
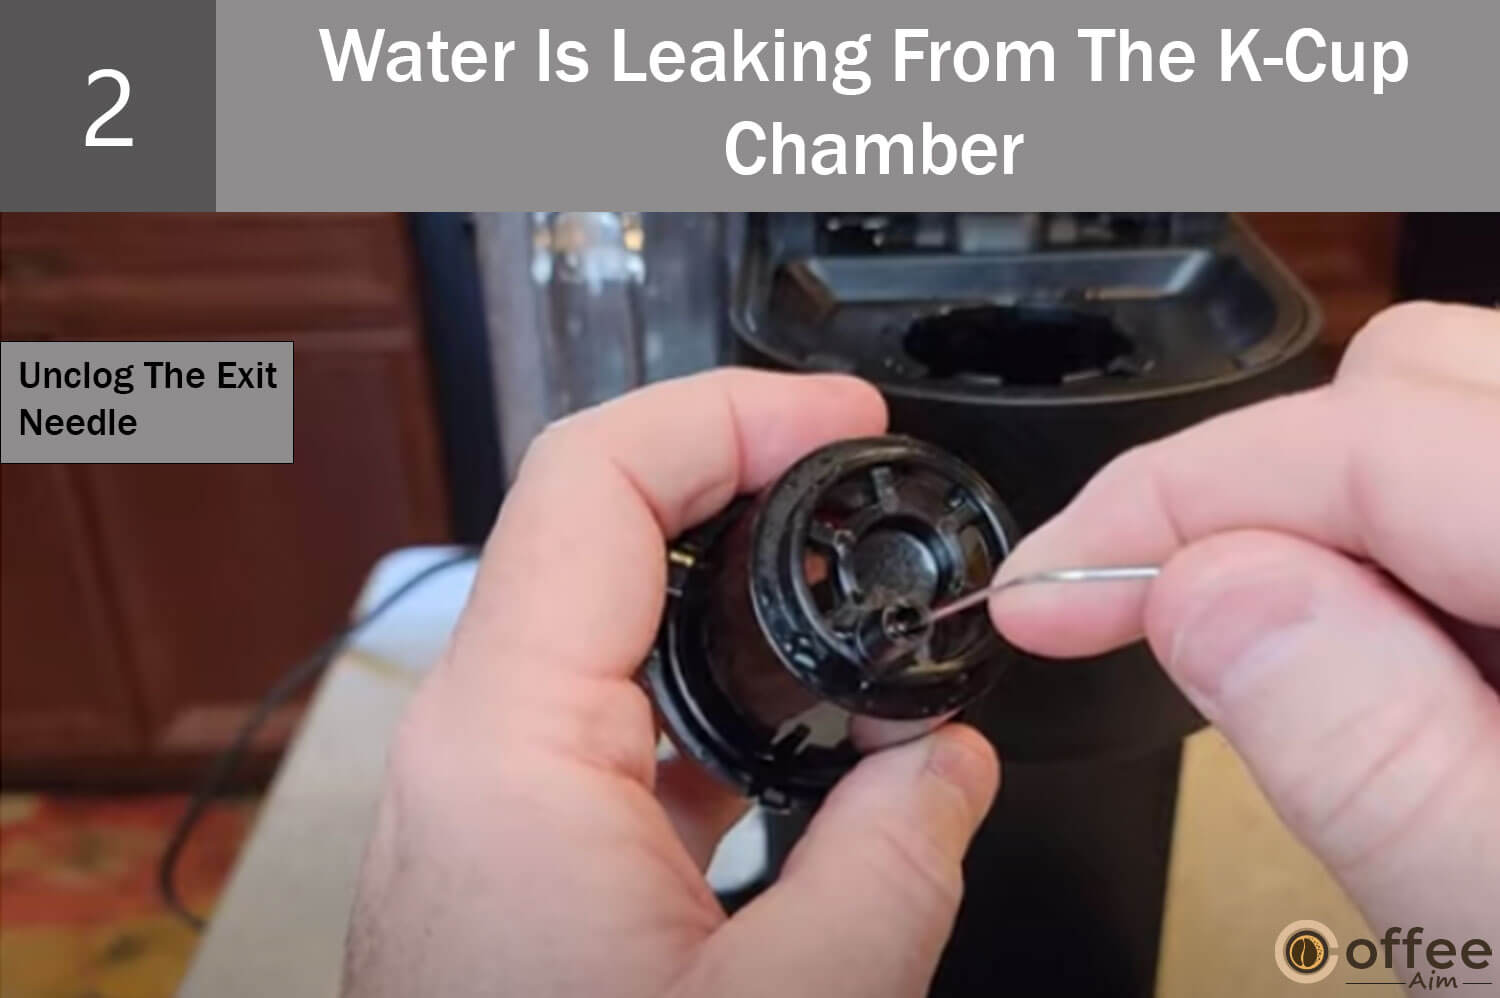
A clogged exit needle can not puncture correctly, which can lead to leakage, so you should clean the needles to stop the leakage. To know how to unclog the exit needle check the “Unclogging the Exit Needle” section below in this article.
Problem 9: Keurig K-45 Is Making Strange Noises
Keurig k-45 does make some noise while brewing, but If your brewer is making strange noises while brewing (that does not come out of it normally), then the reason for it could be;
Cause 01: Mineral Buildups
Mineral buildups can be a good reason that your machine is making strange noises.
Solution 01: Descale Your Machine

To avoid such noises, you should descale your brewer to remove the mineral or any other buildups. To know how you can descale your brewer, check the “Descale Keurig K-45″ section below in this article.
Solution 02: Contact Customer Service
If the strange noise problem persists, then you should contact Customer Service. To know how you can contact them, check “When To Seek Professional Help For Your Keurig K-45″ below in this article.
Cleaning Of Clogged Exit Needle

Coffee grinds are one of the main reasons for clogged exit needles. Over time coffee grounds can get stuck and gradually take shape and feature a buildup. Thus clogging the needles. To clean the exit needles, follow the below instructions carefully.
Instructions:
- When you lift the brewer’s handle, you will see the K-Cup Pack Holder Assembly and Exit needle present inside at the bottom of the K-Cup Pack Holder Assembly.
- Remove the K-Cup Pack Holder Assembly by grabbing the top part of the K-Cup Pack Holder with one hand and, using the second hand, pushing the bottom of the k-cup pack holder upward from underneath.
- It will make the K-Cup Pack Holder come out.
- The next step is to detach the funnel from the K-Cup Pack Holder.
- Pull the funnel located at the bottom of the K-Cup Pack Holder, and it will pop out right away.
- Now grab a paper clip or small sharp tool to start the cleaning process.
- Insert the paper clip or small sharp tool into the Exit needle and move it around in a scraping manner.
- It will loosen the clog and make the buildup come out easily.
- Lastly, take the paper clip out.
- Your brewer’s exit needle will now be unclogged and clean.
Cleaning Dirty K-Cup Pack Holder

To clean the Dirty K-Cup Pack Holder, follow the instructions below carefully, as it contains sharp needles which can cause you injury if precautions are not taken properly.
Instructions:
- When you lift the brewer’s handle, you will see K-Cup Pack Holder Assembly and the Exit needle is present inside at the bottom of the K-Cup Pack Holder Assembly.
- Remove the K-Cup Pack Holder Assembly by grabbing the top part of the K-Cup Pack Holder with one hand and, using the second hand, pushing the bottom of the k-cup pack holder upward from underneath.
- It will make the K-Cup Pack Holder come out.
- Place the K-Cup Pack Holder on the top shelf of the dishwasher and start the cleaning process in the dishwasher under the low temperatures cycle.
- Your Brewer’s K-Cup Pack Holder will now be cleaned.
- Use the paper clip, insert it in the nozzle area, and scratch gently to clean the partially clogged nozzle.
Cleaning Clogged Nozzle
To clean the clogged Nozzle of your Keurig K-45, you will need a paper clip. Once you have it, follow the instructions below.
Instructions:
- When you lift the brewer’s handle, you will see K-Cup Pack Holder Assembly.
- Remove the K-Cup Pack Holder Assembly by grabbing the top part of the K-Cup Pack Holder with one hand and, using the second hand, pushing the bottom of the k-cup pack holder upward from underneath.
- It will make the K-Cup Pack Holder come out.
- Use the paper clip, insert it in the nozzle area, and scratch gently to clean the partially clogged nozzle.
- Also, clean the K-Cup Pack Holder under low temperatures cycle for better cleaning of the nozzle.
- Once you have cleaned the nozzle, it’s better to give your machine a cleansing cycle too.
- You can do so by pressing the Largest brew cup size button and letting the water run out from the nozzle into the placed cup. Remember, during the water cleansing cycle, you must not place a coffee k-cup in the k-cup holder.
Descale Keurig K-45
De-scaling is a good way to maintain the heating element and other brewer’s internal parts that come in contact with water. You should descale your coffee machine every 3 to 6 months, whether the red light (descaling indicator) illuminates or not. Follow the steps below to descale your machine.
Instructions:
- Empty and clean the water tank
- Pour approx. 48 ounces or 1419.5 ml of white vinegar in the water tank
- Place a container on the drip tray plate
- Remember there must not be any K-Cup Pack in the K-Cup Pack Holder Assembly.
- Run a cleansing brew by pressing any one brew button.
- The vinegar mixed with dirt/debris/buildups will start pouring into the placed container.
- Discard this container solution into the sink.
- Repeat the cleansing brew process until blue ADD Water Light illuminates
- After this, let the brewer rest for about 4 hours, and do not turn off the machine.
- Rinse the water tank nicely & thoroughly and fill it will be freshwater (approx up to the MAX line)
- Place a container on the drip tray plate
- Run a cleansing brew by pressing any one brew button.
- Water will start pouring into the placed container.
- Discard this container of water into the sink.
- Repeat the above cleansing brew (points 10-14) until blue ADD Water light illuminates.
Maintenance Tips For Keurig K-45
Regular maintenance is essential to keep your Keurig K-45 in good working condition and prevent future problems. Here are some easy & simple tips to help you maintain your machine:
- Descaling: Over time, mineral buildup can clog the needle and water line, slowing down the brewing process and affecting the taste of your coffee. To prevent this, it’s important to descale your Keurig K-45 regularly. Mix equal parts water & white vinegar and run it through the machine as you would a normal brew cycle. Repeat with just water to rinse the machine.
- Cleaning the needle: The needle that punctures the K-cup can become clogged with coffee grounds, which can lead to slow brewing or no brewing at all. To clean the needle, turn off the machine and unplug it. Use a needle-cleaning tool or a paperclip to gently clean the needle.
- Cleaning the water reservoir: It’s important to regularly clean the water reservoir to prevent mold or bacteria growth. Remove the reservoir and wash it with warm, soapy water. Rinse thoroughly and let it dry completely before replacing it in the machine.
- Replacing water filters: If your Keurig K-45 has a water filter, it’s important to replace it every two months or after brewing 60 cups of coffee, whichever comes first. This will help keep your machine running smoothly and improve the taste of your coffee.
By following these simple maintenance tips, you can keep your Keurig K-45 in good working condition and prevent future problems.
When To Seek Professional Help For Your K-45
While the Keurig K-45 coffee maker is generally user-friendly and easy to maintain, there are times when professional help is needed to fix certain issues. Here are some clues that indicate it’s time to seek professional help:
- Persistent leaks or clogs: If your Keurig K-45 is leaking water or coffee or if the water is not flowing through the machine properly, it could indicate clogging or other issues that requires professional attention.
- Strange noises: If you hear unusual noises when brewing coffee, it may be an indication of a mechanical problem that requires professional help.
- Electrical issues: If the Keurig K-45 is not turning on or if there are issues with the display screen or lights, it may be an electrical problem that should be addressed by a professional.
- Unusual tastes or smells: If your coffee tastes or smells unusual, it may be a sign that the machine needs to be cleaned or repaired.
- Error messages: If your Keurig K-45 displays an error message or stops working altogether, it may be a sign that professional help is needed.
If you are experiencing any issues written above with your Keurig K-45, it’s best to seek the help of a professional repair service that specializes in Keurig coffee makers. Here are some reputable services you can contact:
- Keurig Customer Service: Keurig offers customer service support for their products. You can contact them through their website or by phone at 1-866-901-2739.
- Coffee Machine Services: Coffee Machine Services is a professional repair service that specializes in Keurig coffee makers. You can contact them through their website or by phone at 866-901-2739.
- Keurig Authorized Service Provider: Keurig also has authorized service providers who are trained to repair and service Keurig coffee makers. You can search for a provider near you on their website or contact them at 866-901-2739.
Remember, it’s important to only seek help from reputable and qualified professionals to ensure your Keurig K-45 is fixed properly and safely.
Conclusion
If you own a Keurig K-45 coffee maker, it’s important to know how to troubleshoot common problems that can arise. From descaling the machine to checking the water reservoir, there are simple steps you can take to fix common issues, such as a slow brewing process, a clogged needle, or a leaking machine. However, it may be necessary to seek professional help from a qualified repair service.
Remember to always prioritize safety when troubleshooting and avoid attempting any repairs that you are not comfortable or qualified to handle. If you do need professional help, be sure to reach out to reputable repair services that specialize in Keurig coffee makers.
I encourage you to try troubleshooting the issues on your own before seeking professional help. Not only will this save time and money, but it will also empower you to take control of your coffee maker and ensure it’s running smoothly. By following the tips & techniques discussed in this article, you can keep your Keurig K-45 coffee maker working effectively for years to come.
Want to know each and every process relating to Keurig K-45 machines and a step-by-step guide on how to use it Then do not hesitate to click How to use Keurig K-45 coffee machine.
Faqs
What Are The Disadvantages Of Keurig K-45?
Keurig K-45, which is now a discontinued model, is surely a great coffee machine for those who still have it in their houses. But you know there is nothing without defects, and surely Keurig K-45 is not an exclusion. Let’s see what disadvantages it comes up with.
- Its water tank has a built-in filter holder, and if you are using it, then you have to replace the charcoal water filter regularly. It can be a bit tiring.
- Unable to fit travels mugs as it can only support mugs with a maximum height of 7 inches.
- The plastic it is made up of is not quite strong and can get severely damaged if the machine accidentally falls.
- It doesn’t have a touch display.
- It lacks the Automatic Turn-OFF feature.
- If you want to use a reusable My K-Cup, then you have to buy it separately, as it does not come with the machine.
- You cannot adjust the temperature and strength of the coffee.
Why Is My Keurig Not Working?
There is a couple of reasons your Keurig is not working. It could be because it needs descaling, or the exit needle is clogged; there might be some issues with the cord, there is no water in the water tank, the water tank is not fixed properly on the base, the machine is not placed on even surface, etc. You should take respective measures to let your machine work, or you can also contact Keurig Customer Service as well.
How do I clean my Keurig K-45 needle?
To clean the Keurig K-45 needle, follow the steps below
- When you lift the brewer’s handle, you will see the K-Cup Pack Holder Assembly and Exit needle present inside at the bottom of the K-Cup Pack Holder Assembly.
- Remove the K-Cup Pack Holder Assembly by grabbing the top part of the K-Cup Pack Holder with one hand and, using the second hand, pushing the bottom of the k-cup pack holder upward from underneath.
- It will make the K-Cup Pack Holder come out.
- The next step is to detach the funnel from the K-Cup Pack Holder.
- Pull the funnel located at the bottom of the K-Cup Pack Holder, and it will pop out right away.
- Now grab a paper clip or small sharp tool to start the cleaning process.
- Insert the paper clip or small sharp tool into the Exit needle and move it around in a scraping manner.
- It will loosen the clog and make the buildup come out easily.
- Lastly, take the paper clip out
- Your brewer’s exit needle will now be unclogged and clean,
How do you unclog a Keurig?
Descaling is the best way to unclog your Keurig machine. It will unclog the machine and keep the machine from getting into other problems such as leakages, less coffee volume, etc. So it’s better to descale your machine every 3-6 months to keep the maintenance first class.