Quick Navigation
In the world of coffee enthusiasts, the arrival of the Ninja DualBrew Pro Specialty Coffee System is a moment of anticipation and excitement. Unboxing this sophisticated coffee maker reveals a treasure trove of components, each promising to elevate your coffee experience. But how do you make the most of this coffee marvel? This article divides the process into distinct sections, guiding you through the unboxing, priming, brewing, and customization of your Ninja DualBrew Pro. From understanding the contents of the box to mastering pod brewing and frothing milk, this comprehensive guide unlocks the full potential of your coffee system. Let’s deep dive!
What the Box Contains?
Excitement surges as I unbox my long-awaited Ninja DualBrew Pro Specialty Coffee System from Amazon. Each item carefully packed, a promise of indulgent coffee moments. Counting them is key, ensuring all components are here for a complete experience. Count wisely, as it paves the way to timely reorder if anything’s amiss.
Ninja DualBrew:

Experience the Ninja DualBrew Pro Specialty System: Precision brewing, versatile cup sizes, and a world of coffee possibilities at your fingertips.
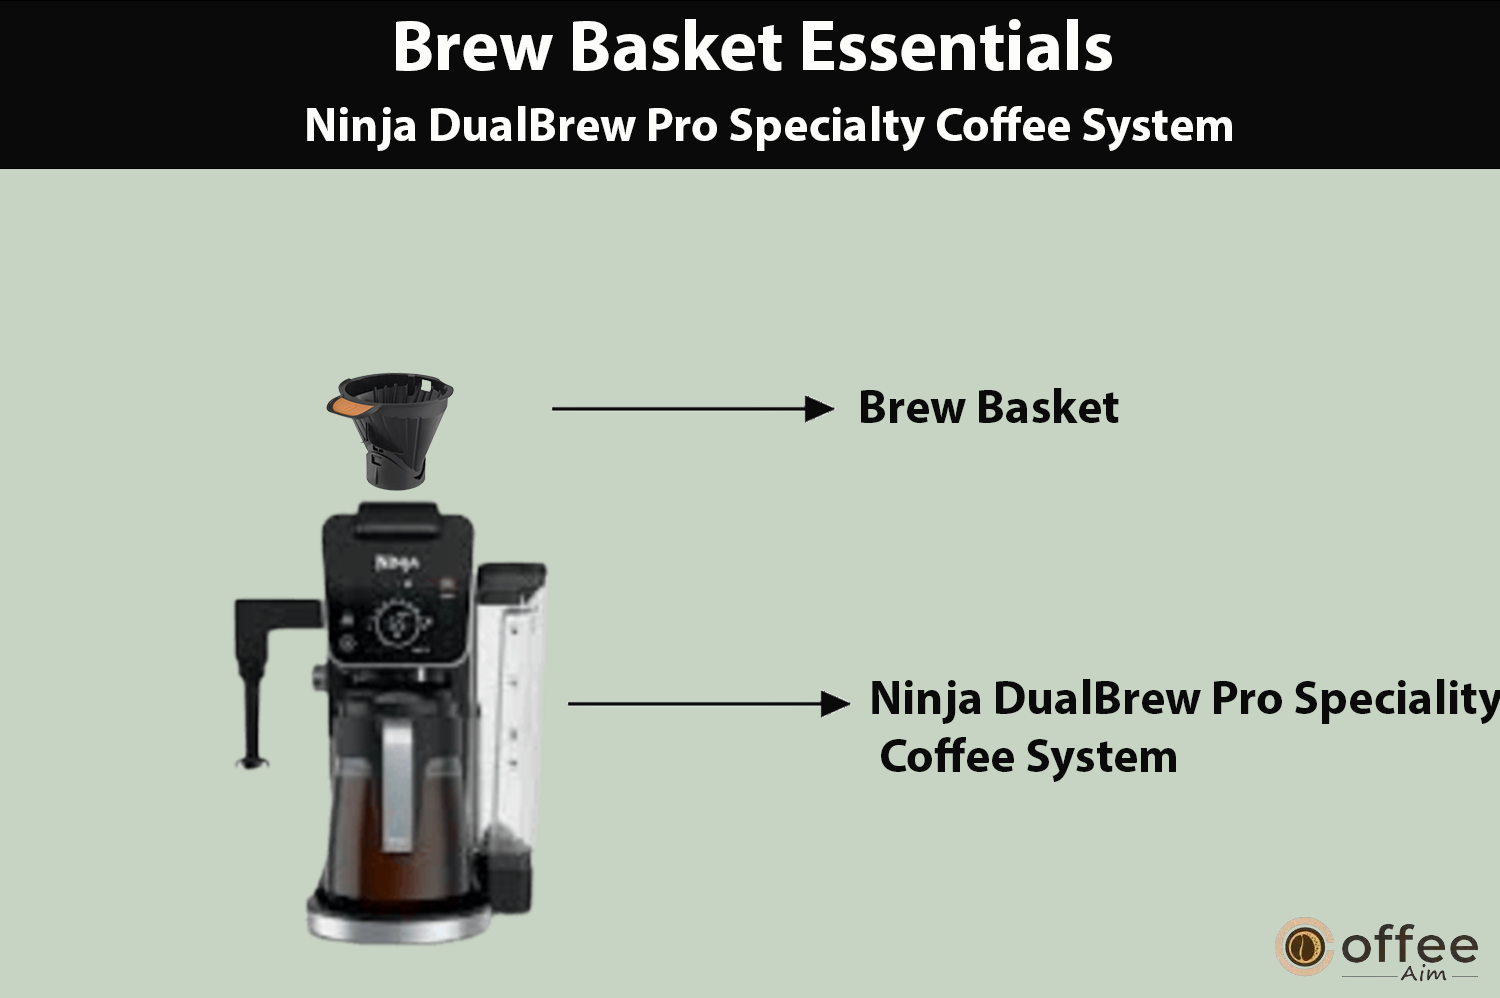
Brew Basket:
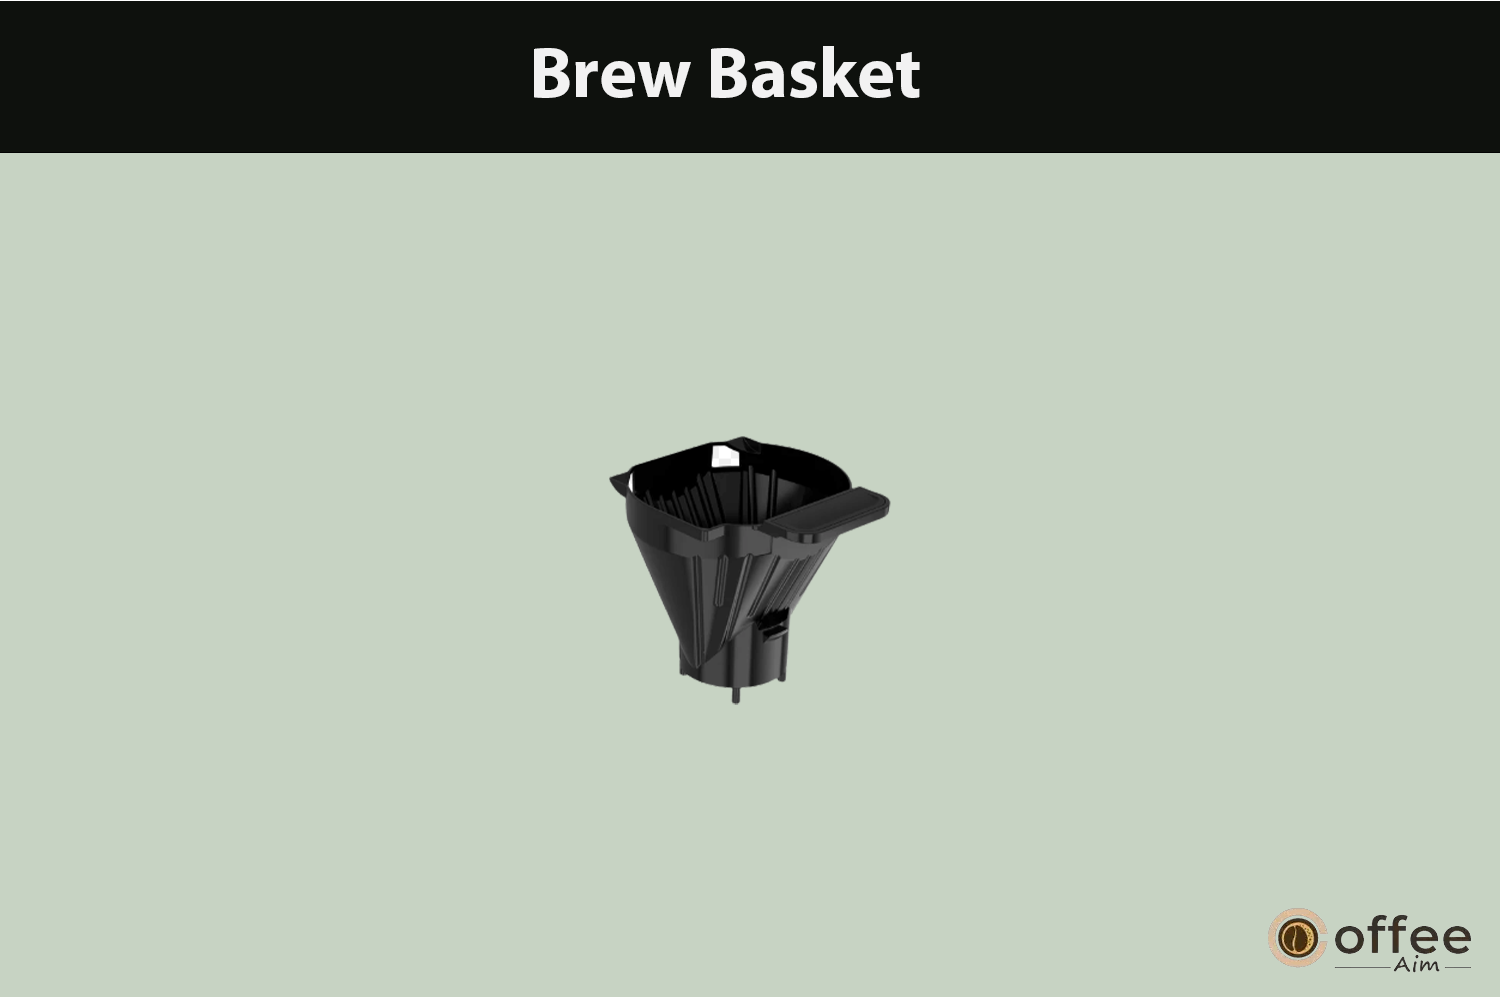
This essential component comes fully installed in the brewer, and you’ll always want to make sure it’s in place when brewing either pods or grounds.
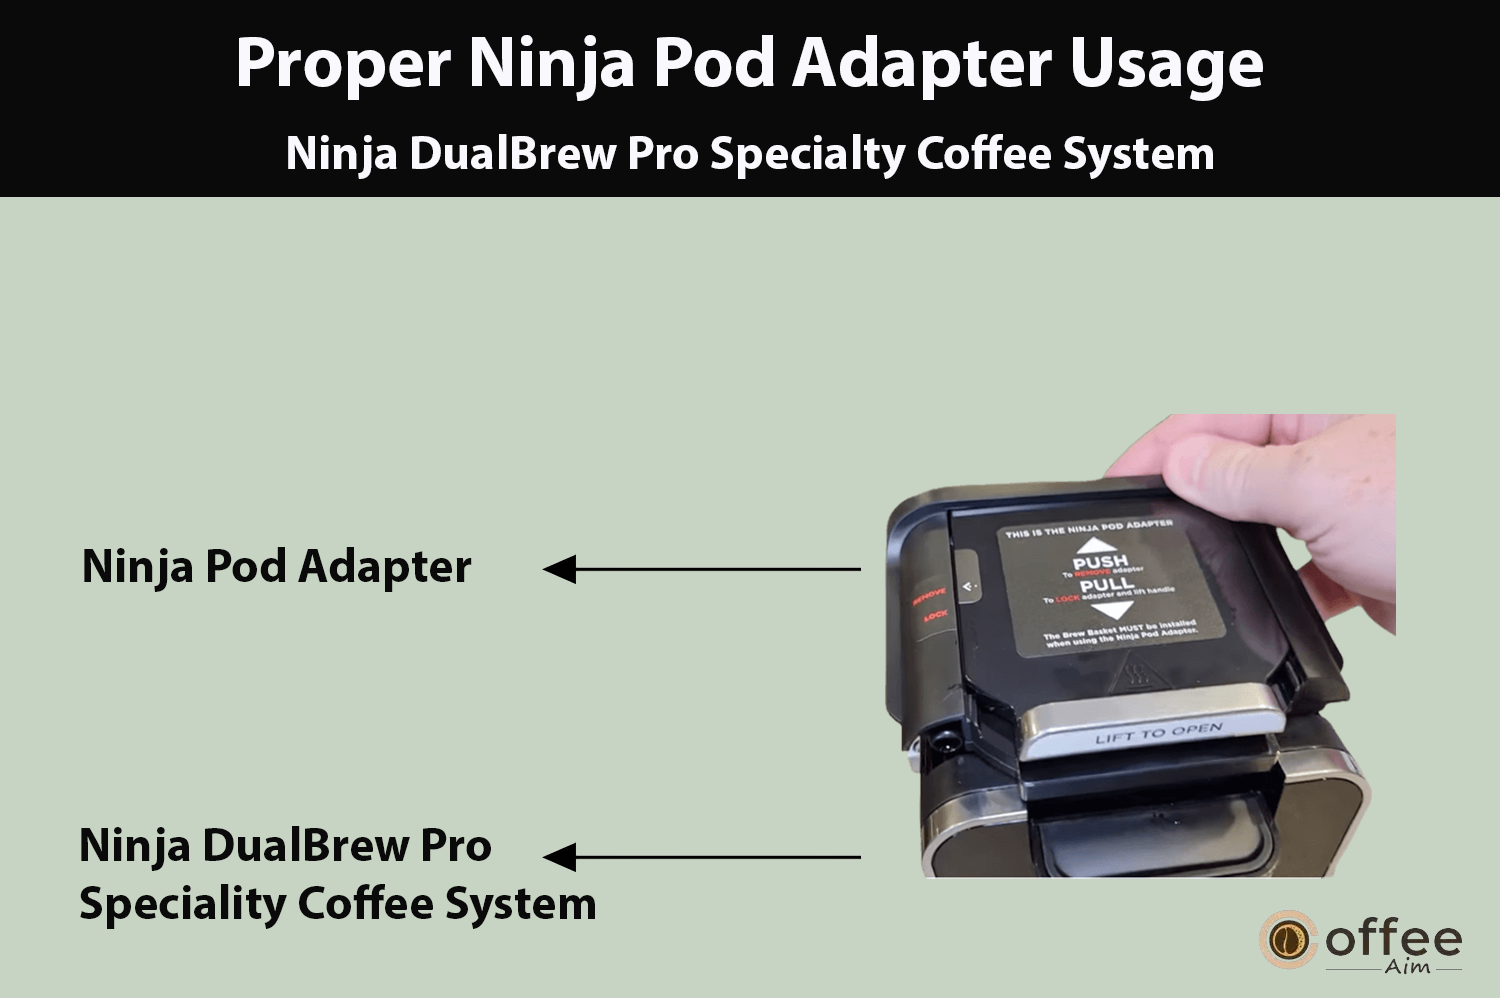
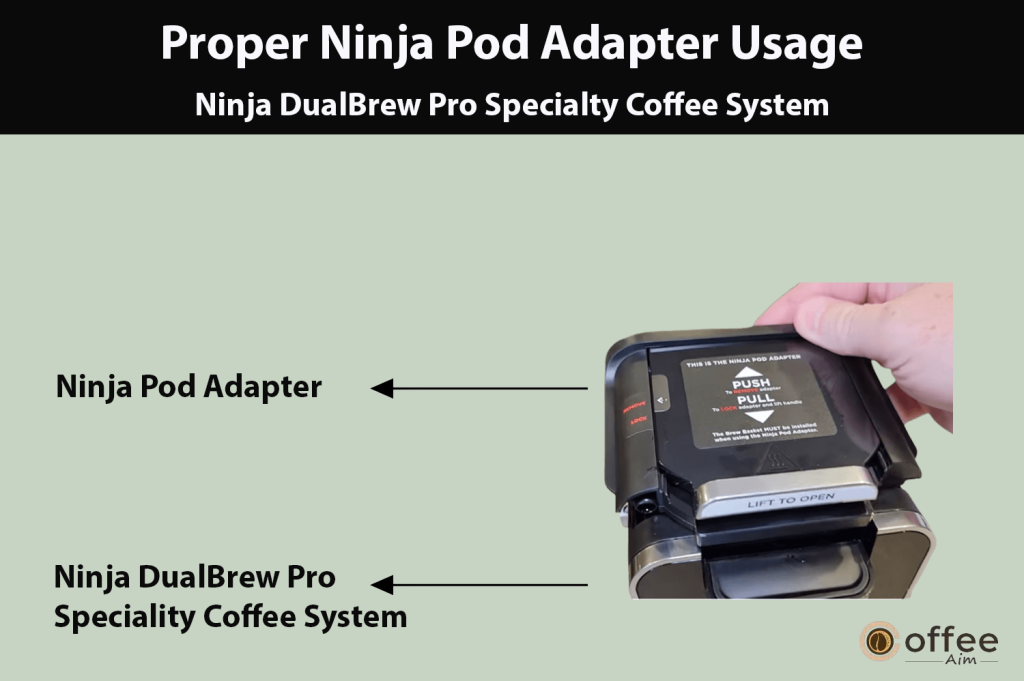
Ninja Pod Adapter:
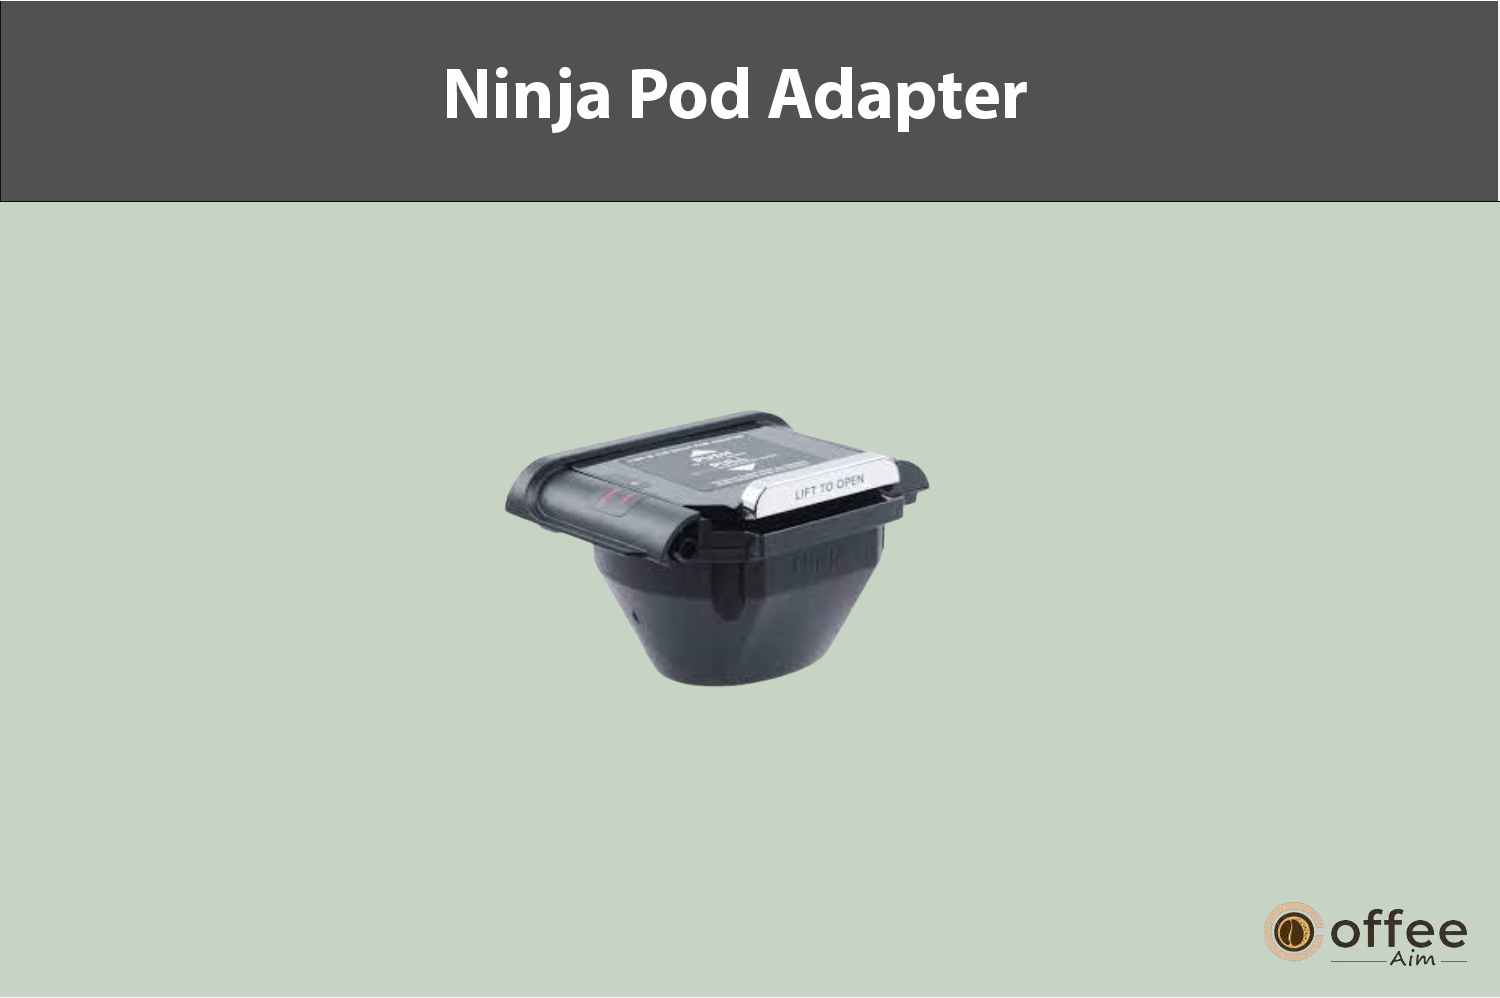
Another convenient feature that comes fully installed, the pod adapter is here to make pod brewing a breeze. Just remember to insert it over the brew basket when using pods.
60 oz. Glass Carafe:
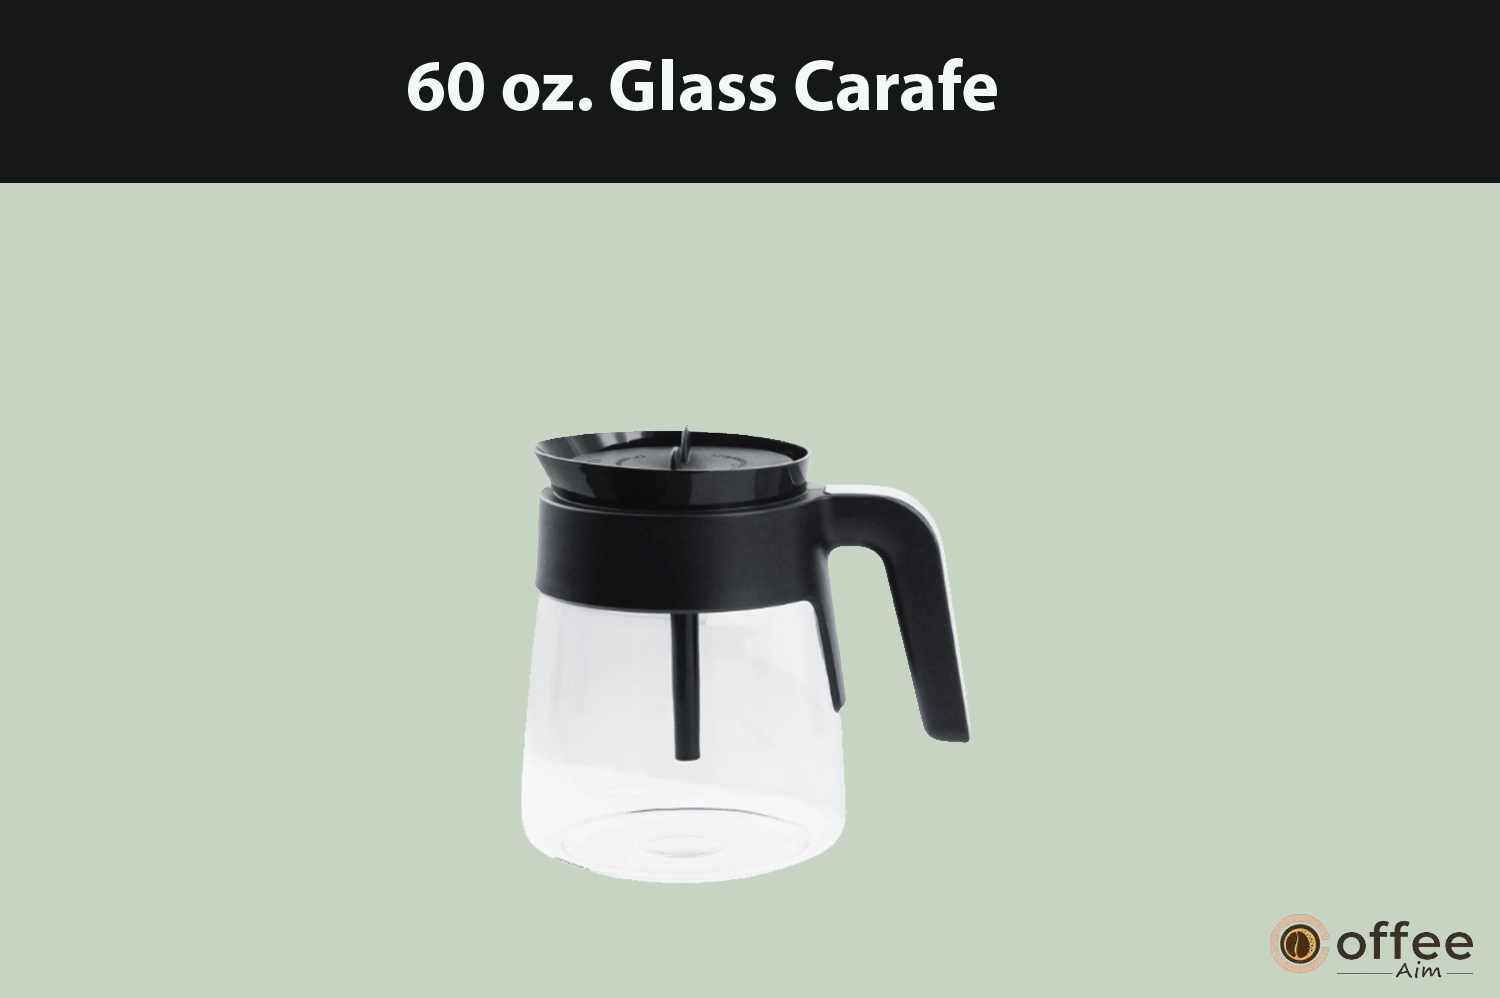
Included in the box is this generously sized carafe, perfect for serving yourself and your guests with your favorite brew.
Frother Whisk:

Don’t worry about assembly; it’s all set to go. The frother whisk allows you to create frothy milk to add that extra touch to your coffee experience.
60 oz. Removable Water Reservoir:

Easily fill up the water reservoir to the indicated Full line without exceeding it. This ensures a smooth brewing process.
Ninja Smart Scoop™:
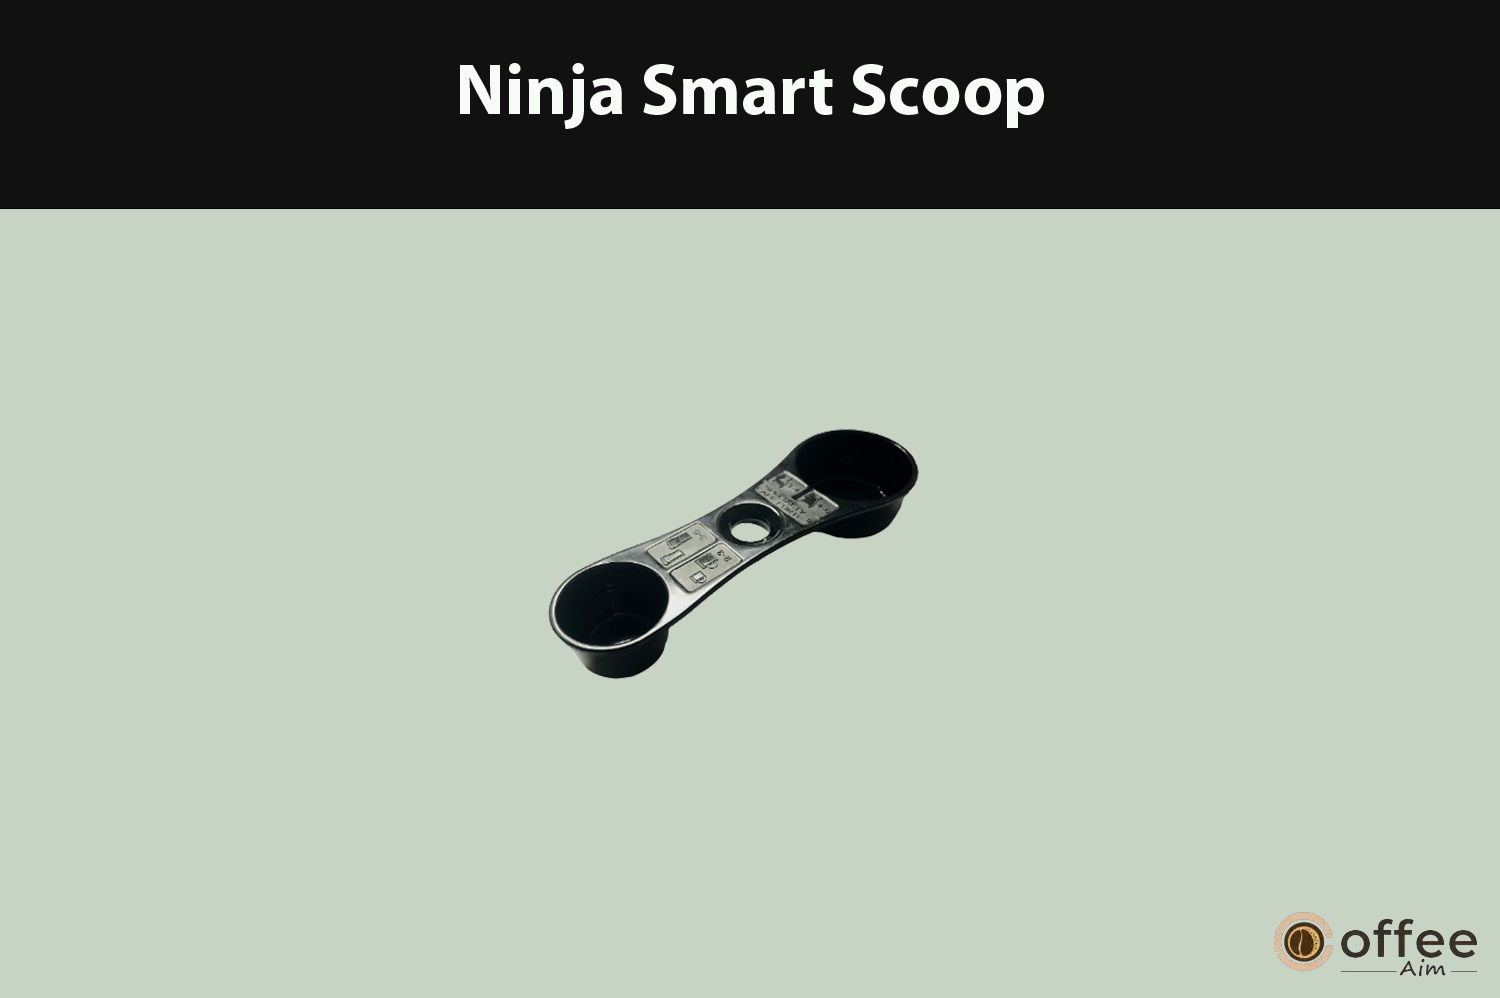
Say goodbye to guesswork. With the smart scoop, you can measure your coffee grounds accurately for that perfect brew every time.
Paper Filter Kit:
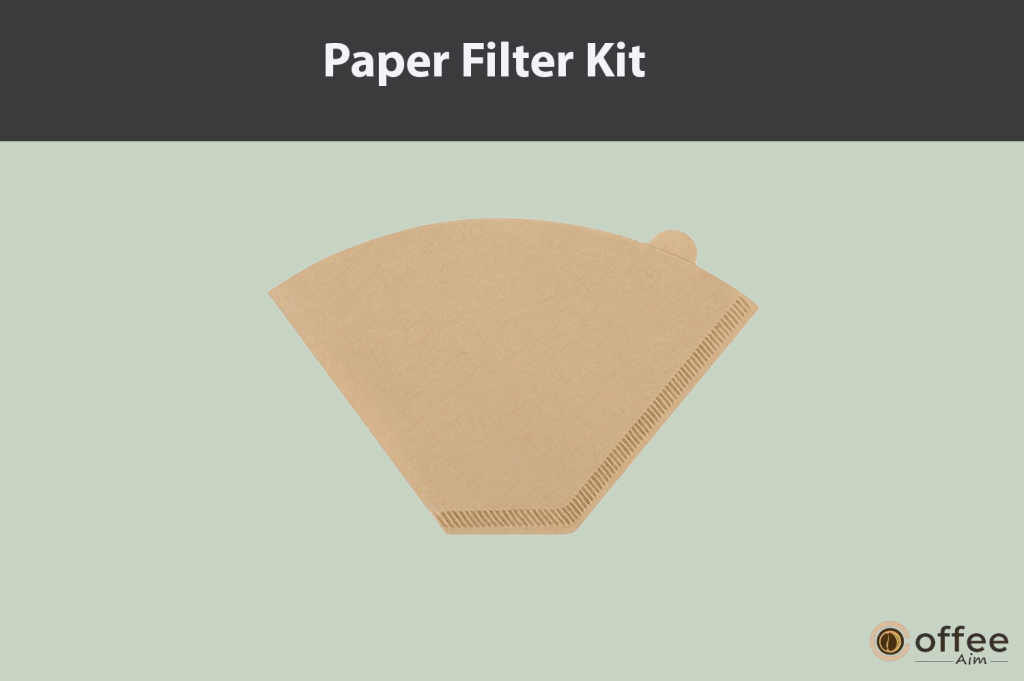
We’ve got you covered with this kit of paper filters, prepped for easy use. Just fold along the seams and firmly insert them into the brew basket.Now that you know what the box contains, get ready to unlock the full potential of your Ninja DualBrew. Let’s learn “How to Prime Your Brewer and Getting Ready for Optimal Brewing?”.
Priming Your Brewer: Getting Ready for Optimal Brewing
Embark on a journey into the realm of Ninja DualBrew perfection! As a fellow enthusiast of the Ninja DualBrew Pro Coffee System, I’m here to steer you through the essential steps of preparing your brewer for its ultimate coffee-making prowess. The Ninja brand has gone the extra mile to ensure the cleanliness of your new coffee maker, but a few traces of chemicals may linger within. This is where our careful approach comes into play – by following the steps below, you’re ensuring that your first brew is not only a flavorful delight but also a health-conscious choice. Let’s dive in and ensure your coffee experience starts on the right, refreshing note!
- Plug the brewer into a power outlet and turn it on to activate it.
- Fill the water reservoir with fresh water up to the Full line and place it securely on the base.
- If you plan to use coffee grounds instead of pods, remove the Ninja Pod Adapter and slide the Sliding Lid into the closed position as outlined in the steps under the heading “Mastering Pod Brewing with Ninja Brew System”.
- Position an empty carafe under the brew basket and initiate a Full Carafe, Classic brew cycle.
- Once the brew cycle is complete, discard the water from the carafe.
For High-Altitude Residentials: Please note that if you reside in a high-altitude area, an additional step is required to ensure proper brewing. You must run a calibration brew specifically designed for high-altitude conditions. Neglecting this step in high-altitude regions may lead to excessive steaming during brewing.
Following these steps will ensure your brewer is primed and ready to deliver optimal brewing results, ensuring you enjoy the perfect cup of coffee every time. Let’s learn “How To Add Water To The Reservoir?”.
How To Add Water To The Reservoir?
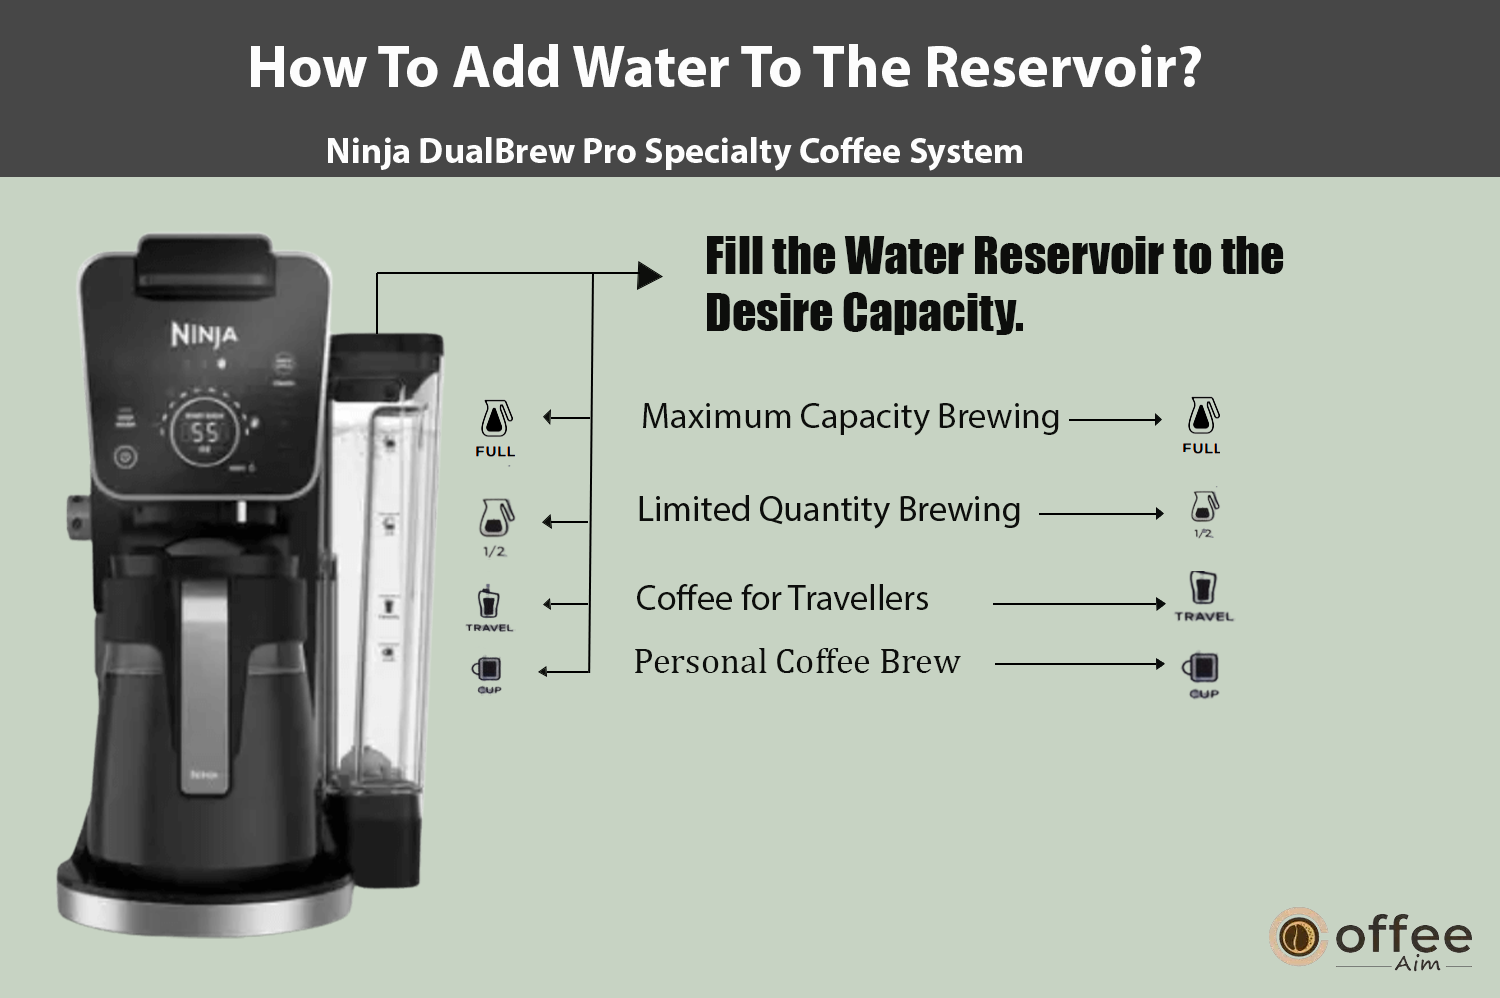
After priming your brewer, it comes to adding water to your Ninja brewer, follow these simple steps to ensure a seamless experience:
- Locate the Full line on the water reservoir, which indicates the maximum level of water you should add. Be sure not to exceed this line to avoid any potential issues.
Note: Always Use a fresh and clean water source.
By adhering to these guidelines, you’ll be all set to enjoy your favorite brew without any worries. Let’s learn “How to secure and detach the ninja pod adapter?”
How to Secure and Detach the Ninja Pod Adapter?
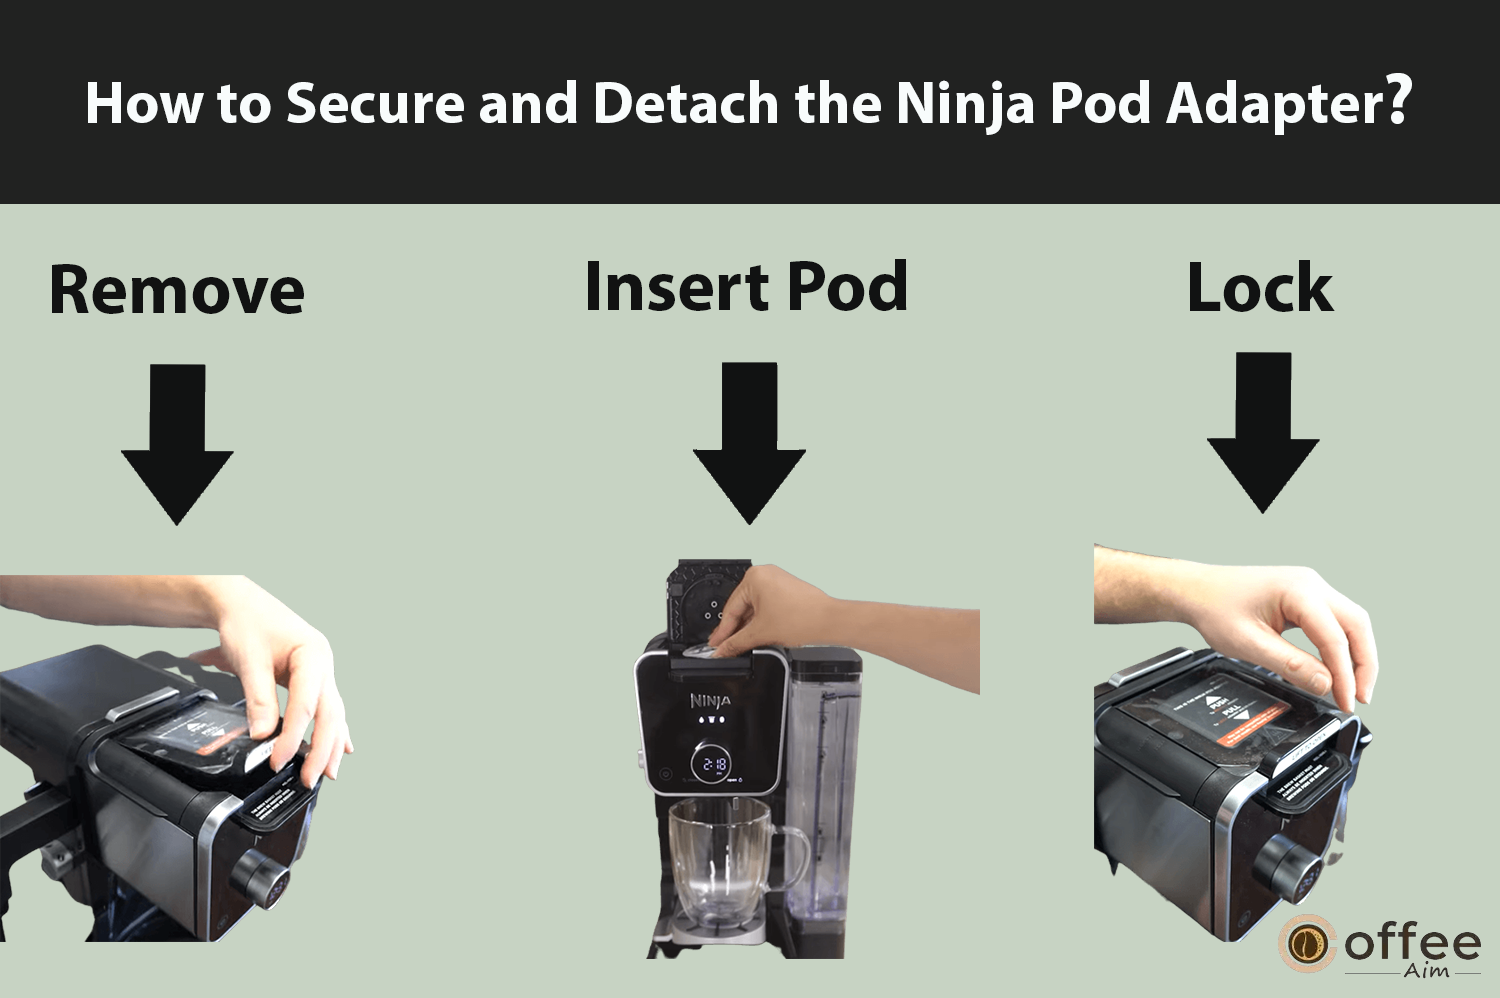
After adding water to the reservoir, as a seasoned user of the Ninja DualBrew Pro Coffee System, let me guide you through the process of securing and detaching the Ninja Pod Adapter:
Note: The Ninja DualBrew Pro Coffee System arrives with an exclusive Ninja Pod Adapter pre-installed on the brewer. It’s crucial to verify that the adapter is correctly placed over the brew basket at all times.
- When it comes to installing a Ninja Pod Adapter to your Ninja DualBrew Pro Coffee System, ensure that the position indicator on the left side of the adapter is aligned with “LOCK.” To do this, simply pull the handle towards you and lift it to open. Now, you can insert a pod of your choice, firmly push down on the handle to pierce the pod, and proceed to program your brew as desired.
- To remove the adapter, start by taking out the used pod and then close the handle. Push the handle away from you until the position indicator shows “REMOVE.” Using the edges on the left and right sides, lift the adapter out of the brewer.
Please note that the Ninja Pod Adapter is designed specifically for K-Cup pods, and it is not compatible with reusable K-Cup filters. If you prefer using ground coffee, you can utilize the Grounds mode along with a paper or permanent filter (available separately) to brew a single-serve size.
By mastering the process of securing and detaching the Ninja Pod Adapter, you’ll be well on your way to enjoying your favorite coffee with ease. Let’s learn “Brewing loose coffee grounds and how to use the sliding lid”.
Brewing Loose Coffee Grounds: How to Use the Sliding Lid

After securing and detaching the ninja pod adapter, now it is time to share how you can make the most of the sliding lid on your Ninja DualBrew Pro Coffee System.
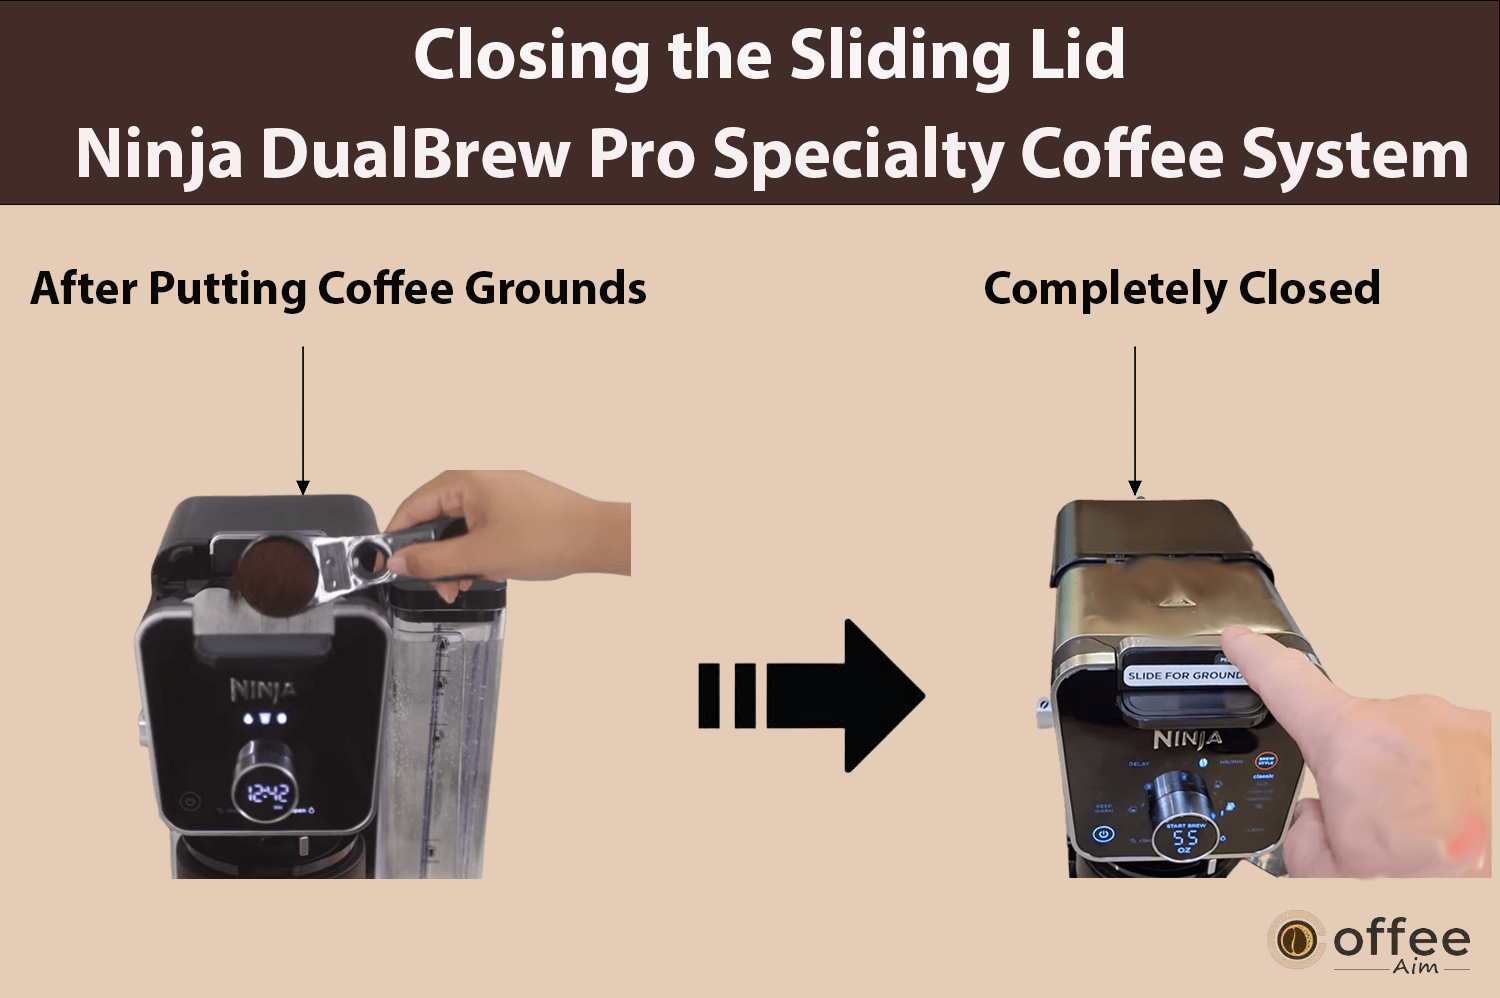
- To begin, ensure you’ve removed the Ninja Pod Adapter, as the sliding lid is exclusively used for brewing loose coffee grounds.
- Now, take hold of the handle located on top of the brewer. With a gentle sliding motion towards you, position the lid until it firmly clicks into place.
With the sliding lid securely in position, you’re all set to brew your favorite loose coffee grounds with utmost convenience. Let me tell you “optimizing counter space and positioning the water reservoir”.
Optimizing Counter Space: Positioning the Water Reservoir

Now you are fully aware of brewing loose coffee grounds and the use of a sliding lid, I’ll walk you through the steps to efficiently position the water reservoir, maximizing your valuable counter space.
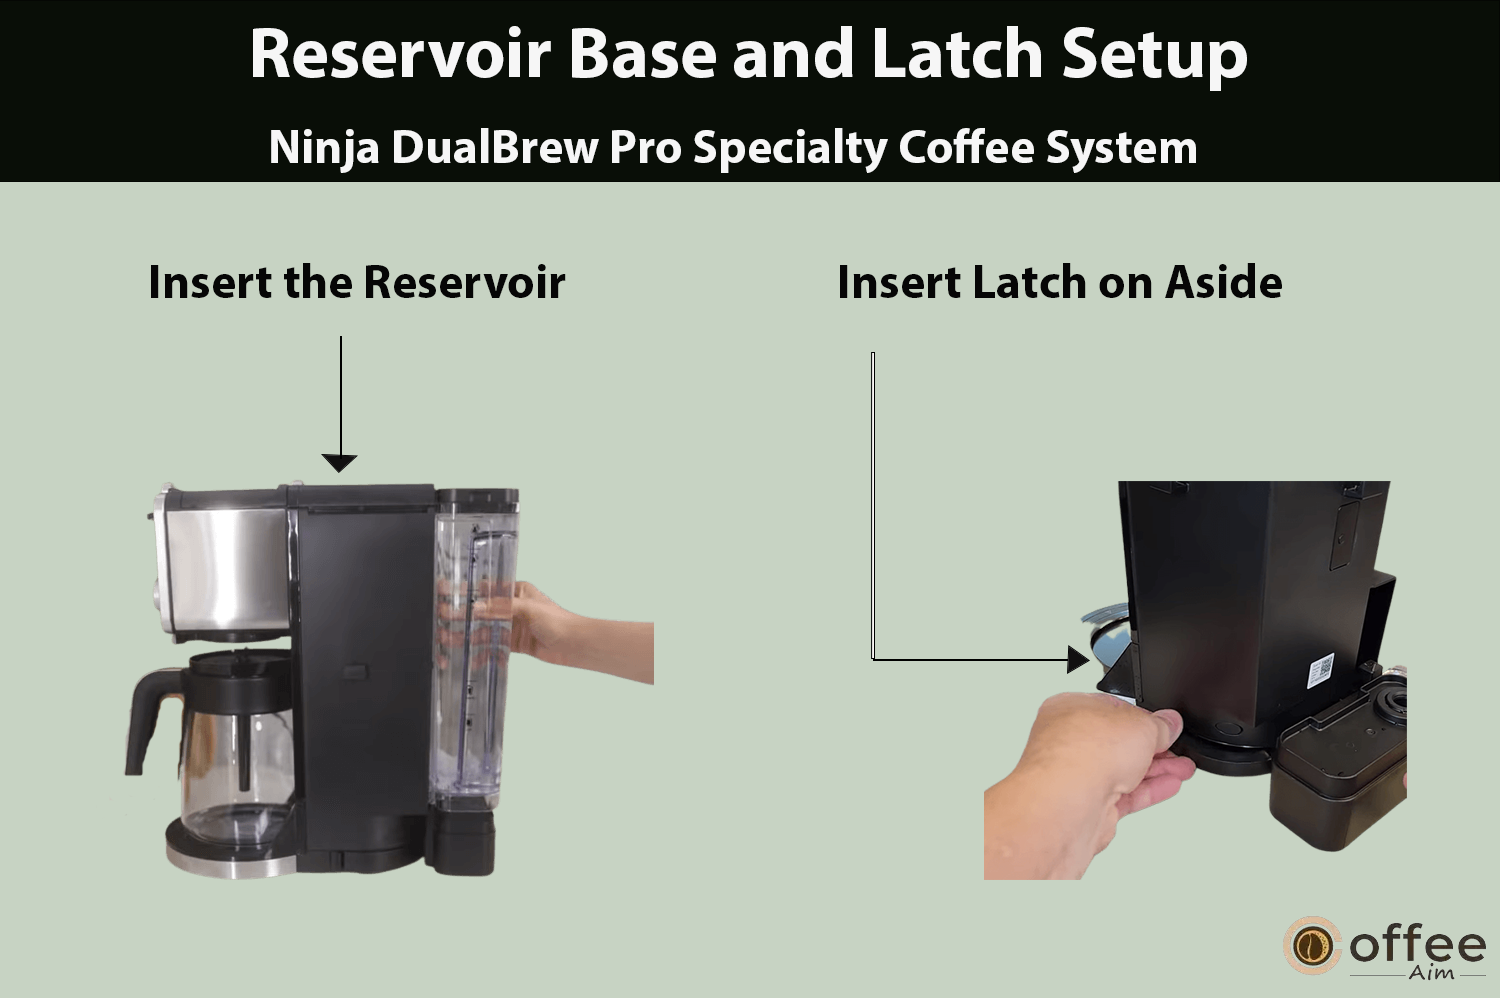
Step 1: Begin by removing the reservoir from the base. Next, take the removable latch from the back of the brewer and set it aside.

Step 2: Now, carefully swing the reservoir base around the brewer until you hear a satisfying click, indicating it’s securely in place. Don’t worry if you feel some resistance during this step; it’s completely normal. After that, take the removable latch and rotate it 180 degrees. Finally, reinsert it into the new gap where the base was previously positioned.
By following these straightforward steps, you can easily position the water reservoir to suit your counter layout and optimize your brewing experience.
Now, let’s proceed to our following episode titled “Optimal Utilization of the Water Softener Filter: Accurate Instructions.”
Using Different Cup Sizes with Your Brewer
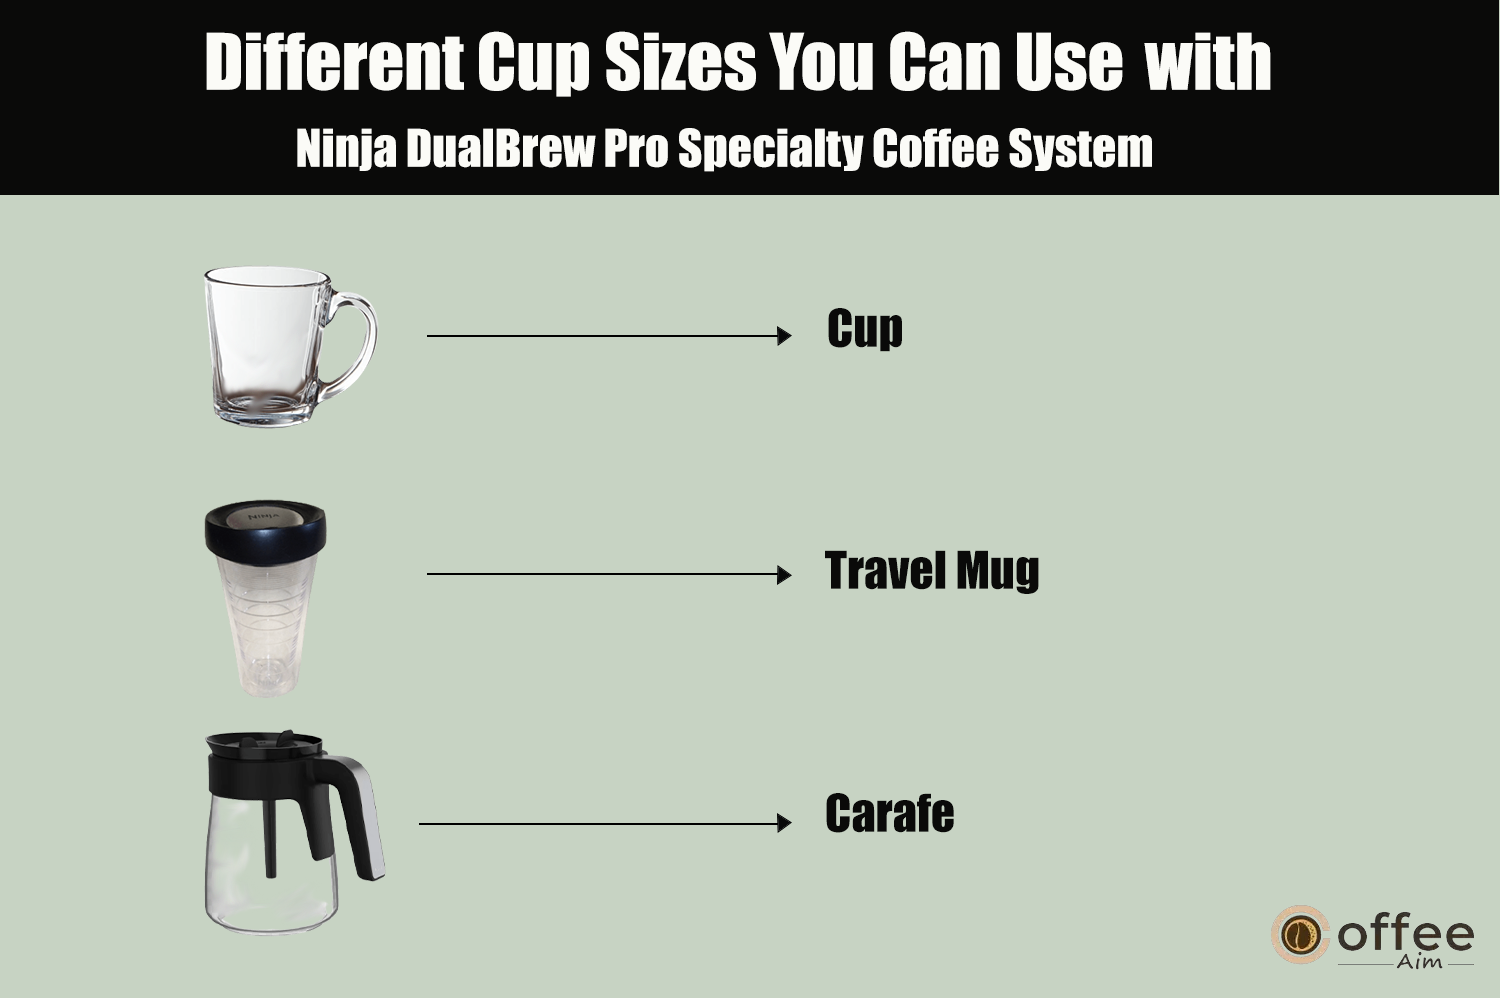
Having gained an understanding that optimizes the counter space and position the water reservoir, let me guide you on how to utilize various cup sizes for your brewing needs.
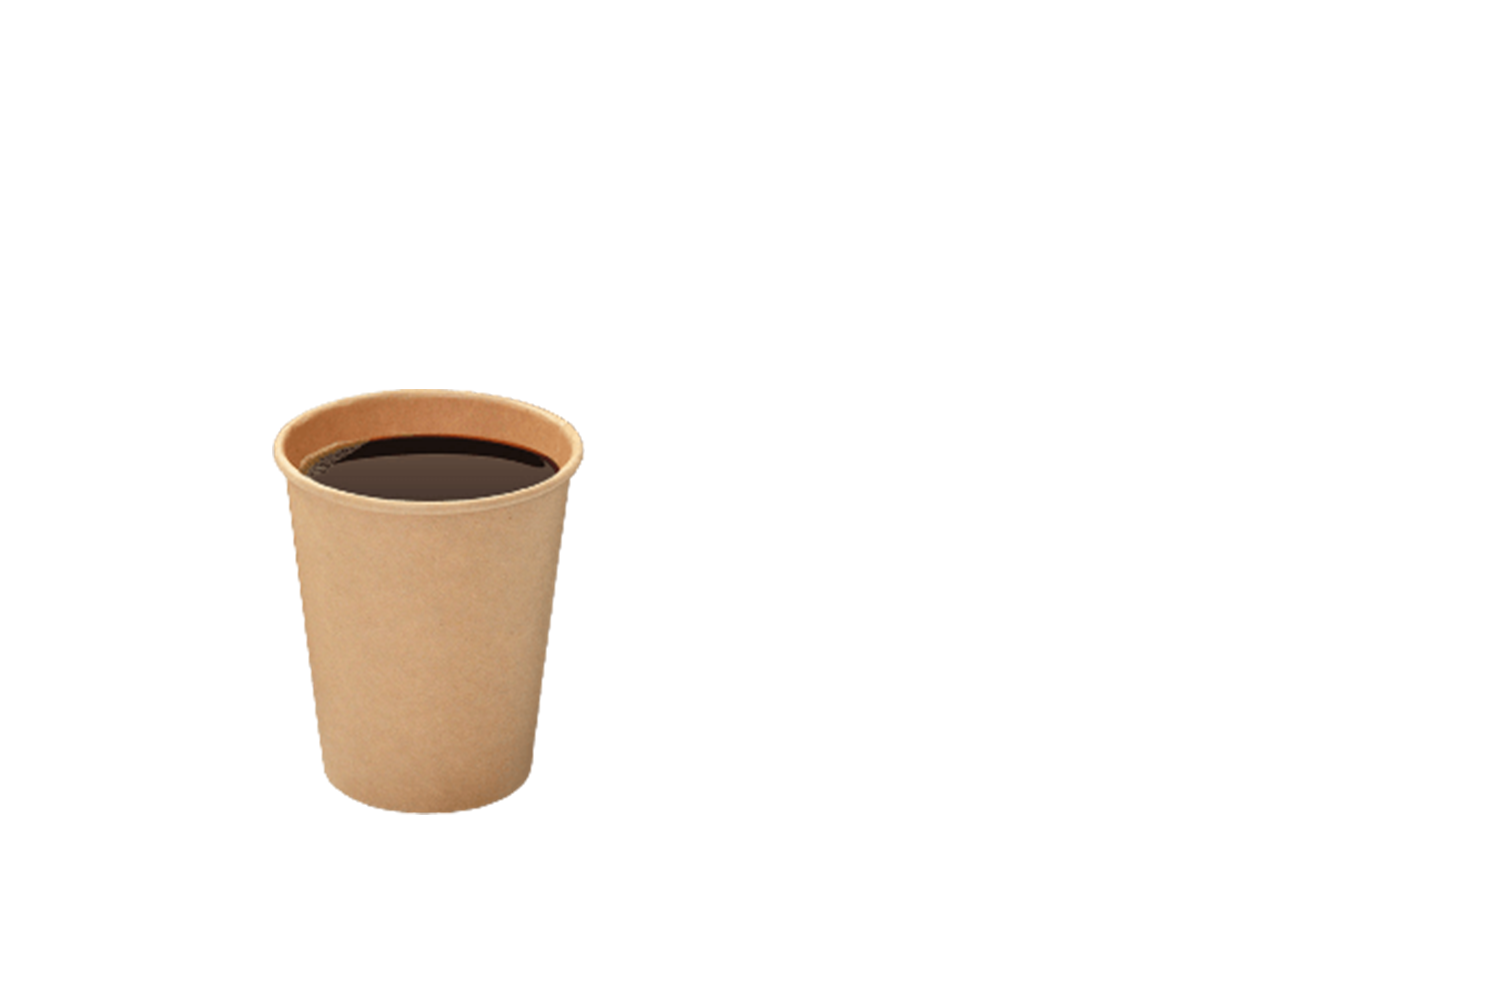
Cup:
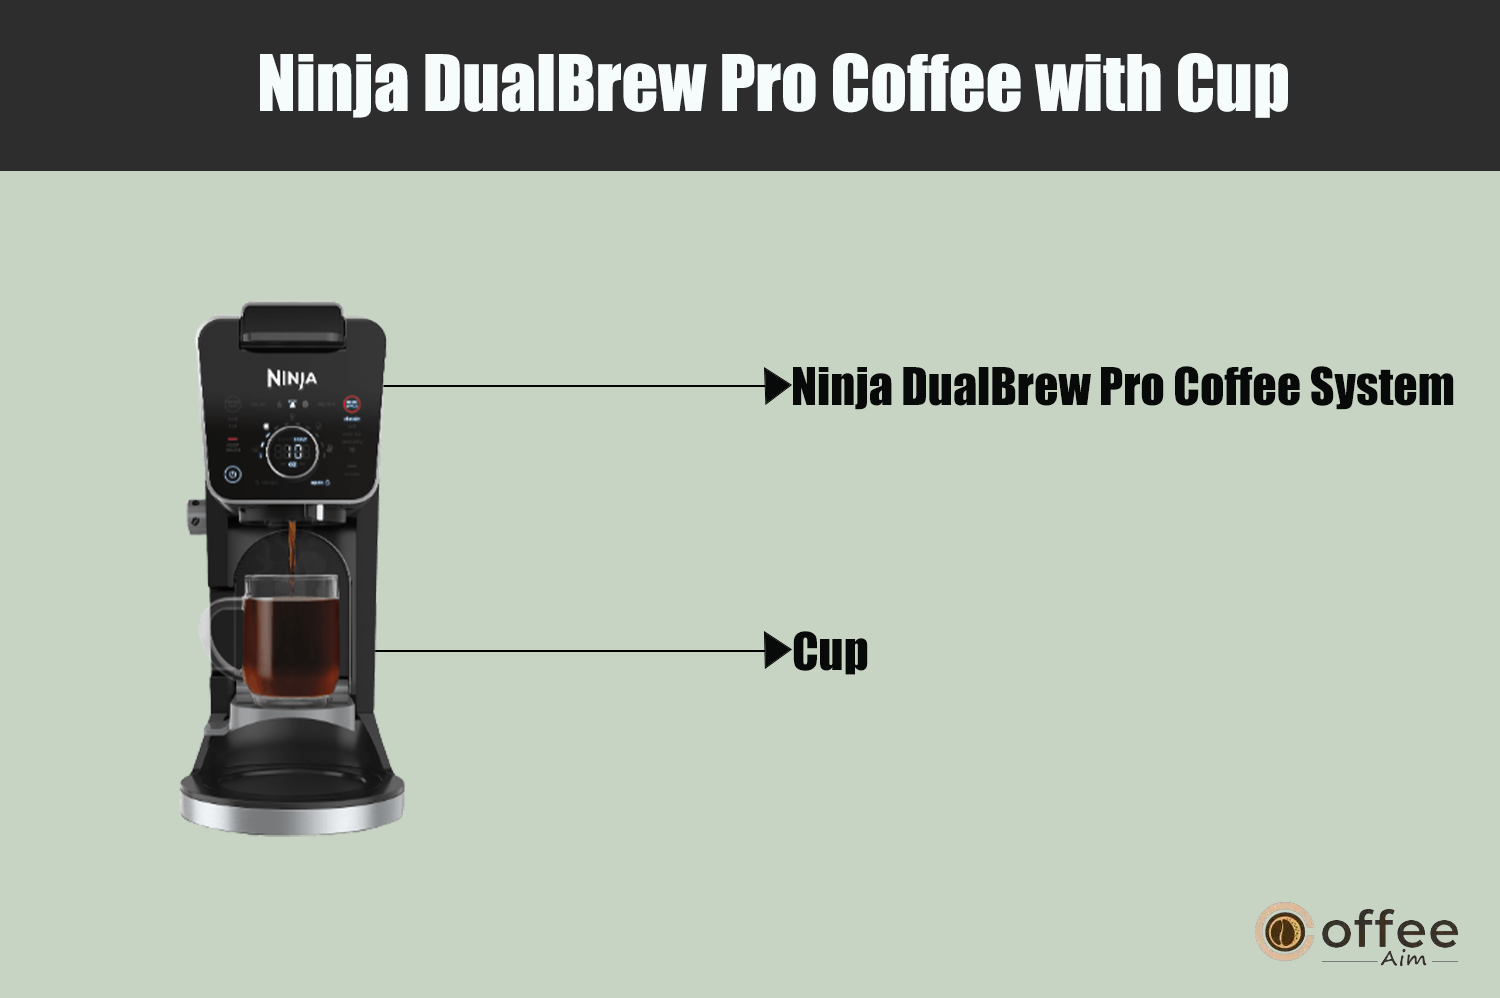
To brew your favorite coffee in a regular-sized cup, pull down the cup platform and place your mug on it.
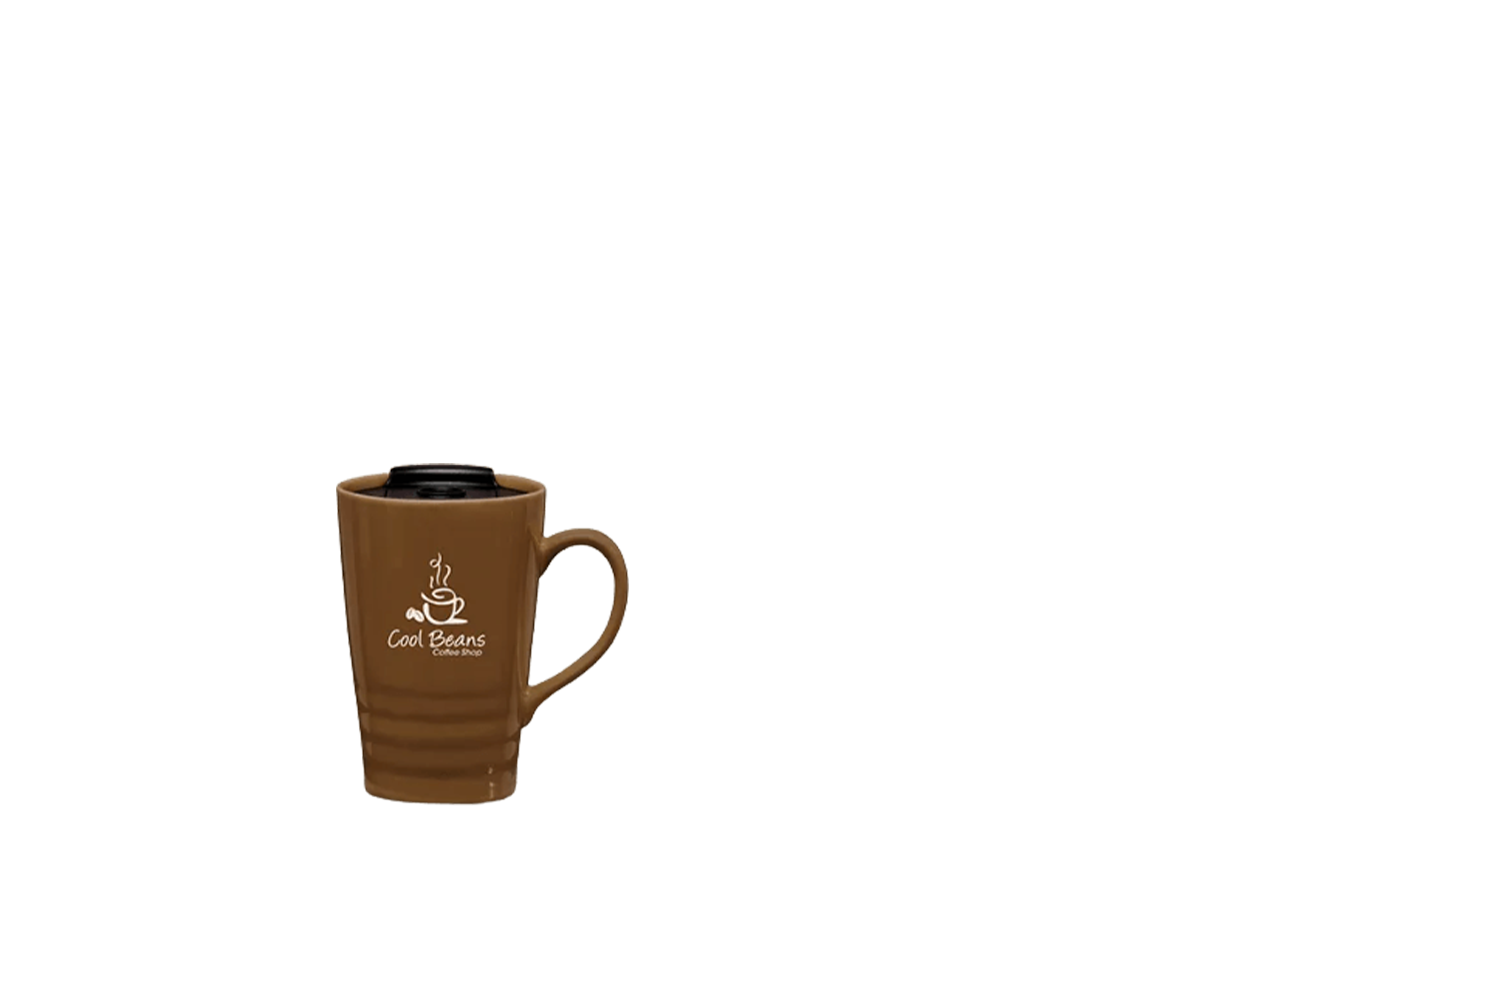
Travel Mug & XL Sizes:
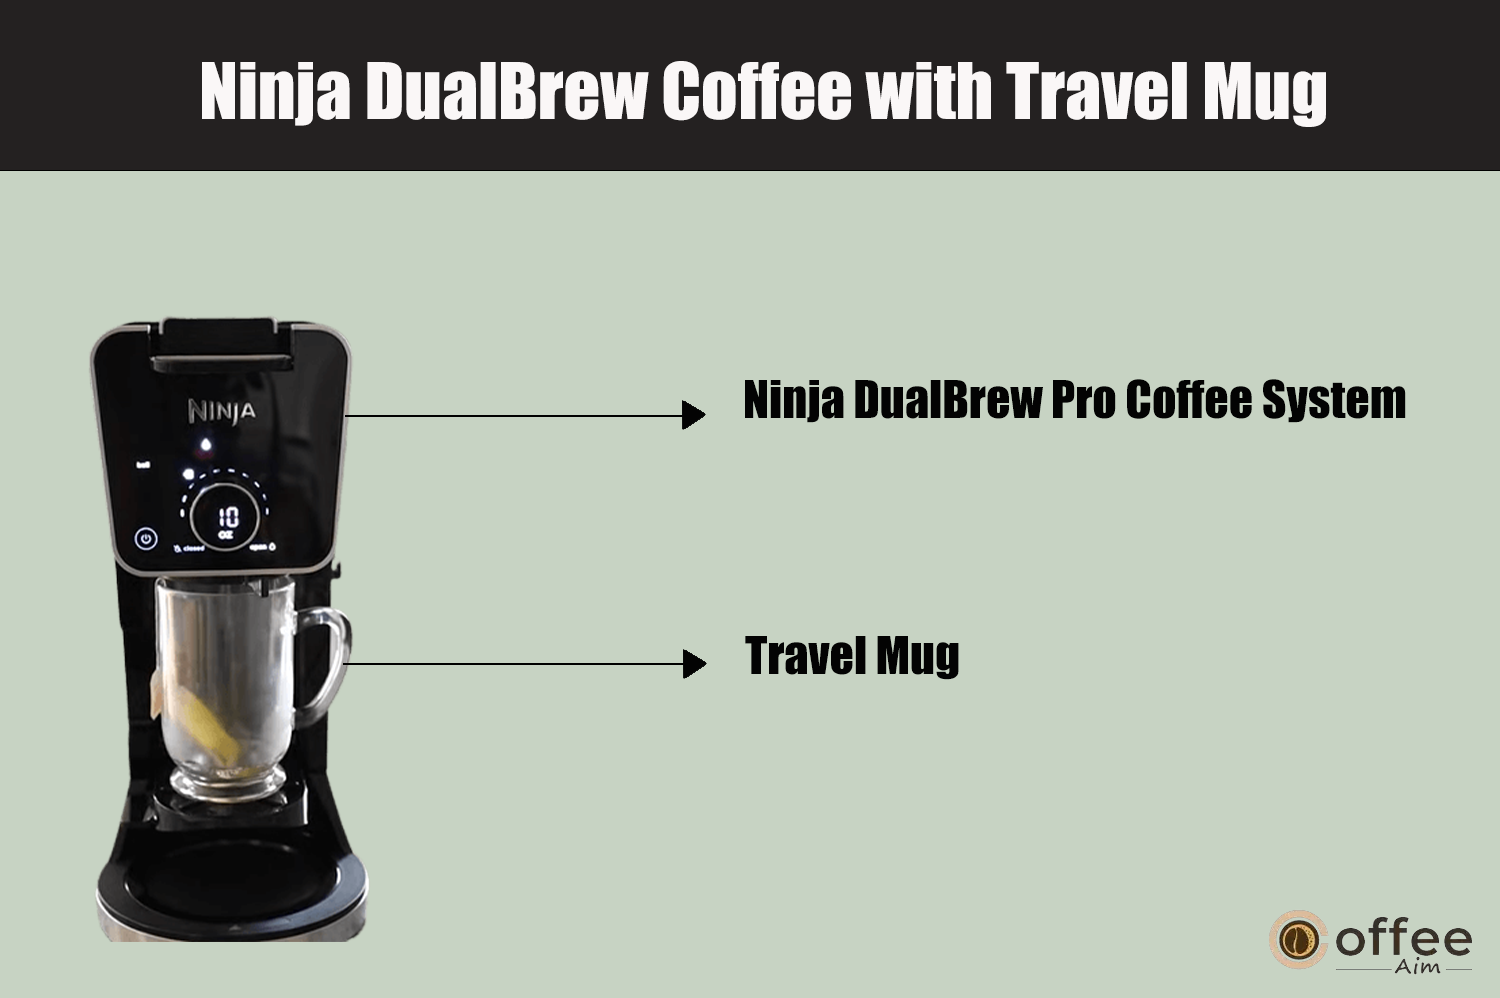
For larger servings, you can use an XL Cup, Travel Mug, or XL Tumbler. Simply place the chosen cup size on the base of the brewer.
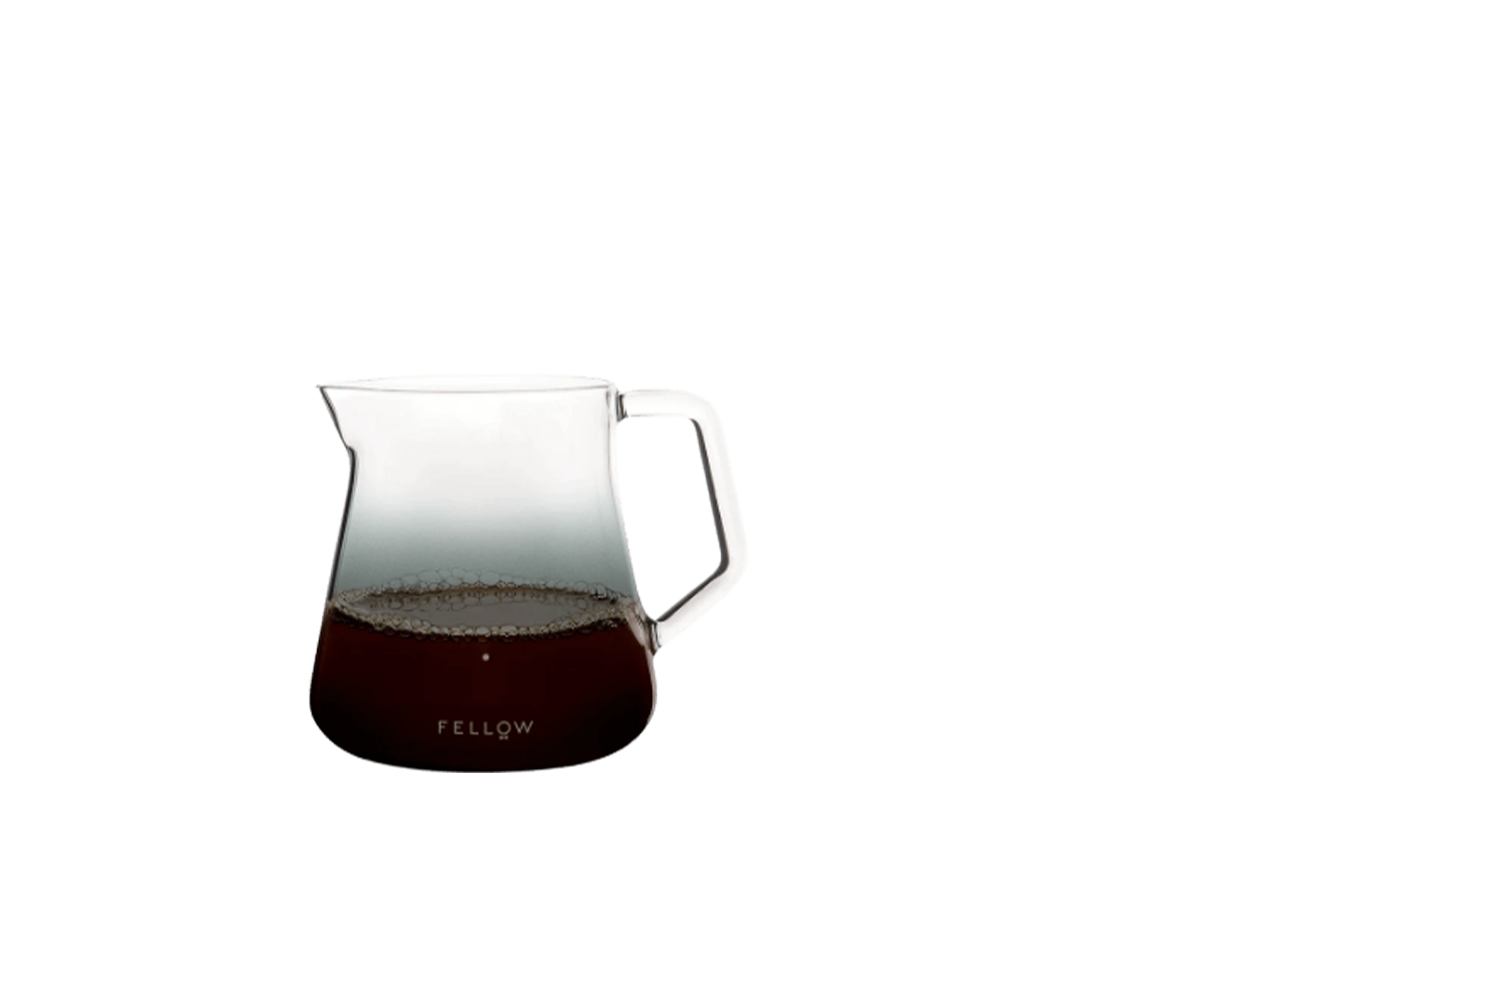
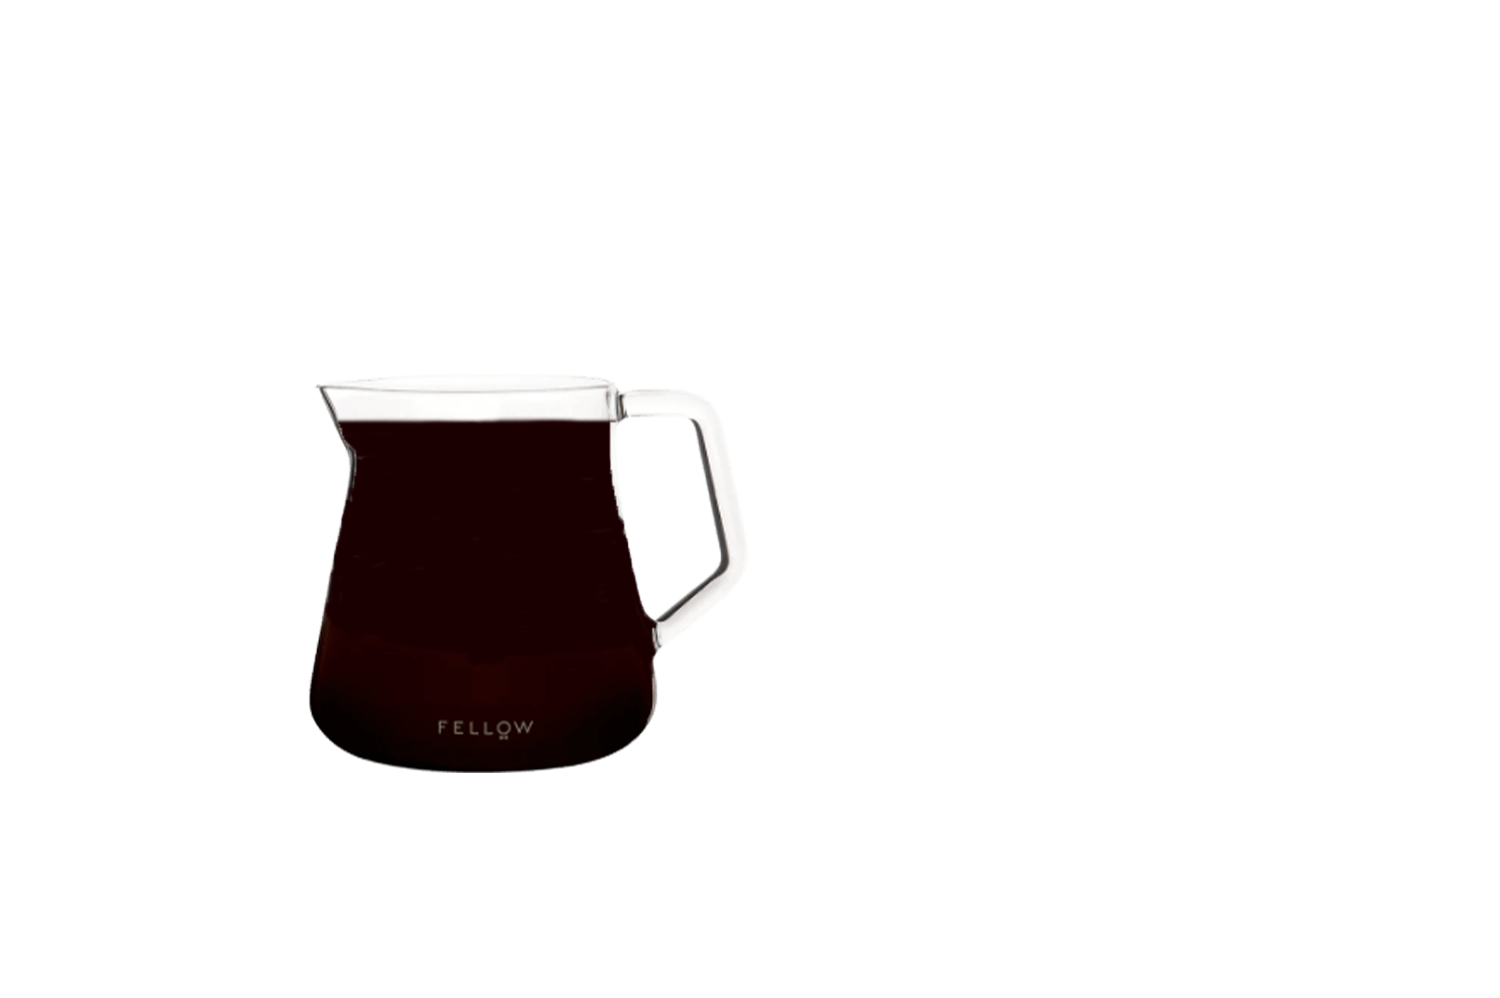
Carafe:

To enjoy multiple servings or keep your coffee warm, place the carafe on the Intelligent Warming Plate.
By using these options, you can easily accommodate different cup sizes for your preferred coffee experience. Explore the topic“ Intelligent warming plate: Automatic and manual control options”.
Intelligent Warming Plate: Automatic and Manual Control Options
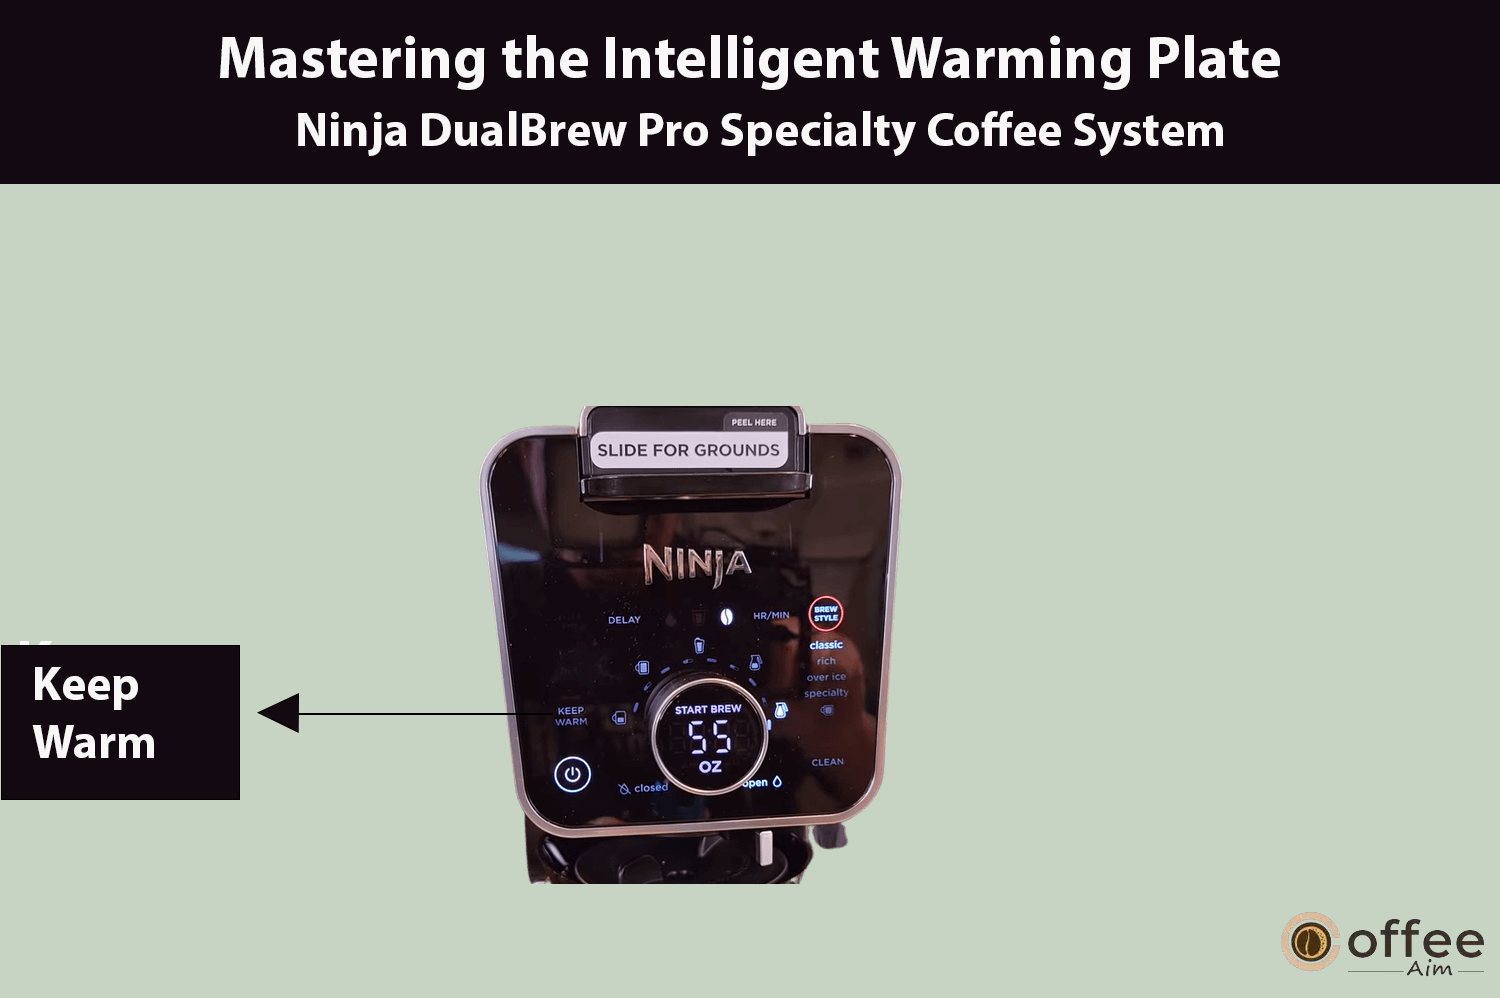
Once you’ve familiarized yourself with different cup sizes with your brewer, let me explain the options available for controlling the Intelligent Warming Plate to keep your coffee at the perfect temperature.
Automatic Operation: The Intelligent Warming Plate is designed to automatically turn on when you’re brewing a Classic or Rich brew in any Carafe size. It will remain on for a duration of 2 hours. However, if you wish to adjust the duration and keep the warming plate on for up to 4 hours, you can refer to the Owner’s Guide for detailed instructions.
Manual Control: When the Intelligent Warming Plate is on, you have the option to turn it off manually. Simply press the “KEEP WARM” button to disable the warming feature.
Manual Activation: Additionally, you can manually activate the warming plate by pressing the “KEEP WARM” button when you’ve selected a Classic or Rich brew and any Carafe size in Grounds or Hot Water mode.
Please note that: when the Intelligent Warming Plate is active, a light on the brewer’s base will indicate its status. The light will remain illuminated until the plate has cooled down.
By understanding these control options, you can ensure that your coffee stays warm and ready to enjoy at your desired temperature. Discover the details of “How to use the ninja smart scoop for precise brewing?”.
How to use the Ninja Smart Scoop for Precise Brewing?

Following your acquisition of knowledge about the intelligent warming plate: automatic and manual control options,as an experienced user of the Ninja DualBrew Pro Coffee System, let me show you how to use the Ninja Smart Scoop to achieve accurate measurements of coffee grounds for a perfect brew.
The Ninja Smart Scoop is a handy tool for ensuring precise measurements. The numbers displayed beside the icons indicate the recommended number of level scoops for each brew size.
It’s essential to measure with level scoops of a medium grind size to achieve consistent results. When brewing decaf coffee, you can use fewer scoops to tailor the strength according to your preference.
Keep in mind: that when using the Ninja Smart Scoop, do not combine a paper filter with a permanent filter. Using either one is sufficient for your brewing needs.
By using the Ninja Smart Scoop correctly, you can enjoy a well-balanced and delicious cup of coffee every time. Let’s learn “Mastering pod brewing with a ninja brew system”.
| SERVING SIZE | NINJA SMART SCOOP GROUND COFFEE |
| 2–3 small scoops | |
| 3–5 small scoops | |
| 3–5 big scoops | |
| 4–7 big scoops | |
| Specialty 4 oz. 2 | 2 big scoops |
Mastering Pod Brewing with Ninja Brew System
Having gained an understanding of Mastering Accurate Brewing with the Ninja Smart Scoop.
Unlock the art of pod brewing with your Ninja Brew System for a customized coffee experience. Learn the precise steps to assemble the brew basket, securely insert pods, and create a cup that’s rich and aromatic, tailored to your taste. Elevate your coffee journey today.
Optimizing Brewing Performance: Grounds Brew Basket and Filter Usage
- You should make sure to always have the brew basket in place when you’re brewing either pods or ground coffee.
- Place the paper cone filters with folded edges into the brew basket, ensuring it is fully opened and securely positioned.

Proper Usage of Pods Brew Basket and Ninja Pod Adapter
Sabsequent to mastering the process of optimizing brewing performance.
- Always ensure the brew basket is in place when you’re brewing with pods or grounds, and remember not to use a filter in this case.

- Before installing, make sure the Ninja Pod Adapter is set to the REMOVE position. When brewing pods, remember to insert it over the brew basket for optimal performance.
Entering Hot Water Mode: Ninja Brewer Instruction
After mastering pod brewing with a ninja brew system,as someone well-versed in using the Ninja DualBrew Pro Coffee System, let me guide you on how to enter Hot Water Mode for your brewing needs.
For Brewing Grounds:
- Ensure that the brew basket is correctly installed, and the Ninja Pod Adapter is removed.
- Insert a paper filter into the brew basket.

- Use the Ninja Smart Scoop™ to add the desired amount of coffee grounds, as detailed in the Smart Scoop section.

- Slide the sliding lid forward, ensuring it is completely closed.
For Brewing Pods:
- Lift the adapter handle to reveal the pod holder, then insert a pod into it.
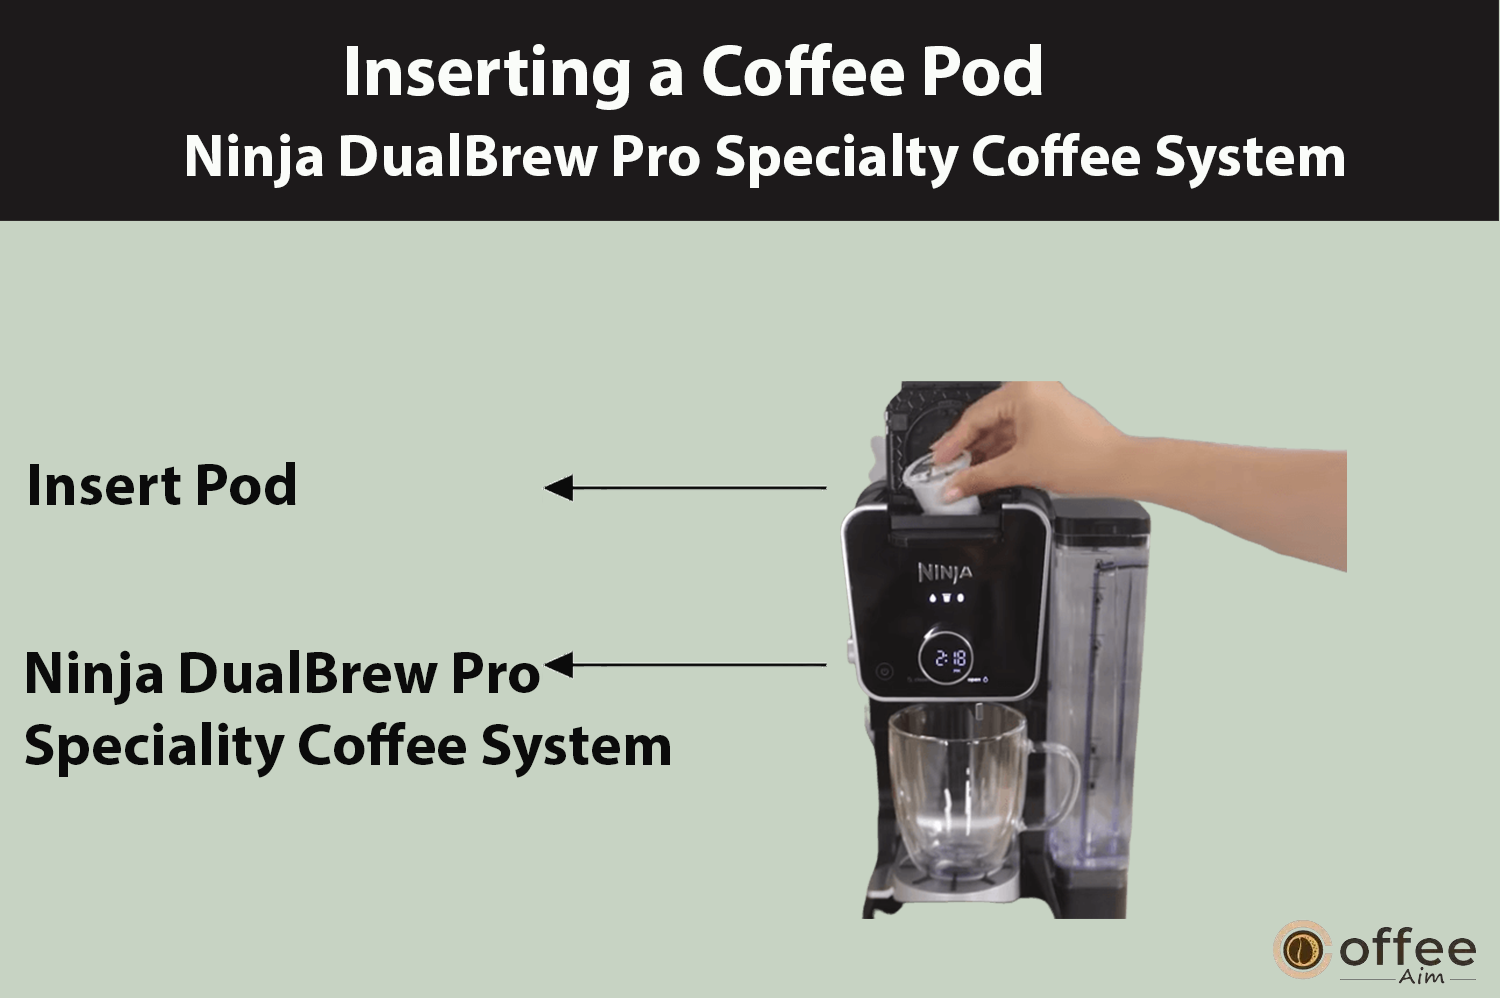
- Firmly push down on the handle to pierce the pod. Some noise and resistance are normal during this process.
Now, let’s explore Hot Water Mode:
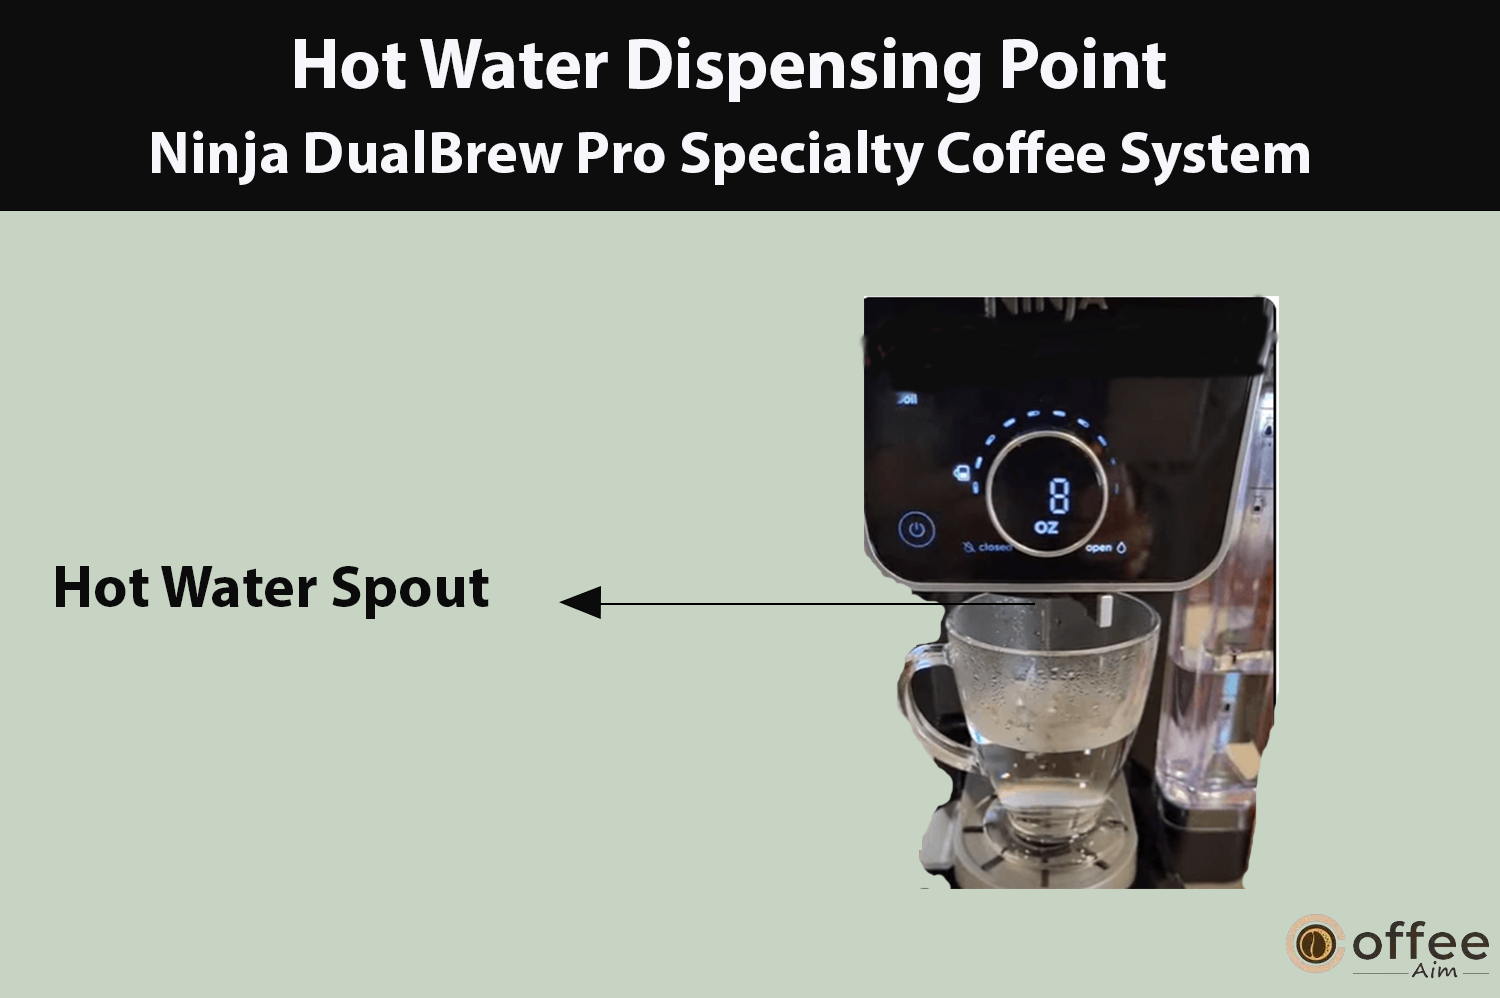
- The hot water outlet is entirely separate from the coffee outlet, ensuring clean water dispensing every time.
- To access hot water mode, turn the dial on the left side of the brewer to the water droplet icon, aligning it with the marker. You will observe a change in the display.
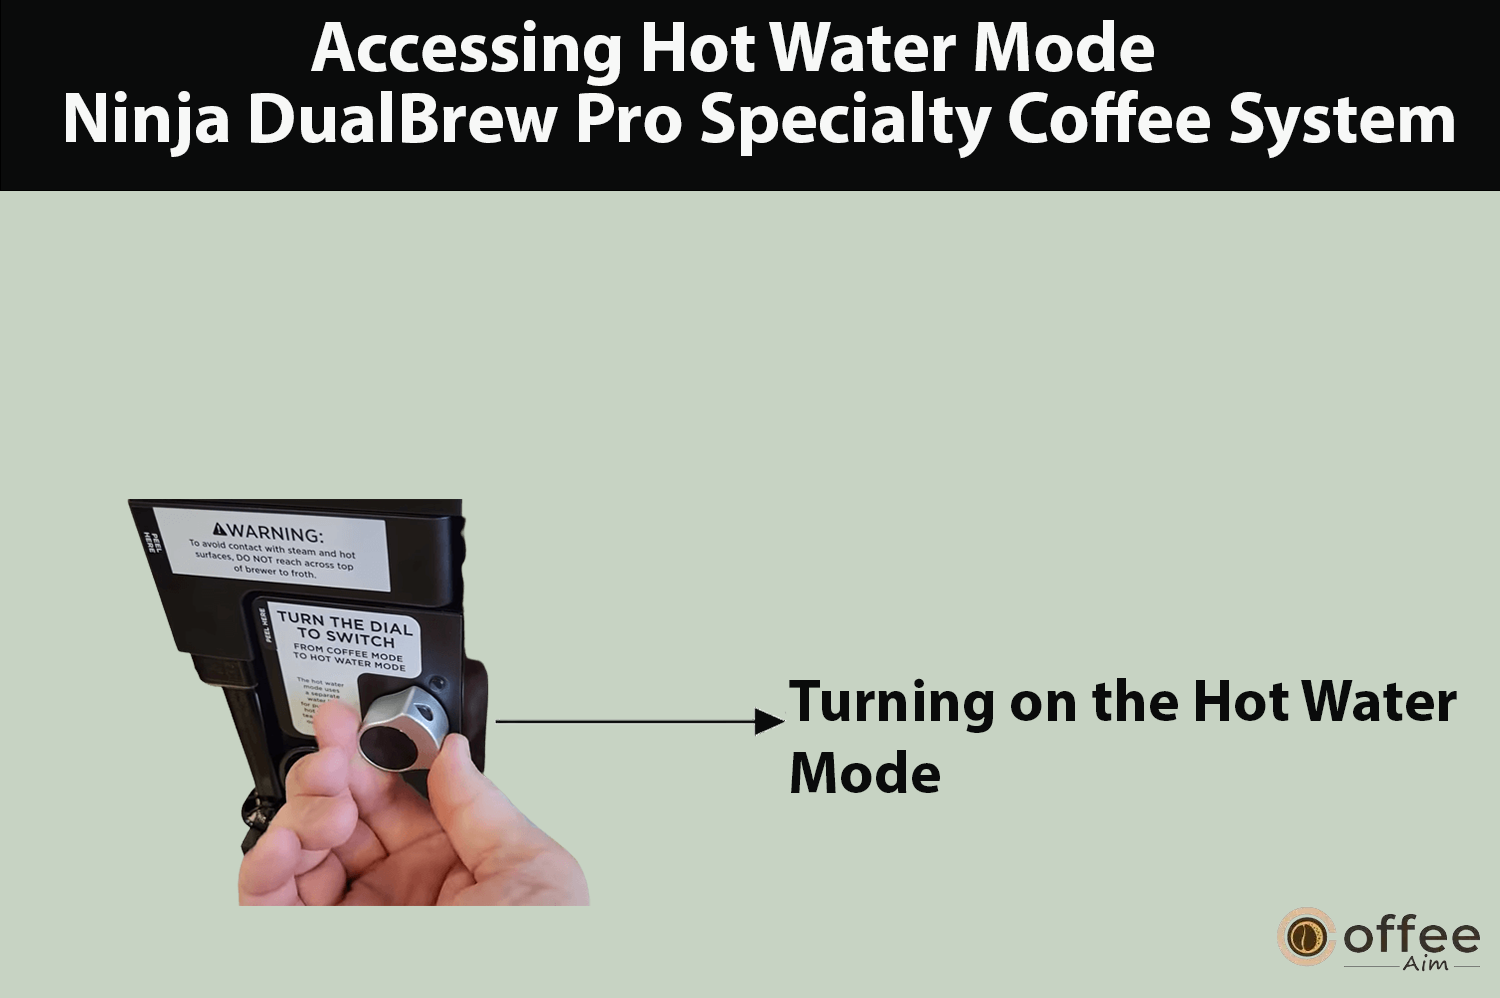
- The hot water will be dispensed next to the coffee outlet.
One important note: Before brewing hot water, it’s crucial to close the drip stop to prevent excessive coffee from dripping into the vessel. Please refer to the drip stop section on page 8 for further details.
By following these expert tips, you can effortlessly utilize Hot Water Mode for your various beverage needs. Let’s Explore the details of “ Understanding brew volumes and size options: ninja brewer manual”.
Understanding Brew Volumes and Size Options: Ninja Brewer Manual
Subsequent to mastering the process of entering hot water mode: ninja brewer instructions, let’s delve into the details of brew volumes and size options to enhance your brewing knowledge.
- The approximate brew volumes mentioned here are based on the Classic brew setting. For Rich brews, you can expect slightly less output. For more detailed information, please consult the Approximate Brew Volumes chart that I have provided below.
Note:Please note that pods are not suitable for brewing in carafe sizes.It’s essential to use a vessel that is appropriately sized for the brew size you select. This ensures optimal brewing results and prevents any overflow issues.
For Grounds:
Embrace a symphony of choices with our versatile brew sizes, ranging from the delightful 8 oz for a cozy morning ritual, all the way up to the generous 55 oz, perfect for sharing moments with friends and family.
| Image | size | Why should I use this? |
 | 8 oz. | Select 8 oz for a balanced and flavorful brew with your Ninja DualBrew Pro. |
 | 10 oz. | Opt for 10 oz for a satisfying and robust coffee experience with Ninja DualBrew Pro. |
 | 12 oz. | Select 12 oz for a generous coffee indulgence with Ninja DualBrew Pro’s Specialty Coffee System. |
 | 15 oz. | Opt for 15 oz for an extended coffee pleasure using Ninja DualBrew Pro’s Specialty Coffee System. |
 | 18 oz. | Opt for 18 oz to savor an ample coffee experience with Ninja DualBrew Pro Specialty Coffee System. |
 | 28 oz. | Select 28 oz for indulgent moments with Ninja DualBrew Pro Specialty Coffee System. |
 | 37 oz. | Indulge in a substantial 37 oz brew for lasting satisfaction with Ninja DualBrew Pro. |
 | 46 oz. | Experience an abundant 46 oz brew, perfect for serving a larger group with ease. |
 | 55 oz. | Indulge in the generous 55 oz size, ideal for gatherings and extended enjoyment. |
Pods:
Embark on a journey through flavors with our diverse pod selection. From the intense richness of a 6 oz brew to the satisfying depth of a 12 oz cup, our pods encapsulate a world of taste. Whether you’re seeking a bold start to your day or a smooth afternoon pick-me-up, our pods ensure a delightful sip at every size.
| Image | Size | Why should I use this? |
 | 6 oz. | For a concentrated burst of flavor, choose 6 oz pods for a bold, energizing sip. |
 | 8 oz. | For a classic and balanced coffee experience, opt for 8 oz pods for your brew. |
 | 10 oz. | Select 10 oz. pods for a satisfying cup that perfectly balances flavor and aroma. |
 | 12 oz. | Opt for 12 oz. pods for a robust and indulgent coffee experience every time. |
Hot Water Sizes With Ninja DualBrew Pro Specialty Coffee System
With this coffee system, you have the flexibility of choosing hot water volume from 17 different size options, ranging from 2 oz. to 60 oz. This versatility allows you to customize your brewing experience according to your preferences and needs.
Note: Ensure that you choose a container large enough to accommodate the selected brew size.
As you continue to explore the possibilities of your Ninja Brewer, keep these brew volumes and size options in mind to brew the perfect cup every time. Embark on the journey of “ Exploring brewing options: classic, rich, and specialty brews”.
Exploring Brewing Options: Classic, Rich, and Specialty Brews
Subsequent to comprehending how to understand brew volumes and size options,let’s take a journey through the various brewing options offered by the Ninja DualBrew Pro Coffee System, each designed to cater to different tastes and preferences.
Classic Brew:

This brew option delivers a smooth and well-balanced flavor profile. It’s perfect for those who enjoy a traditional and mellow cup of coffee.
Rich Brew:

If you prefer a bolder and more intense flavor that can hold its own against milk, cream, or added flavorings, the Rich Brew setting is your ideal choice.
Specialty Brew:

Indulge in a super-rich coffee concentrate that opens up a world of possibilities for crafting coffee-based beverages like cappuccinos and lattes. Please note that this setting is specifically meant to brew 4 oz servings.
Over Ice:

The Ninja Brewer’s Specialty Brew setting allows you to brew hot coffee directly over ice, resulting in freshly brewed iced coffee that doesn’t get watered down. Just make sure to fill your vessel with ice cubes to the top before brewing to achieve the best results.
Additionally, the Ninja Brewer offers a Boil setting with two water temperature options, catering to a wide range of needs for various foods and beverages.
Lastly, it’s essential to use only the provided Ninja carafe made of specialized glass that ensures safe use during brewing. Avoid using any other glassware to prevent any potential risks.
Note: It is advised not to use glassware other than the provided Ninja carafe, as the specialized glass of the carafe ensures safety during use.
With these brewing options, you can explore a world of coffee possibilities right at your fingertips. Enjoy your coffee journey, and feel free to experiment with different brew styles to find your perfect cup. Let’s delve into the topic of “Brewing process and pausing: unlocking full flavor”.
Brewing Process and Pausing: Unlocking Full Flavor

Subsequent to familiarizing yourself with exploring brewing options: classic, rich, and specialty brews.
Initiate the brewing process by pressing the START BREW button, and you’ll notice an illuminated progress bar on the display keeping you updated on your brew’s progress. Throughout the brewing cycle, you might observe pauses occurring, either once or multiple times. Rest assured, these pauses are intentional and contribute to enhancing the flavor extraction process, resulting in a richer brew.
Remember: To ensure that the drip stop is open before you begin your coffee brew for optimal results.
Let’s discover “Using the drip stop: controlling coffee dispensing”.
Using the Drip Stop: Controlling Coffee Dispensing

Subsequent to gaining insights from Brewing process and pausing: unlocking full flavor
The drip stop is a handy feature that gives you full control over coffee dispensing from the brew basket. By simply adjusting the handle, you can open or close the drip stop to regulate the flow of coffee as you desire. This means you can pause the brew cycle at any point, even mid-brew, to grab that eagerly awaited first cup.
Here’s how it works: when you can’t wait any longer for that invigorating sip, simply close the drip stop, and your brewing process will temporarily pause. Pour yourself a cup to satisfy that craving. Then, when you’re ready to continue, just reopen the drip stop, and your brew will resume with ease.
After a brew is complete, the drip stop comes to your aid once again. By closing it, you prevent any lingering coffee from dripping out of the brew basket and Ninja® Pod Adapter, ensuring a clean and mess-free experience.
Let’s learn “Step-by-step guide to frothing milk with ninja frother”.
Step-by-Step Guide to Frothing Milk with Ninja Frother
Embark on the journey of understanding the use of the drip stop .
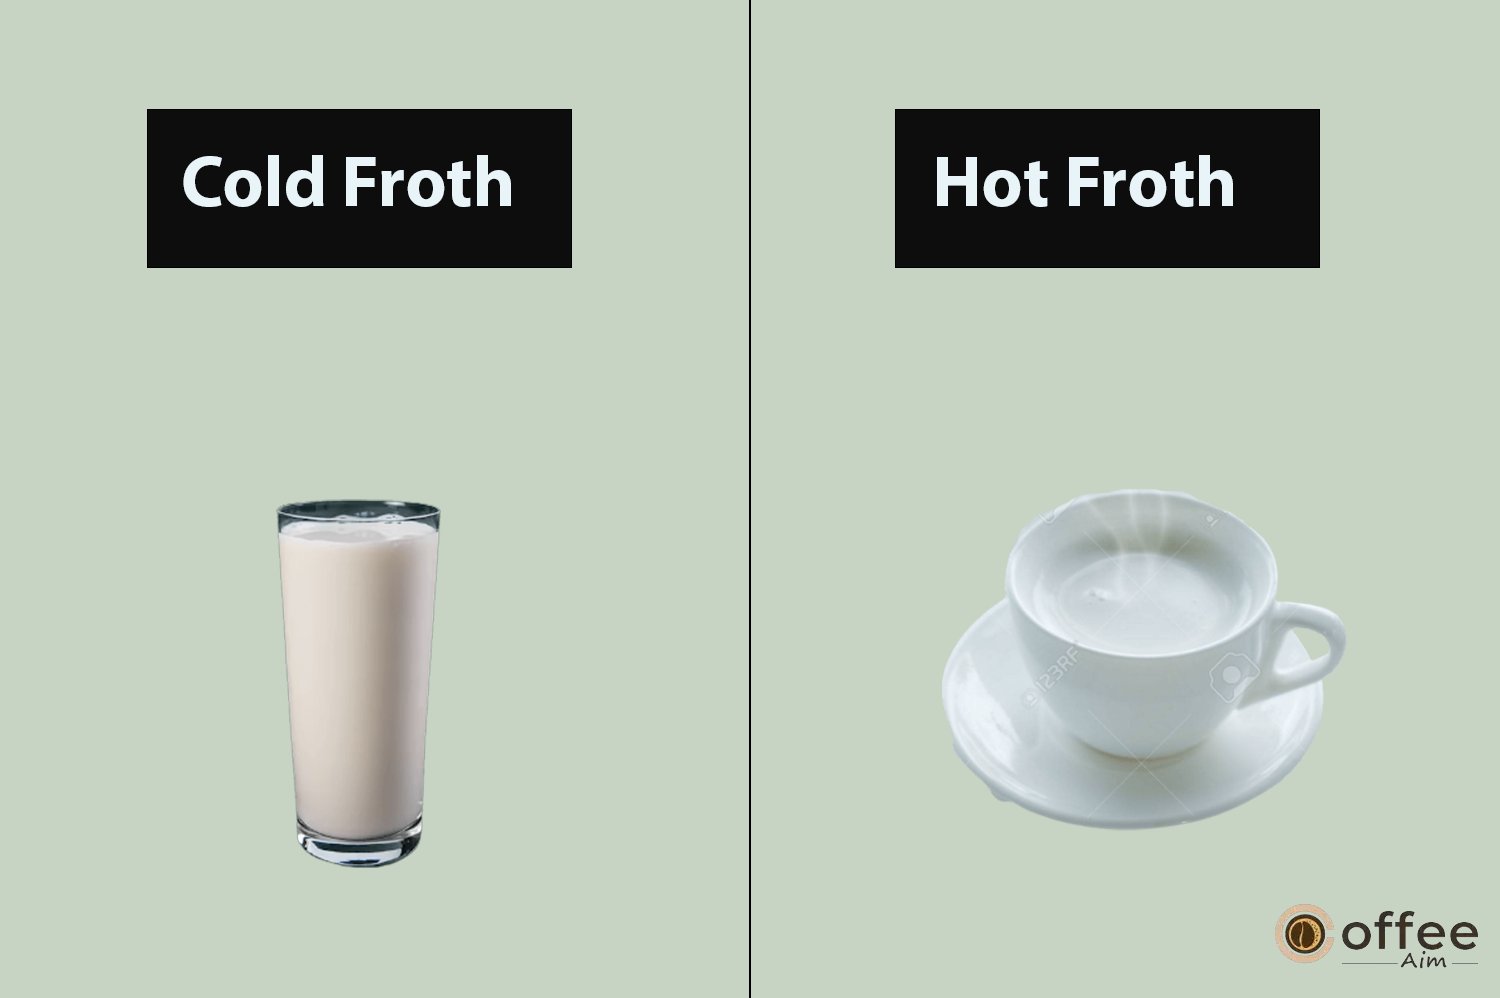
Here’s your step-by-step guide to achieving perfectly frothed milk with your Ninja Frother. Remember, the integrated frother does not heat milk, so follow these simple steps for both cold and hot froth options:
- Begin by adding milk to your cup, filling it to about one-third full. If you’re aiming for cold froth, you can proceed to Step 2. For hot froth, you can microwave the milk for 45–60 seconds to get it to the desired temperature.
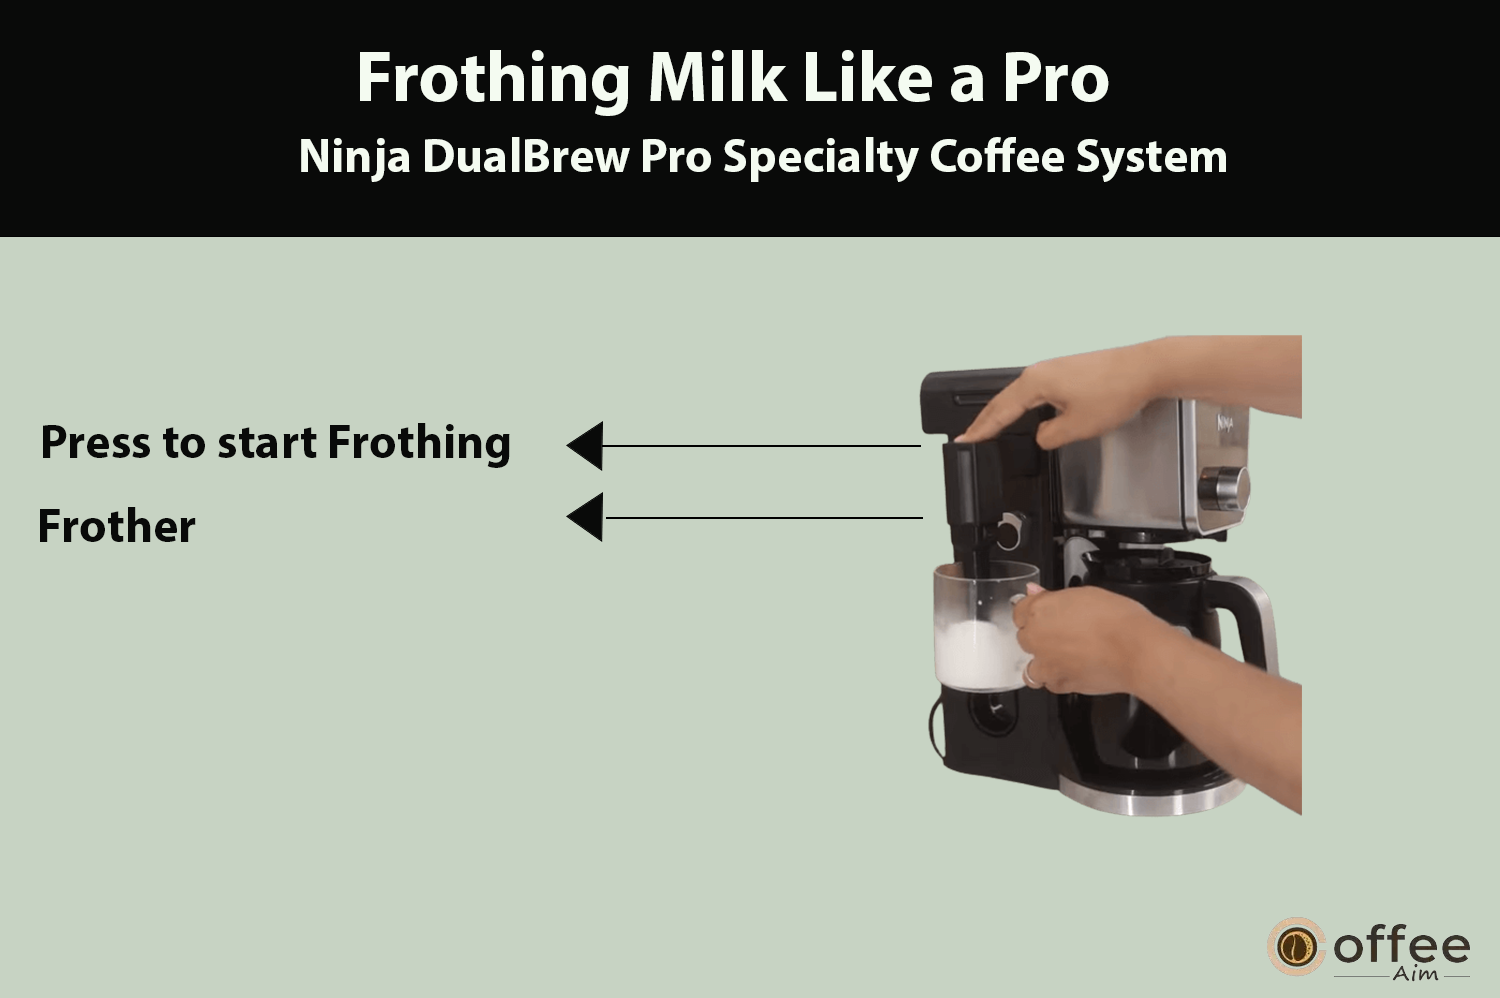
- Swing the frother arm towards the front of the brewer, and then twist the frother whisk to the right to securely install it.
- Hold your cup under the frother, and gently submerge the whisk just below the milk’s surface. Now, press and hold the button on top of the frother to start frothing. For about 30–45 seconds, let the frother work its magic, creating that delightful froth you crave.
- When you achieve the desired frothiness, simply twist the frother whisk to the left to remove it from your cup. And remember, keep your cup below the whisk as you move it to your sink or dishwasher for easy and convenient cleaning.

As you embark on this frothing journey, a word of caution: To ensure your safety, avoid reaching across the top of the brewer while using the frother to prevent contact with steam and hot surfaces.
Now, with this expert guide, you have the power to elevate your coffee experience with beautifully frothed milk, adding that perfect touch to your favorite coffee-based drinks. Embark on the journey of understanding “Optimizing coffee temperature: the impact of cup choice”.
Optimizing Coffee Temperature: The Impact of Cup Choice
Following your acquisition of knowledge a step-by-step guide to frothing milk.
Your choice of cup can significantly impact the temperature of your coffee. To ensure a hotter cup, you can conveniently pre-warm it using the Hot Water mode on the BOIL setting.
| CERAMIC CUP | PAPER CUP | |||
| Cup Temperature | Room temperature | Pre-warmed with hot water | Pre-warmed in microwave with milk | Room temperature |
| Drinking Temperature | Hot  | Hotter | Hotter | Hottest |
| Why is there a difference? | A cold ceramic mug will steal heat from the coffee as it warms itself up. | If the mug is already warm, it will not steal as much heat from the coffee. | Just like your cold mug, cold milk lowers the temperature of your coffee. | Unlike a ceramic mug, a thinner paper cup does not steal substantial heat from the coffee. |
Important Reminder: Please avoid placing the carafe in the microwave.
Discover the process of “how to make cappuccino-style coffee?”.
How to make CAPPUCCINO-STYLE COFFEE?
Ingredients:
- 2 Ninja Big Scoops (equivalent to 4 tablespoons) of ground coffee
- 1⁄2 cup of milk
- Desired sweetener
- Ground cinnamon, for adding flavor
Directions:
- Use the provided measurement to place ground coffee into the filter.
- Heat 1⁄2 cup of milk in a 12-ounce mug for 45–60 seconds, then froth for 30 seconds.
- Position the mug with frothed milk for brewing.
- Choose SPECIALTY on the BREW STYLE button, then start brewing by pressing START BREW.
- After brewing, add sweetener and garnish with ground cinnamon to your liking.
How to make ICED NUTTY COCOA LATTE?
Ingredients:
- 2 Ninja Big Scoops (equivalent to 4 tablespoons) of ground coffee
- 2 tablespoons of chocolate syrup, plus extra for garnish
- 1 tablespoon of caramel syrup, plus extra for garnish
- 2 cups of ice
- 1⁄2 cup of milk
- 1 tablespoon of peanut butter
Directions:
- Use the provided measurement to place ground coffee into the filter.
- In an 18-ounce cup, combine chocolate syrup, caramel syrup, and ice, then set it up for brewing.
- Select SPECIALTY on the BREW STYLE button, then start brewing with the START BREW button.
- While coffee brews, mix milk and peanut butter in a large mug, microwave for 45–60 seconds, and stir.
- After brewing, combine the coffee.
- Froth the milk mixture for 30 seconds and gently pour it over the coffee. Garnish as desired.
Conclusion:
As you embark on your journey with the Ninja DualBrew Pro Specialty Coffee System, armed with the knowledge gained from this article, you’re well-prepared to craft the perfect cup of coffee to suit your preferences. Whether you prefer classic, rich, or specialty brews, or if you’re looking to create cappuccino-style coffee or iced nutty cocoa lattes, this coffee maker offers a world of possibilities. Remember to optimize your brew volumes, choose the right cup, and utilize features like the drip stop to tailor your coffee experience. With the Ninja DualBrew Pro, you’re not just brewing coffee; you’re crafting moments of pure coffee perfection. Cheers to your coffee journey!