Quick Navigation
If you’re a Keurig K-40 owner, you know how convenient it is to have a hot cup of coffee at your fingertips in minutes. However, like any electronic device, Keurig coffee makers can experience issues that can be frustrating and time-consuming to troubleshoot. If you’re experiencing problems with your Keurig K-40, don’t worry – you’re not alone. In this guide, I’ll walk you through the most common issues Keurig K-40 owners face and provide simple, step-by-step solutions to help you fix them. From brewing problems to clogs and leaks, I’ve covered you with practical troubleshooting tips and preventative maintenance advice to help keep your Keurig K-40 running smoothly. So, let’s begin troubleshooting your Keurig K-40 and returning to enjoying that perfect cup of coffee.
Overview
Some of the most common issues with the Keurig K-40 include brewing problems, clogs, and leaks. Brewing problems can range from the machine not brewing to the coffee coming out too weak or too strong. Clogs can occur when coffee grounds or other debris clog the needles that puncture the K-Cups, preventing the machine from brewing correctly. Leaks can happen when the machine overflows or water leaks, potentially causing damage.Thankfully, most of these issues are immediately resolved through troubleshooting and maintenance.
Solutions for brewing problems include checking the water reservoir, cleaning the needles, and adjusting the brew temperature. For clogs, solutions can consist of cleaning the needles, descaling the machine, and using a paper clip to clear the clog. For leaks, solutions can include:
- Checking the water level.
- Inspecting the seals and gaskets.
- Ensuring the K-Cup is properly seated.
The following section will present a systematic guide to resolving the most frequently occurring problems with the Keurig K-40. Implementing these straightforward solutions and taking preventive measures ensures that your coffee maker consistently produces a perfect cup.
Getting Started
The first step in troubleshooting your Keurig K-40 is ensuring you have the necessary tools to fix any issues. Having the right tools readily available will make it easier to follow the solutions outlined in the upcoming sections and quickly get your Keurig K-40 up and running. Here are the essential tools you’ll need:
- Descaling Solution
- Paperclip
- Toothbrush Or Cleaning Brush
- Clean, Damp Cloth
With these tools, you can quickly fix common Keurig K-40 problems and maintain your coffee maker for long-lasting use.
Let’s head toward the troubleshooting you are facing while using Keurig K-40.
Problem 1: Why Is There No Light Indicator On My Keurig K-40?
Imagine starting your day as usual, attempting to brew coffee with your Keurig K-40, only to discover that nothing happens when you plug it in and push the power button. This might be a frustrating experience. But fear not, my caffeine-loving friend! You can fix this issue by getting to the root of the problem. With some troubleshooting, you can get your Keurig K-40 back up to working condition in no time to enjoy your delicious cup of coffee again. It is either due to a voltage shortage or a damaged fuse.
Cause 1: Non-Functional Outlet
Your coffee machine is not working correctly, so there is no light indicator. This issue could be caused by a power outlet that is not functional, which could be due to various reasons such as faulty wires in the outlet. Another possible cause could be that the outlet is overcrowded with other appliances, which can prevent your coffee machine from receiving the appropriate power supply.
Solution: Check The Outlet
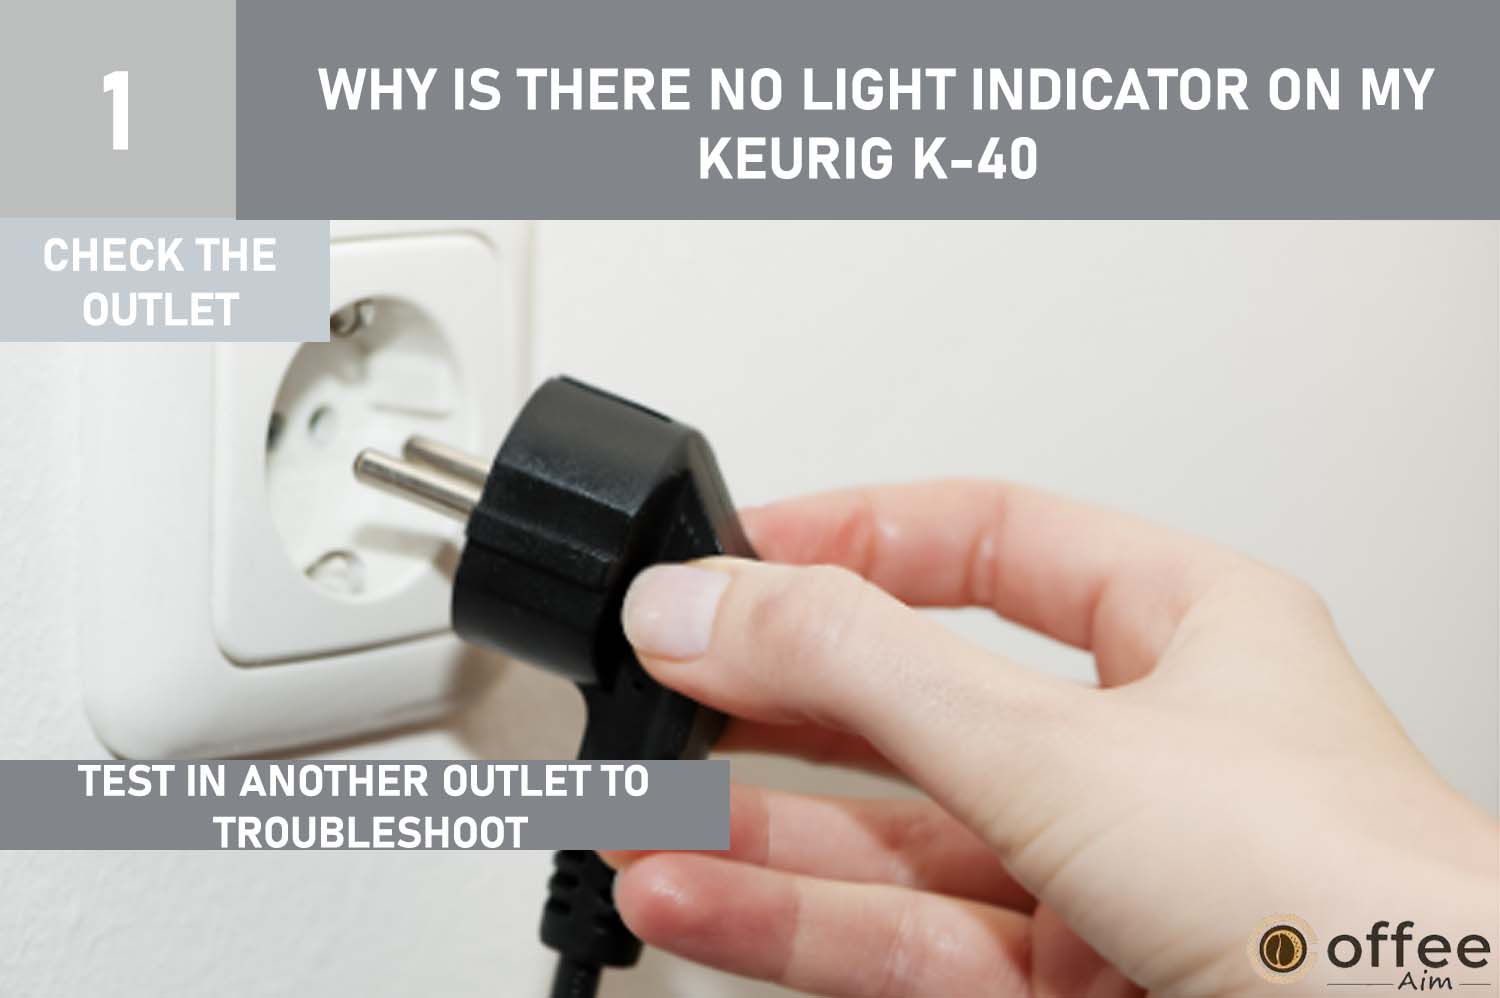
You can put your coffee machine into a different outlet in your home to see whether the power outlet is the source of the problem. If the machine’s LED indicator illuminates when connected to another outlet, the preceding outlet is most likely defective.
Cause 2: Loose Plug
One probable cause of this problem is a problem with the machine’s connection to the power outlet. You may not have correctly plugged the machine into the power socket, or the connection may require greater security. If the connection is dangerous, the power necessary to switch on the equipment may not be delivered. As a result, before using the appliance, ensure that it has been correctly wired in and that the link is secure.
Solution: Check The Plug

For a secure connection, it’s essential to firmly connect the machine’s power cable to the outlet. This will help ensure the device receives the electricity it needs to function correctly. You should also ensure that the power cable is not damaged or frayed, as this could cause problems with the machine’s ability to receive power.
Cause 3: Insufficient Voltage
If your Keurig K-40 does not have a light indicator, it might be due to insufficient voltage. Check the voltage parameters of your coffee machine to ensure that they match the voltage of the power outlet to which it is attached.
Solution: Check The Voltage

It’s essential to check that the voltage of the power outlet is suitable for your machine. For a coffee machine that requires a sufficient voltage to operate, verifying that the outlet provides the same voltage is essential.
Cause 4: Broken Fuse
If you’re facing issues with the light indicator on your Keurig K-40 not turning on, it could be because the internal fuse of the machine has blown. The interior fuse in a device acts as a safety feature, protecting it from any electrical short circuits. If the fuse blows, the power supply to the machine is interrupted, and it won’t receive the necessary power to turn on. This can result in the light indicator not turning on and the machine not functioning correctly.
Solution: Change The Fuse
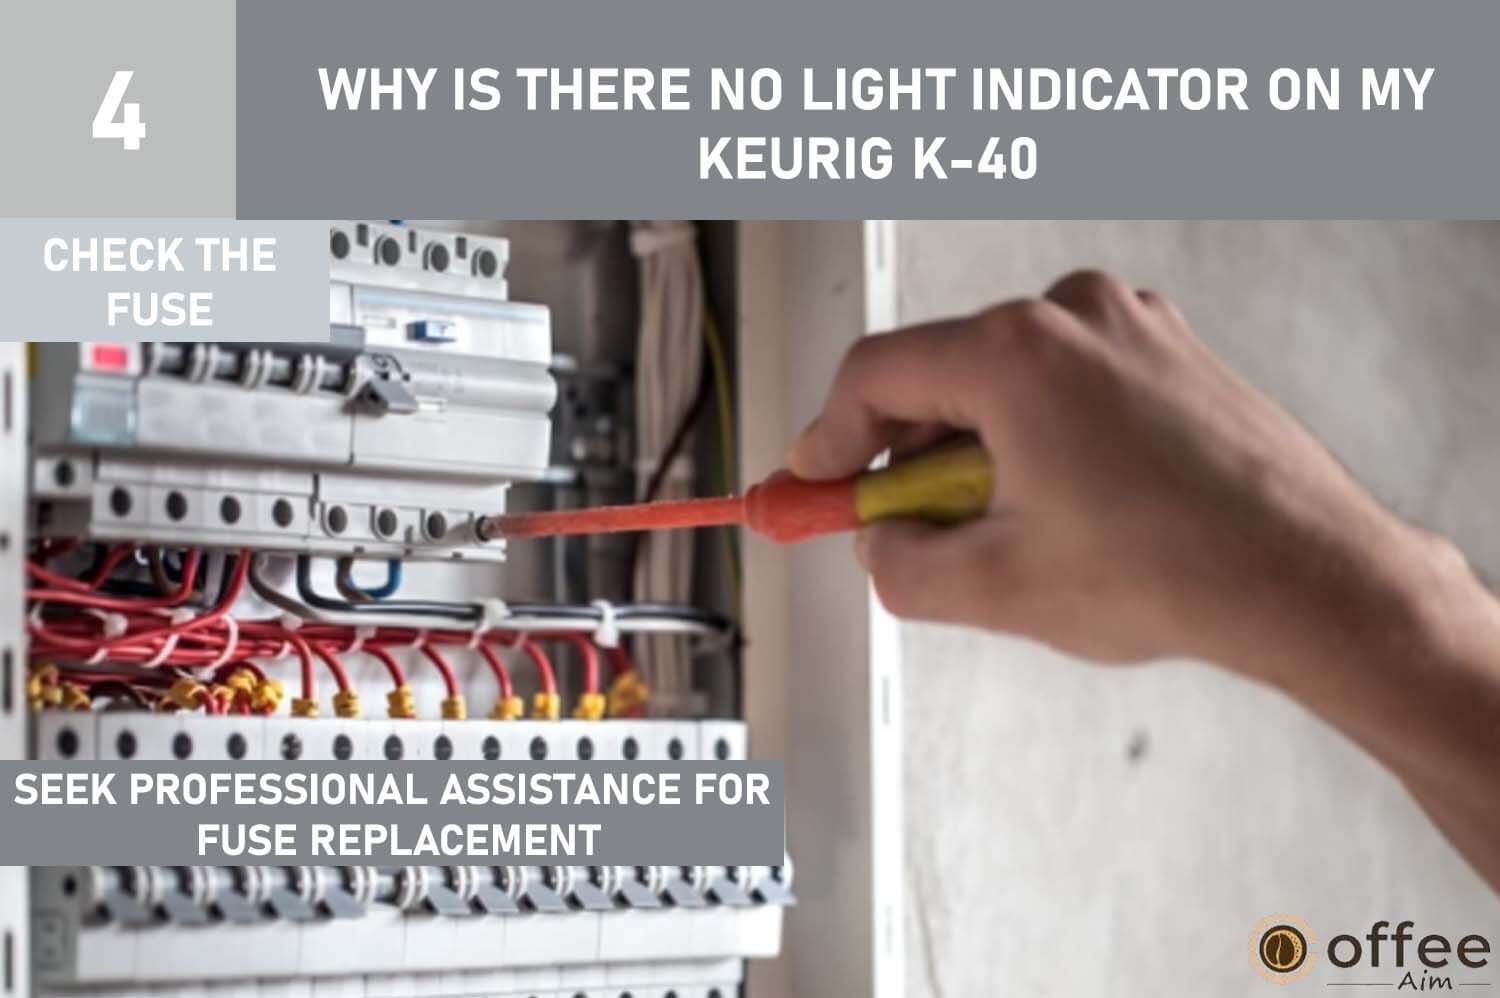
If the internal fuse in your Keurig K-40 has blown and needs to be changed, you must seek the assistance of a professional or skilled technician. Attempting to change the fuse on your own might be risky and result in significant damage to the equipment or yourself.
For contact details, see this article’s “When to seek professional help” section below.
Problem 2: Why The Keurig K-40 Is Not Brewing The Coffee Or Hot Water?
You reach for your beloved Keurig K-40 and eagerly press the button, only to be disappointed as no coffee or water comes out. It’s a gut-wrenching feeling; how can you survive a day without your beloved caffeine fix? But don’t worry; there must be a reason why your coffee maker isn’t brewing, and I’m here to assist.
Cause 1: No Water In The Water Tank
If you need help with your Keurig K-40 not dispensing coffee or water, the machine’s tank may be empty. The brewing process in a coffee machine requires water to blend with the coffee beans; without water, the machine cannot brew coffee.
Solution: Fill The Water In Tank

Fill the water tank with fresh and pure water up to the MAX FILL line.
Cause 2: Machine Clogged Due To Mineral Deposition
If your Keurig K-40 is not dispensing any coffee or water, the issue may be caused by mineral scale build-up in the internal tubes of the machine. The mineral scale is formed from the mineral content in the water used in the machine.
Solution: Descale The Keurig K-40

To remove the layers of mineral scale, use the descaling chemical explicitly designed for your Keurig K-40. Descaling removes mineral scale from interior parts of your equipment to retain peak efficiency throughout its lifecycle.
- Begin by emptying the water reservoir and disabling the auto-off feature.
- Then, pour 48 oz. of vinegar into the reservoir, fill to the MAX FILL line, and run a cleansing brew by pressing the brew button (without a K-Cup pack).
- Repeat this process until the blue Add Water Light illuminates, and let the brewer stand for at least 4 hours.
- Discard any remaining vinegar and rinse the reservoir thoroughly before refilling it with fresh water.
- Run several additional cleansing brews without descaling solution until the blue Add Water Light shines again, and repeat if any lingering taste is detected.
For contact details, see this article’s “When to seek professional help” section below.
Problem 3: Why All Lights Of My Keurig K-40 Are Flashing?
When all of the lights on your Keurig K-40 (Power Light, Auto Off Light, Heating Light, Descale Light, Add Water Light) flash, it usually implies a problem with the machine and is not working correctly. The equipment is meant to communicate issues or malfunctions to the user through flashing lights. The flashing lights in this situation might indicate a problem with the water reservoir or water line or the need for a reset or descaling. Whatever the source, the flashing lights can be annoying and disturbing, preventing the user from preparing coffee or other hot beverages. It is necessary to clear the problem as soon as possible to minimize any harm to the system and to ensure proper operation.
Cause 1: Water Reservoir Filled Below / Above MAX Limit
If you discover that all of the lights on your coffee maker are consistently glowing, it is possible that you have overfilled the water reservoir (to the maximum capacity). A mark on the reservoir indicates the maximum water level, and if this level is exceeded, water may seep out of the reservoir and collect in the coffee maker’s base.
When water collects in the base, it can produce a short circuit in the electrical system, resulting in all of the coffee maker’s lights remaining on at all times. This might pose a safety risk as well as harm to the coffee machine.
Solution: Fill Water Reservoir up to the MAX FILL line
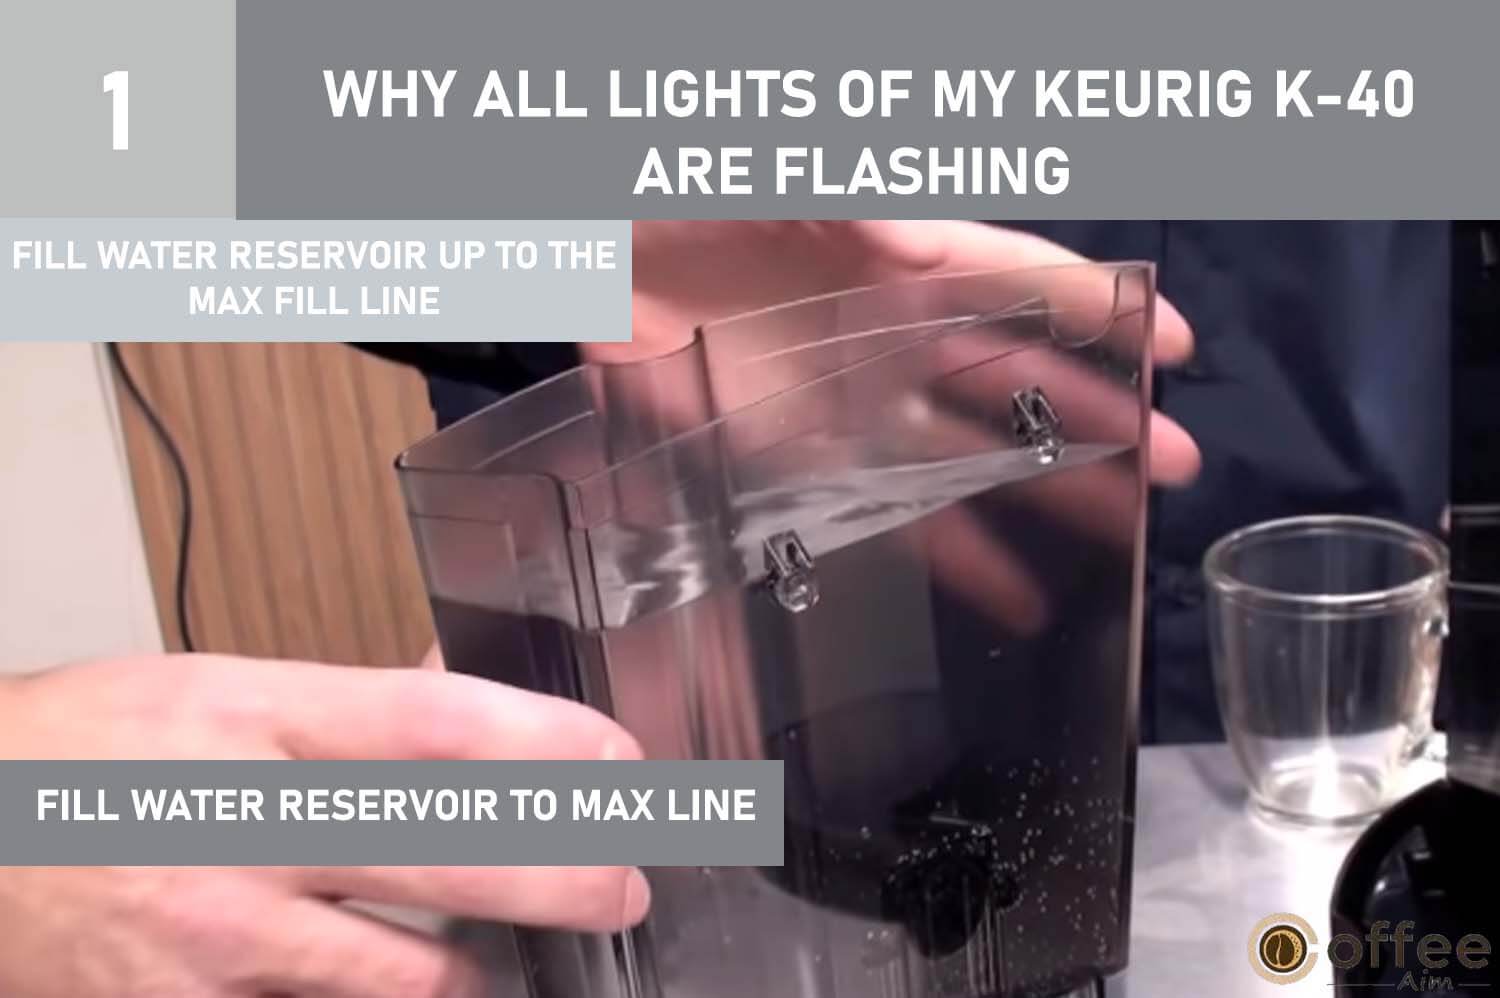
Always remember to fill the water reservoir to the max line, not beyond it, to avoid this problem.
Cause 2: Water Reservoir Do Not Seat Properly
The reservoir needs to be properly seated in the brewer. When the water reservoir is not placed correctly, the sensors in the brewer may be unable to detect the reservoir, causing all of the lights to blink. This indicates that the machine is not ready to brew and must be set up correctly.
Solution: Place The Water Reservoir Properly

To do this, first, fill the water reservoir to the MAX FILL line and then appropriately position the water reservoir on the brewer.
Solution 2: Call The Customer Service

If the problem remains after doing the above step twice, contact Customer Service. They will be able to give more troubleshooting methods and assist you in resolving your brewer issue.
For contact details, see this article’s “When to seek professional help” section below.
Problem 4: Why Is Keurig K-40 Brewing A Partial Cup?
If you own a Keurig K-40 and your machine produces half a cup of coffee, you may wonder what the problem is. There are various probable explanations for this, and I’ll talk about some of the more common ones and how to repair them.
Cause 1: The Exit Needle May Be Clogged
If your brewer is only preparing half a cup of coffee, it may be due to the exit needle being blocked. The exit needle is a small, sharp needle that punctures the bottom of the K-Cup pod, allowing hot water to flow through the pod and into your cup.
When the exit needle is blocked, it can prevent the coffee from flowing through the pod and into your cup, resulting in only a partial cup of coffee being brewed. The blockage can be caused by coffee grounds or other debris accumulated in the needle over time.
Solution: Clean The Exit Needle
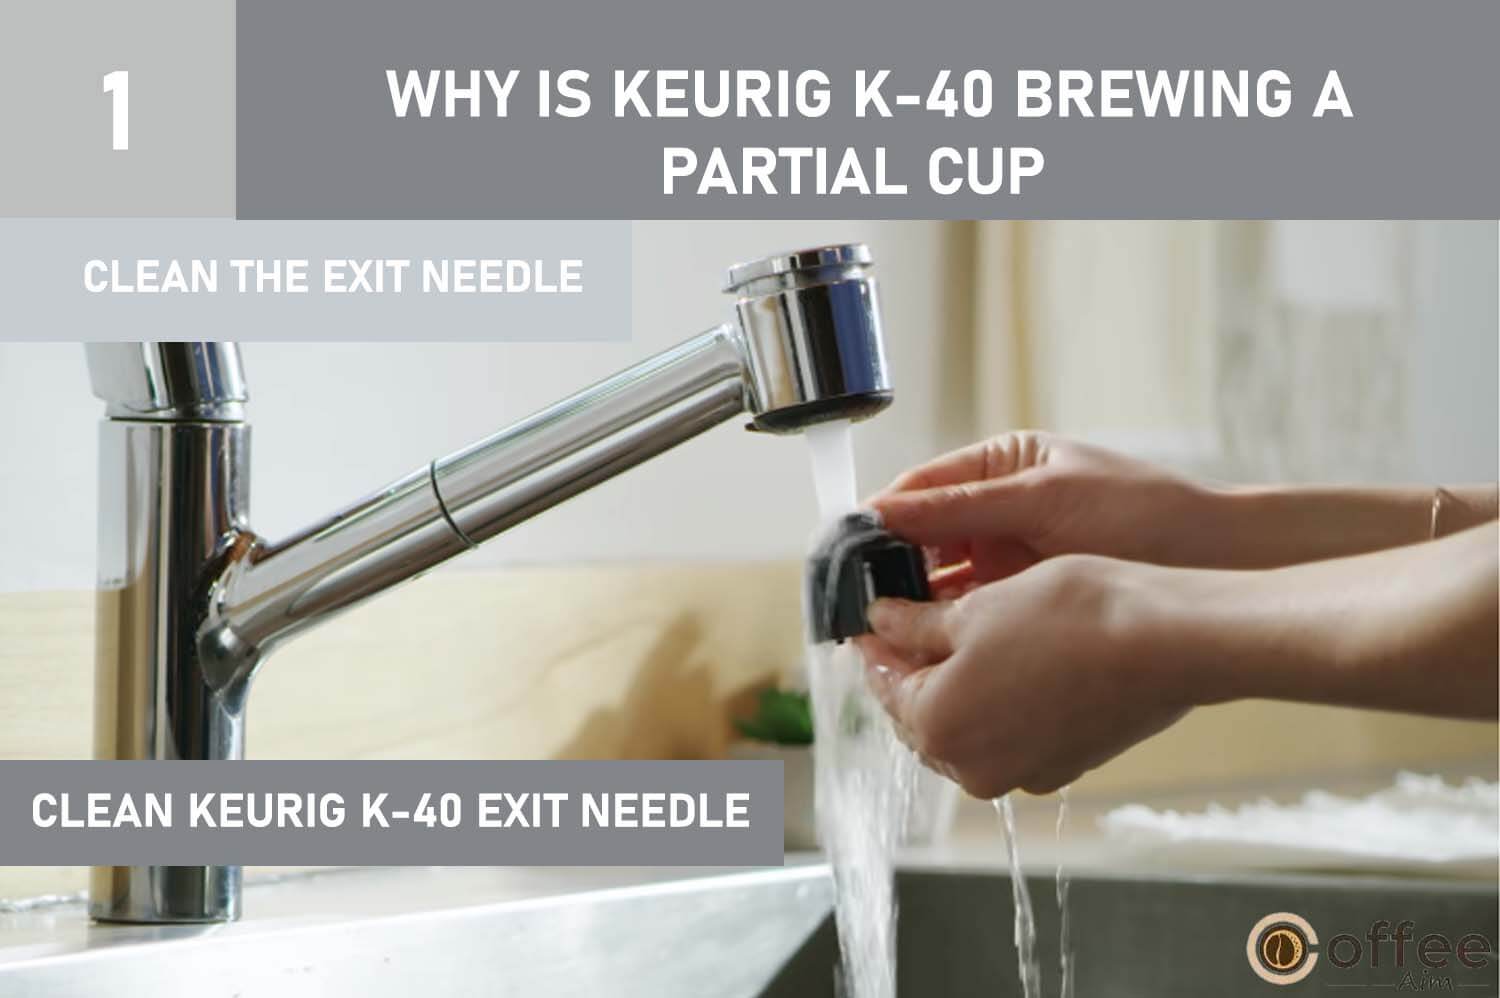
Cleaning the exit needle on your Keurig K-40 is critical to ensuring that your machine is functioning properly and making a full cup of coffee.Here are the steps to clean the exit needle:
- Always unplug the Keurig K-40 before washing to prevent any accidents.
- Lift the handle and remove the K-Cup holder from the machine.
- The exit needle is located at the bottom of the K-Cup holder.
- Insert the paperclip or needle into the hole and move it around to dislodge any debris.
- Rinse the K-Cup holder under running water to remove any excess residue.
- Once the exit needle and K-Cup holder are clean, reinsert the K-Cup holder back into the machine.
Cause 2: Brewer Needs Descaling
Over time, water minerals can accumulate and create a layer of scale, clogging the brewer and preventing it from brewing a full cup of coffee.
Descaling is the process of eliminating mineral deposits from the coffee maker’s interior components. This is typically done by running a descaling solution through the machine to dissolve the scale and flush it out from the device when the blue light ton machine illuminate.
Solution: Descale The Keurig

Descaling your Keurig K-40 is an important step in keeping your machine in good working order. To know the descaling process, see the section “Descale the Keurig K-40” under Problem #02 (Cause #02). By descaling your Keurig K-40 regularly, you’ll prevent any buildup of mineral deposits and ensure that your machine performs at its best.
Cause 3: Water Reservoir Was Removed
If your brewer is only preparing half a cup of coffee, it may be because you removed the water reservoir during the brewing.
Solution 1: Place The Water Reservoir
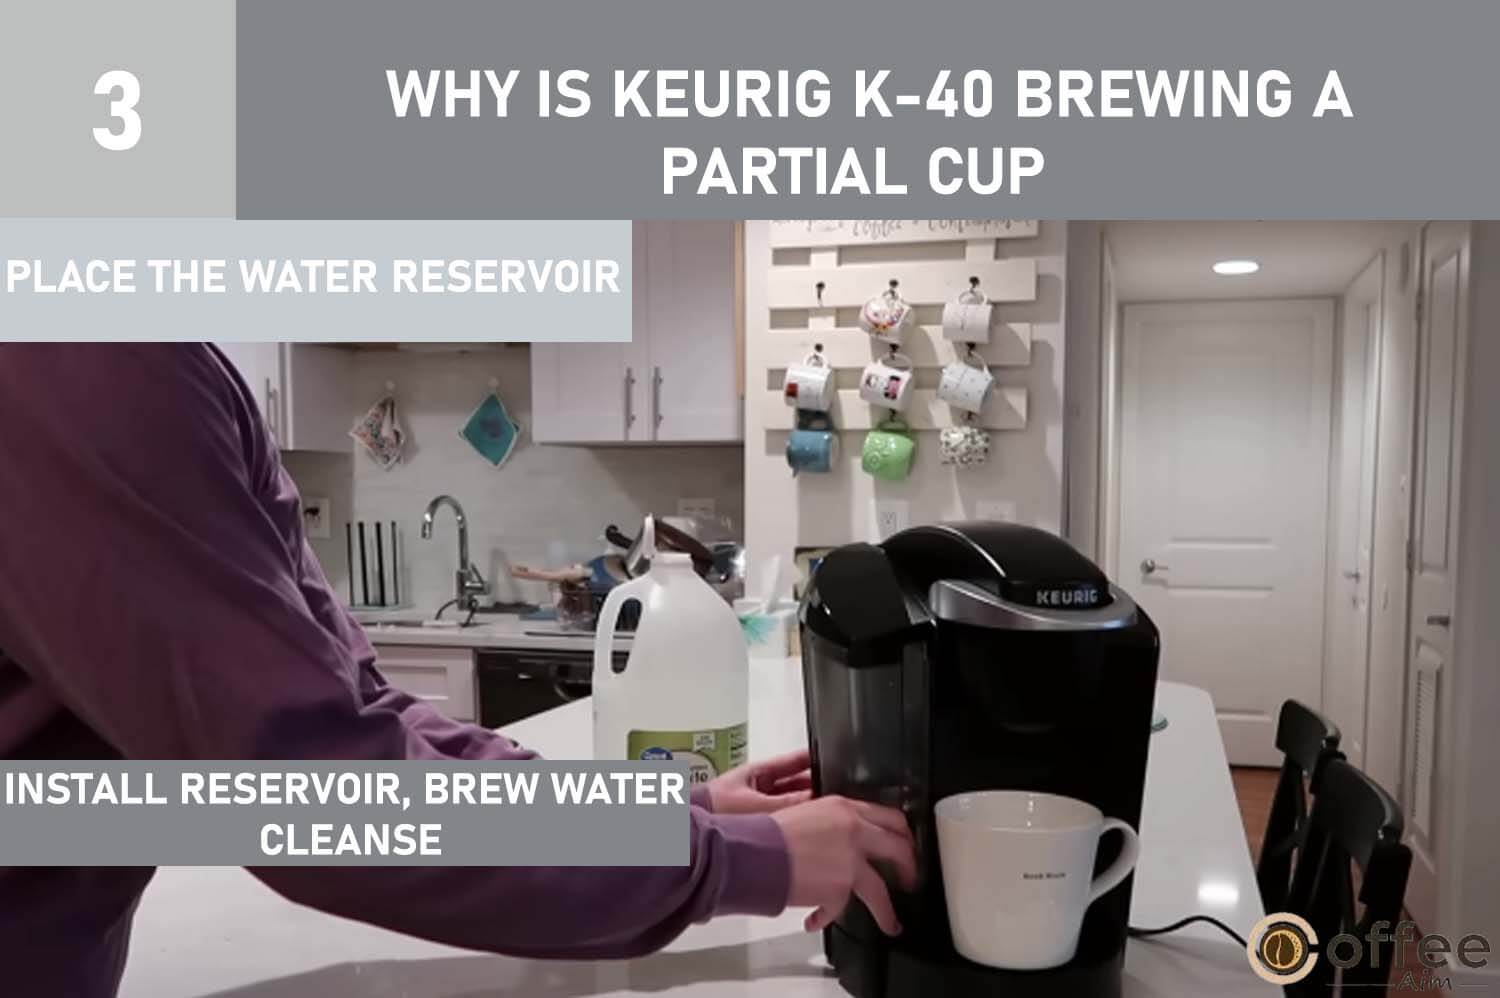
Place the water reservoir back in its place and do a water-cleansing brew without a K-Cup pack.
Final Solution: Call The Customer Service

If the brewer is still brewing the partial cup, call customer service for a deep analysis of the machine.
For contact details, see this article’s “When to seek professional help” section below.
Problem 5: Why Does The Brewer Shut Off Automatically?
If you’ve ever had your Keurig K-40 shut off unexpectedly, you know how frustrating it can be. This can happen for various reasons, from power supply issues to problems with the water level in the water tank. Understanding the likely causes of this problem may help you to identify the real cause of the problem in order to get your Keurig K-40 back up and working correctly.
Cause: Auto Off Timer Feature Is Activated
If your brewer shuts off automatically, it may be due to the auto-off feature being activated from the machine settings. Many brewers have an auto-off part designed to conserve energy and prevent the machine from running unnecessarily.
The auto-off feature works by shutting off the brewer automatically after a certain period of inactivity. This period can be set through the machine settings and typically ranges from 30 minutes to 2 hours.
Solution: Deactivate The Auto-Off Timer Feature

If your Keurig appears to be haunted, it’s more than likely that you mistakenly turned on the automatic brewing mode. When you disable this option, your system will resume regular operation. This function may be helpful if you always drink your coffee simultaneously daily. To disable the auto-off timer features, follow the steps mentioned below:
1 While the brewer is plugged in, turn it off.
2.To turn off the green Auto off light, hold down the Strong and 10oz Mug buttons for 3 seconds.
3. Turn on the brewer, and the green light will be turned off.
For contact details, see this article’s “When to seek professional help” section below.
Problem 6: Water Appears In The Brewer Base With The Water Reservoir Removed.
If you’re noticing water in the base of your Keurig k-40 brewer, it can be a cause for concern when removing the water reservoir. Several variables can contribute to this difficulty, including leaks, blockages, and difficulties with the machine’s internal components. Identifying the cause of the matter is the first step in resolving it, so it’s essential to take a closer look at your keurig k-40 to determine what might be causing water to accumulate in the base.
Cause 1: Water Reservoir Not Seated Properly
Suppose you are dealing with the problem that water collects in the brewer’s base during brewing.Then it is because you did not correctly set the water reservoir.
Solution: Place The Water Reservoir Properly
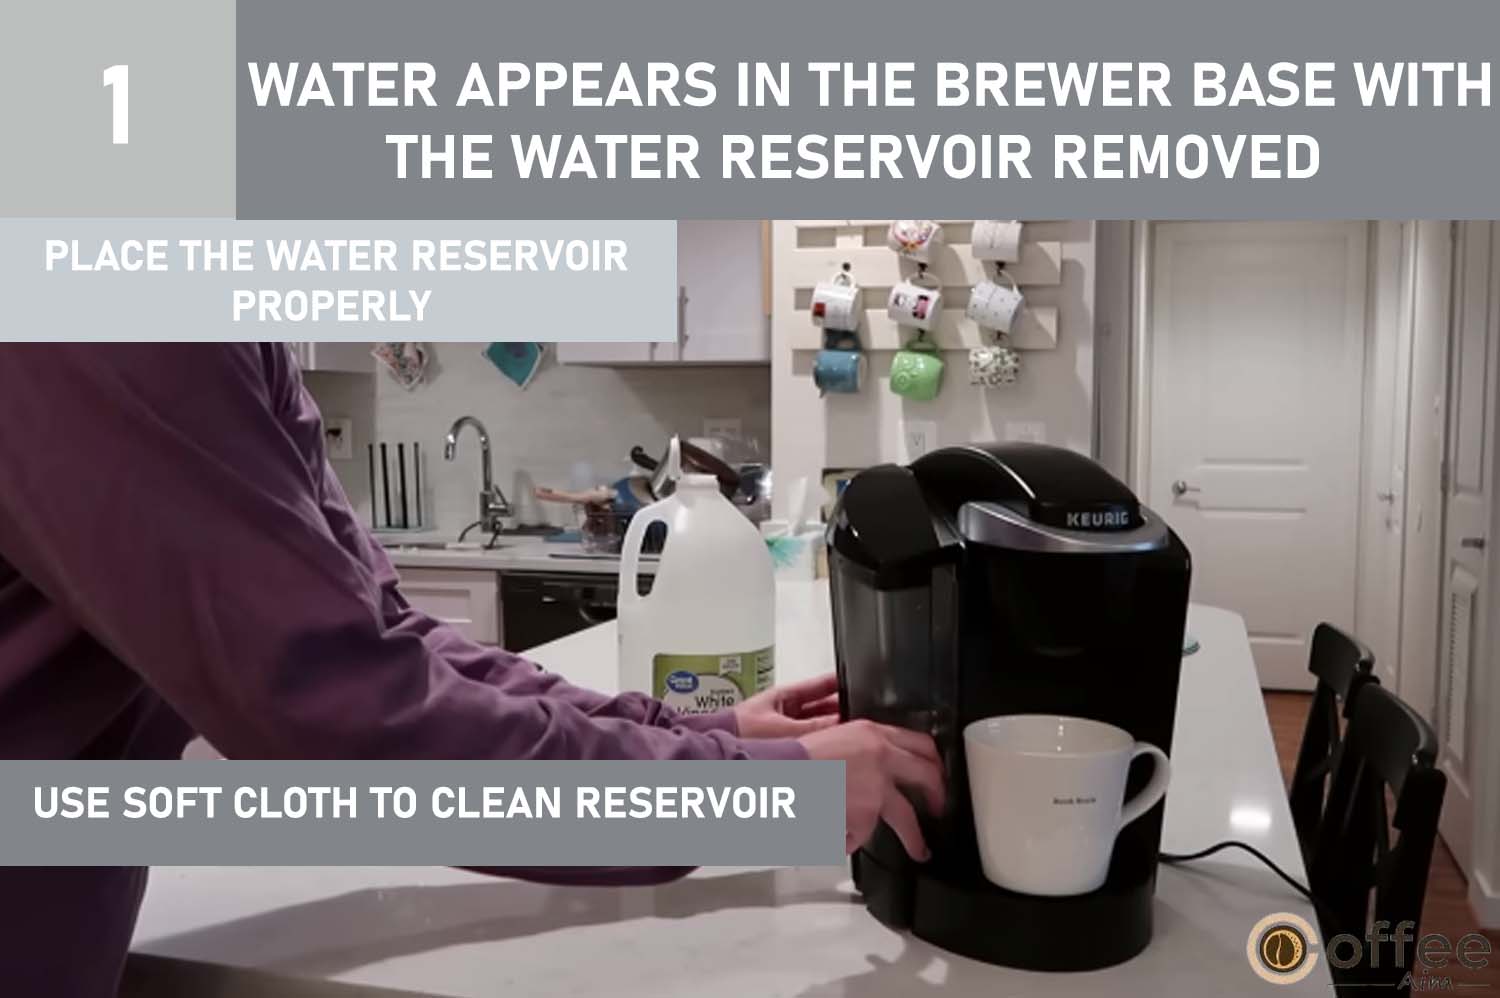
Clean the water with soft clothing, and to avoid this incident, it is advised to place the water reservoir on the brewer properly.
Cause 2: K-Cup Not Puncture Correctly
In Keurig machines, the problem of incorrectly pierced K-cups can arise. In other words, the needle is clogged, not correctly puncturing the K-cup. This can result in issues like poor coffee or the machine not operating. It is critical to fix this issue to enjoy a decent cup of coffee without difficulty.
Solution: Clean The Needle

A dirty needle is one of the probable causes of the Keurig machine not correctly puncturing the K-cup. The needle that punctures the K-cup might collect coffee grinds, mineral deposits, and other debris over time, reducing its effectiveness.
For cleaning the needle procedure, go check “Clean the Exit needle” under “Problem#04 (Cause#02)”.
Problem 7: Keurig K-40 Won’t Pump Or Dispensing Water.
When you start the machine and press the brewer button, nothing comes out except the grunting sound; it indicates some internal problem with the machine. Let’s have a look at the feasible causes and their solutions.
Cause 1: Debris Stuck Inside The Valve
The valves are present inside the top part of the machine underneath its top cover. Sometimes debris or calcium deposits are stuck in it, and it does not allow water or coffee to run through it.
Solution 1: Clear The Valve

For this purpose:
- Unplug the machine.
- Remove the water reservoir.
- Push the machine backwards and upward and open its front lid.
- You will see two small screws that hold the lid of the machine.
- Loosen the screws so that the lid will be separate.
- You will see a delicate white valve inside it.
- It is a very delicate valve that allows water to run through it.
- You simply push it through its length and apply some pressure and then let some water run.
- The water will run this time.
Final Solution: Call The Customer Support
If this issue persists, call customer service to attend to a complete analysis of the machine.
For contact details, see this article’s “When to seek professional help” section below.
Cause 2: Air Bubbles In Machine
If your Keurig coffee maker emits a grinding noise without pumping water, the motor will probably attempt to pump water but encounter difficulties. The issue could arise from the air within the machine, impeding the pump’s priming capability.
Solution: Shake The Machine

In this case, the recommended plan of action is to experiment with various approaches to shake the machine and stimulate the discharge of surplus air. If this resolves the issue, it is advisable to refill the reservoir before it reaches a critically low level.
Problem 8: K-Cup Chamber Will Not Close Properly.
If you own a Keurig K-40, you’ve probably had the vexing experience of attempting to prepare your morning cup of coffee only to discover that the K-cup chamber will not close properly.
Cause 1: The K-Cup Is Not Inserted Properly
The K-cup chamber may not close correctly because the K-cup is not properly inserted.
Solution: Insert The K-Cup Securely

It is critical to position the K-cup accurately in the chamber; otherwise, it may not fit properly, causing the chamber to stay open. It is best to double-check that the K-cup is appropriately placed to avoid this problem.
Cause 2: Deformed K-Cup Pod
If the K-cup chamber still does not close after checking that it is correctly placed, it may be broken or distorted. Because it may not line with the needle, a distorted K-cup might prevent the chamber from closing correctly.
Solution: Use The Fresh K-Cup

If you discover any of these abnormalities, it is suggested that you replace the K-cup with a new one to guarantee that the machine functions properly. This will also protect the machine from further harm caused by shoving the K-cup into the chamber.
Following these easy instructions guarantees that your Keurig K-40 runs smoothly and delivers the desired coffee.
Suppose your machine is still not working, then better to contact Keurig Customer Service or hire a technician. To know the contact details see the section “When To Seek Professional Help” below in this article.
Problem 9: My Keurig K-40 Making Weird Noises
If you own a Keurig coffee maker, you may have noticed that it may be loud while brewing coffee. Some noise is usual while the machine is working, but keep an ear out for any unexpected or unusual sounds since they may signal a problem with the machine. However, most of the noises are natural and caused by the brewing process. But if there are sudden noise changes, you should look for its cause and solution.
Cause 1: Clogged Machine
Mineral deposits, coffee grounds, and other debris can accumulate in the machine over time, obstructing water flow and preventing the unit from heating effectively.
Solution: Descale The Machine

To resolve this problem, consider descaling your Keurig with a descaling solution. I mentioned the descaling process under “Descale the Keurig K-40” under Problem #02 (Cause #02).
Cause 2: Keurig K-40 Is Placed On An Uneven Surface
If your Keurig is placed on a hard surface like marble or a rough and uneven material like tile, some loud noise might come from when it shakes and vibrates when brewing on this complex material.
Solution 2: Fix The Keurig On An Even Surface
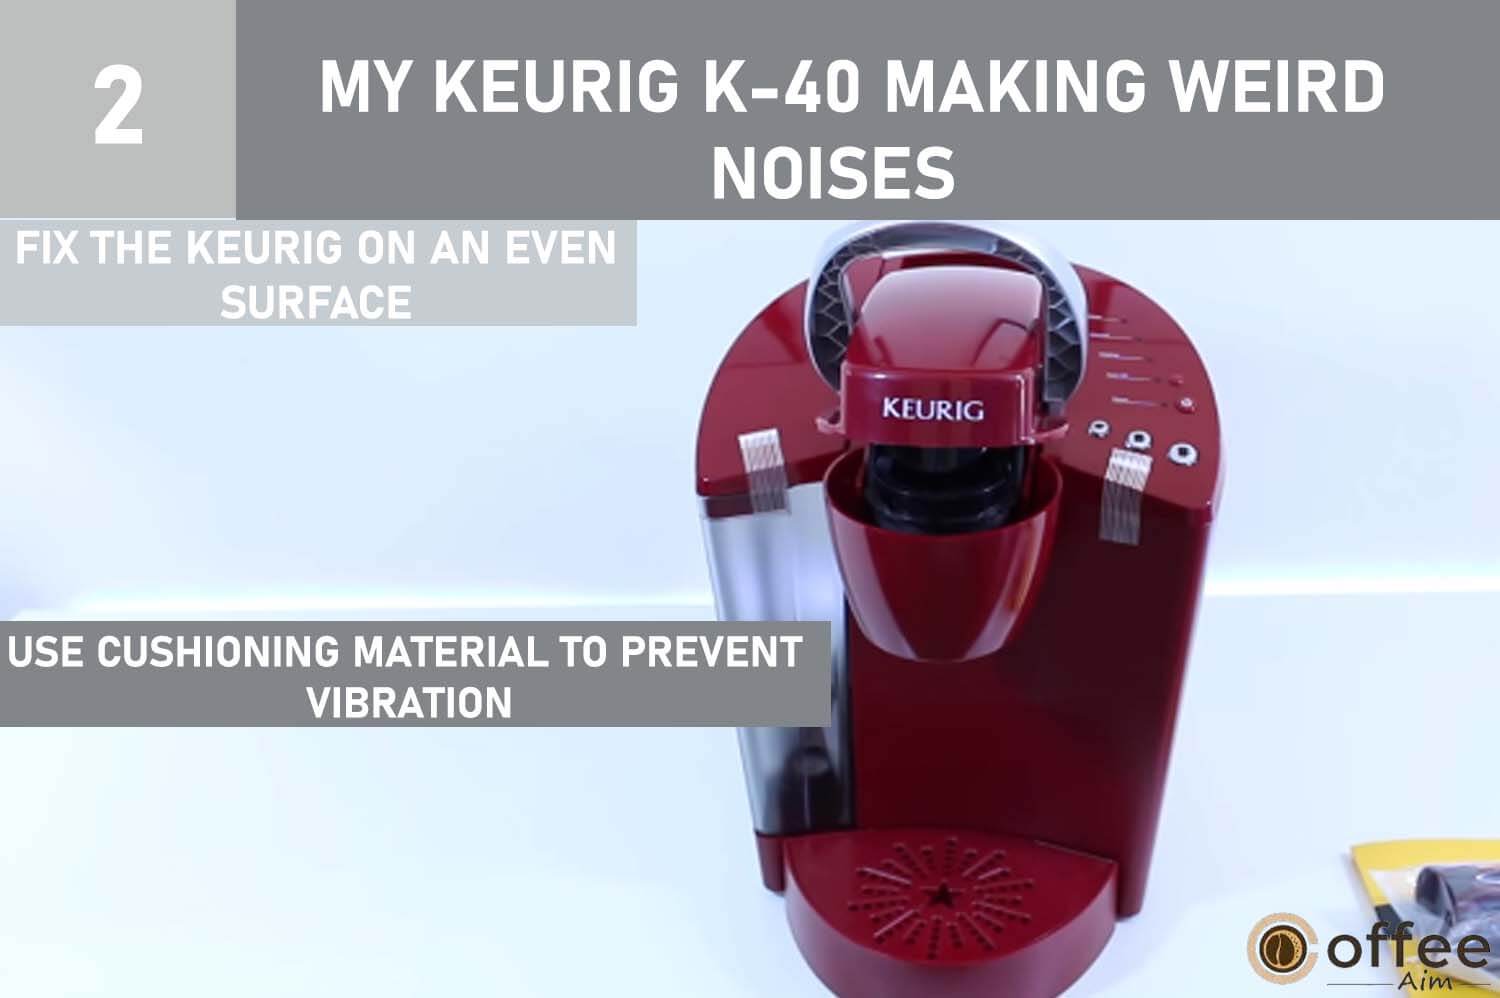
To solve this, place styrofoam, a rubber plate, a corkboard, or a mouse pad beneath the Keurig to cushion the brewer’s vibrations and prevent it from vibrating on the hard surface when brewing.
Cause 3: Any Internal Broken Part
If your Keurig is noisy when brewing and you’ve tried putting it on a soft surface, descaling it, and it’s already a newer model, the only possible explanation is that your Keurig has a faulty part.
When a Keurig becomes excessively loud, the pump is usually damaged. So, if you have a newer device or it was running correctly until lately, the pump may have failed.
Solution: Fix The Broken Part
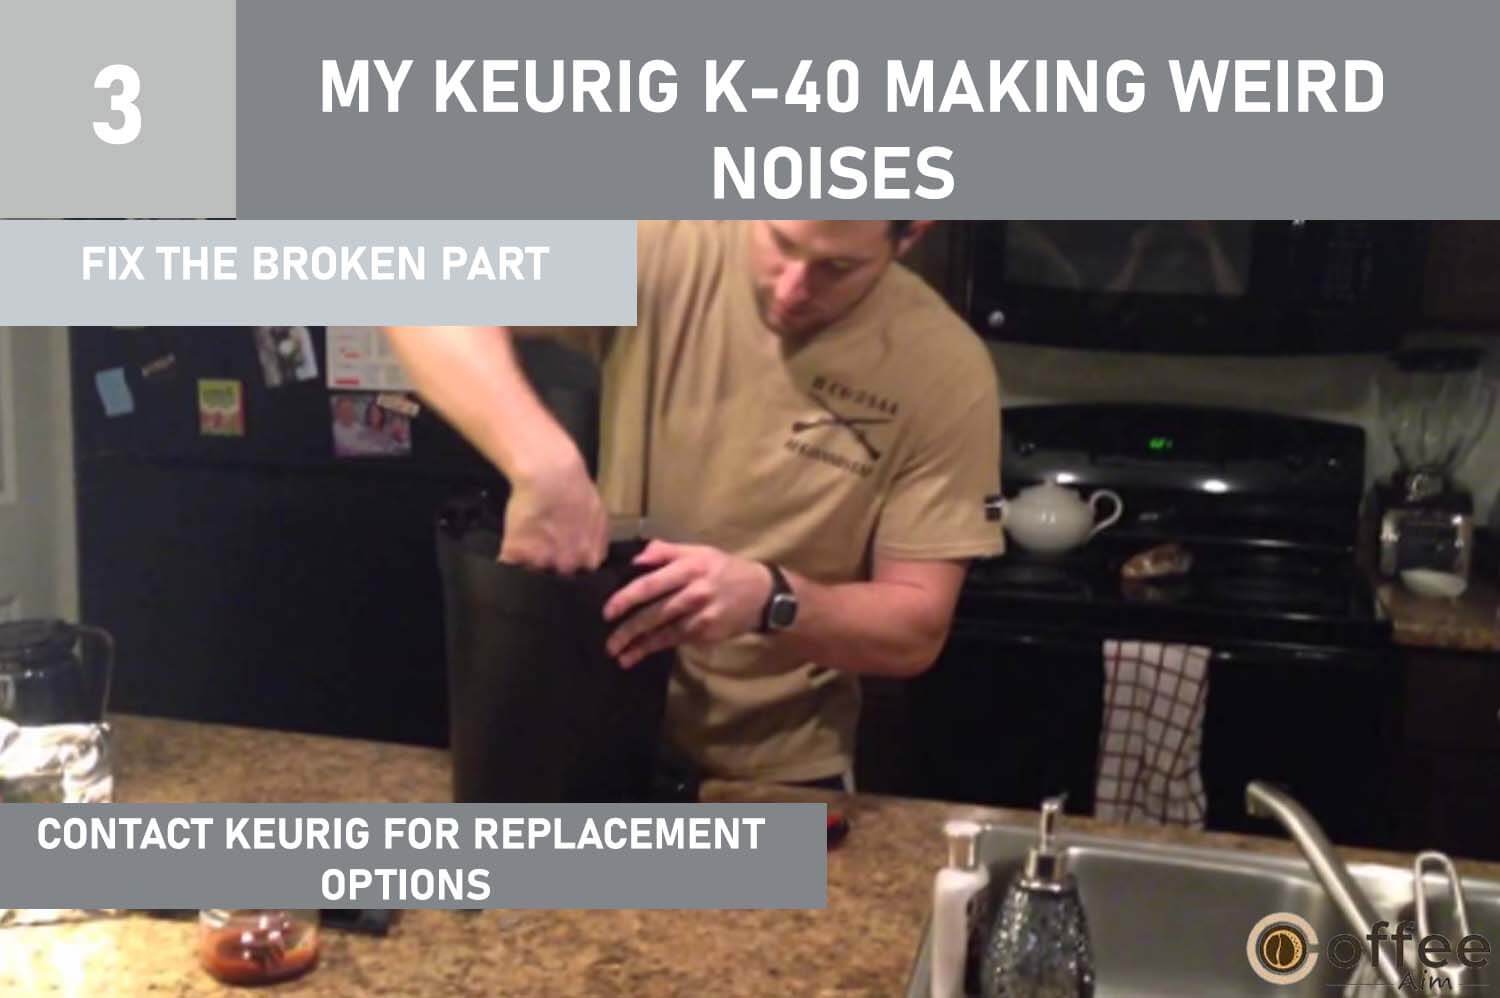
If this is the case, you may notify Keurig through email or phone, and they will send you a replacement. Furthermore, you can hire a technician to replace the broken parts. For contact details, see the “When to seek professional help” section.
All Keurigs have a one-year warranty, so if you’ve owned your machine for longer than that, the manufacturer may need help to give you a replacement. It also officially does not cover any damage caused by you, so if you told them you knocked the Keurig off the counter once, and it’s been sounding strange since they might not be able to assist you.
Problem 10: Keurig K-40 Is Not Heating.
It may be annoying if your Keurig supplies water but requires heating. There are, however, various conceivable explanations for this.
Cause 1: Mineral Buildup
Mineral deposits can accumulate in the water reservoir and heating element over time, preventing the unit from heating up effectively.
Solution 1: Descale The Machine

Consider descaling your Keurig with a descaling method to remedy this problem. Earlier in this article, I explained the descaling procedure in the section “Descale the Keurig K-40” under Problem #02 (Cause #02).
Cause 2: Power Source Issues
If the machine does not receive enough electricity, it may not fully heat up.
Solution: Check The Power
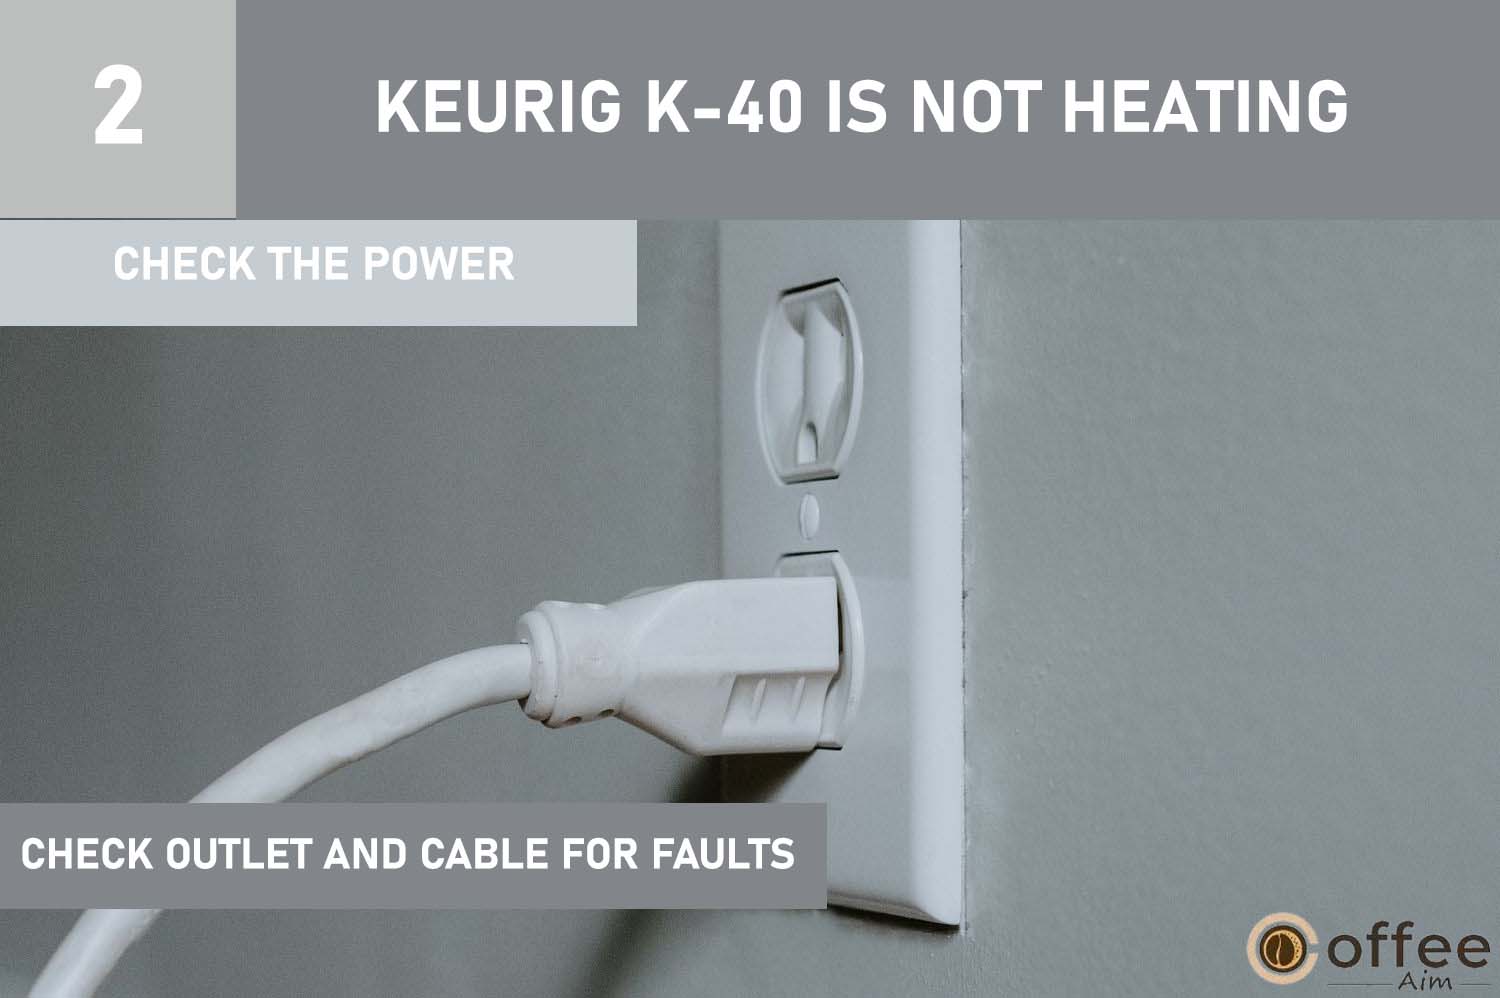
Ensure the machine is hooked to a working outlet and the power cable is not broken.
Cause 3: Issue In Water Pump
Sometimes the water pump is not functioning correctly inside the machine, which will also cause the machine to not work properly due to a malfunctioning water pump. Sometimes, the heating system of the device also stops working, leading to an unworkable machine.
Solution: Replace The Water Pump

Once you’ve examined that the water pump is the most likely source of the heating issue, it’s time to order a replacement. Contact the machine’s manufacturer, authorized service centers, or a trustworthy online shop to obtain a suitable water pump for your specific model.
For contact details, see this article’s “When to seek professional help” section below.
Problem # 11: Keurig K-40 Is Steaming Or Smoking
You wake up early one morning and try to switch on the coffee machine, but it does not respond. Instead, the steam keeps pouring out, forming a thick fog around the machine. You begin to be concerned about a possible problem or safety risk with your Keurig. There are several causes for this issue.
Cause 1: Empty Water Reservoir
An empty water reservoir is a common issue that can cause a Keurig machine to steam or smoke. The water reservoir serves as the water source for brewing, and if it runs dry, it can lead to overheating and potentially result in steam or smoke.
Solution: Operate The Machine With A Filled Water Reservoir
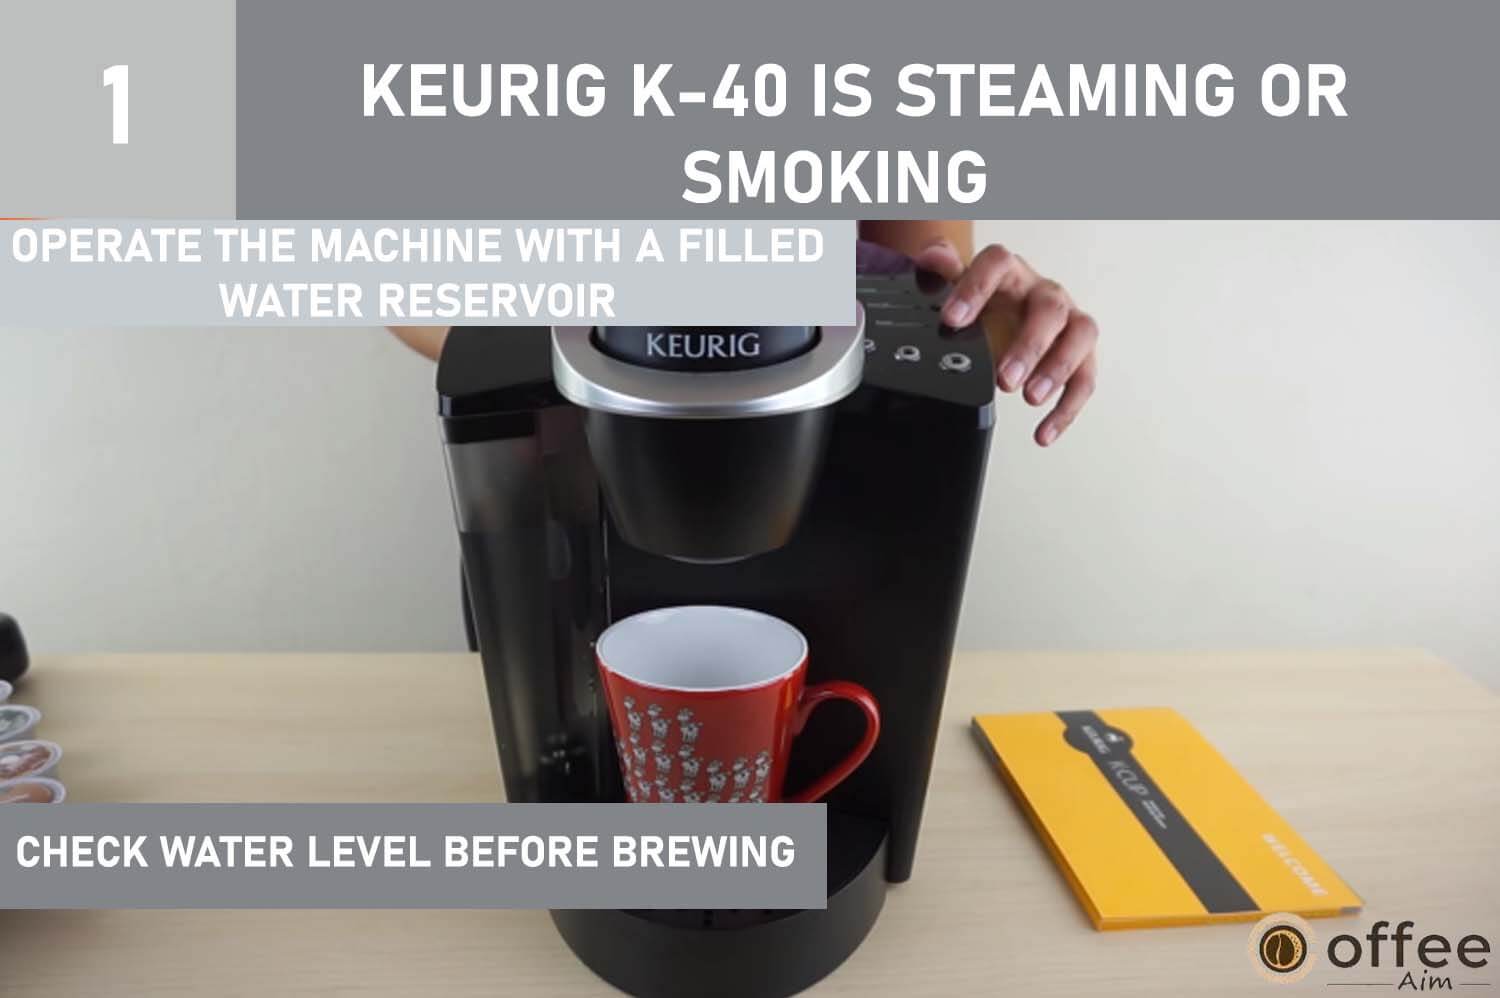
It is crucial to check the water reservoir before each brewing session and ensure it has adequate water. If the reservoir is empty, you should promptly refill it to prevent overheating and potential damage to the machine.
Cause 2: Clogged Machine
Steaming in a Keurig might be caused by a clogged machine. When the brewing system becomes blocked, pressure builds up, causing steam to be discharged from the machine.
Solution: Descale The Machine
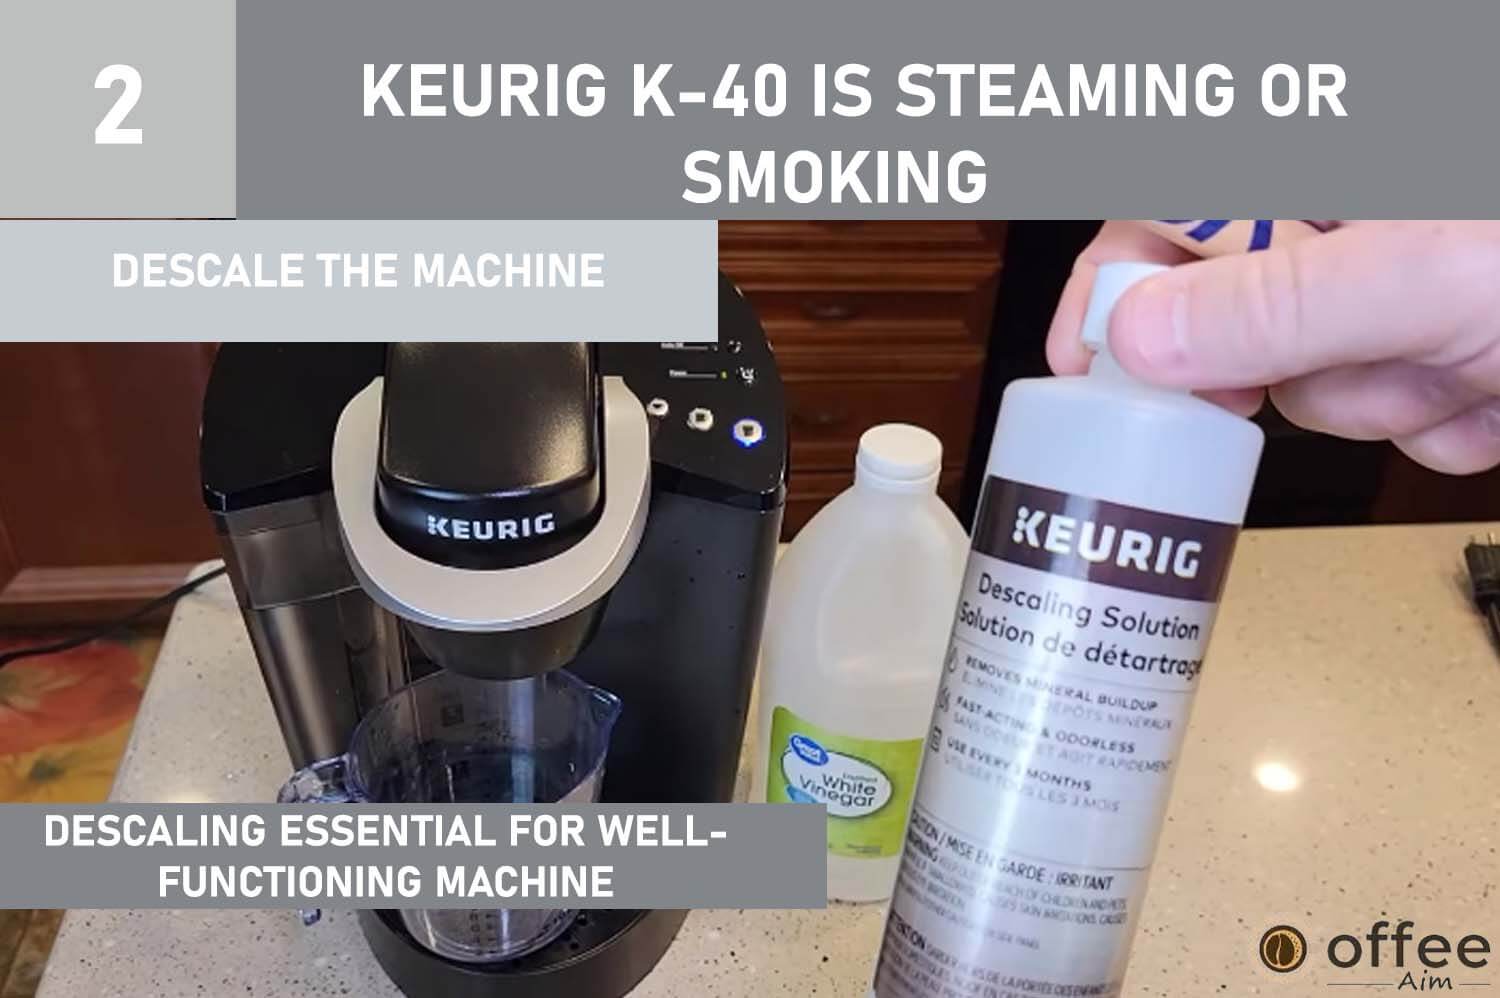
To maintain a good working machine, we need to descale the machine timely. To describe the machine, check the section “Descale the Keurig K-40” under Problem #02 (Cause #02).
Cause 3: Continuous Usage
Excessive use of a Keurig machine without sufficient time for the unit to cool down between brews may result in overheating, steaming, or other difficulties.
Solution: Give The Machine Sufficient Time To Cool

If you notice steaming or overheating signs while using the machine, turn it off, unplug it from the socket, and allow it to cool completely.
Regular maintenance, such as descaling, cleaning, and according to specified usage recommendations, can help maintain your Keurig machine’s good operation and lifespan. Limit the danger of steaming or overheating by providing enough cooling time between brews and practicing cautious usage.
Maintenance Tips For Keurig K-40
Regular maintenance is crucial for keeping your Keurig K-40 in good working condition and consistently producing high-quality coffee. You risk encountering problems that could have been easily prevented by neglecting routine maintenance. Here are some simple tips for cleaning and maintaining your Keurig K-40 to help prevent future issues:
- Descaling: Regularly descaling your Keurig K-40 is essential to remove mineral buildup and keep the machine running smoothly. Use the descaling solution and follow the instructions in your owner’s manual.
- Cleaning the needles: The needles that puncture the K-Cups can become clogged with coffee grounds, affecting the machine’s performance. Use a paperclip or a cleaning brush to clean them regularly.
- Wiping down the machine: After every use, wipe down the machine’s exterior with a clean, damp cloth to remove spills or stains. This will prevent buildup that could lead to more significant problems.
- Cleaning the water reservoir: The reservoir should be cleaned and dried thoroughly every few weeks to prevent bacteria growth and ensure the water remains fresh.
By following these simple maintenance tips and tricks, you may help prolong the life of your Keurig K-40 and prevent common problems from occurring. Regular maintenance is crucial for keeping your machine running smoothly and ensuring you can enjoy your favorite cup of coffee whenever possible.
When To Seek Professional Help For Keurig K-40
While many common issues with the Keurig K-40 can be fixed with simple solutions and maintenance tips, there may be times when seeking professional help is necessary. If you have attempted the solutions outlined in this article and are still experiencing problems, or if you feel uncomfortable performing any repairs or maintenance yourself, it may be time to seek professional help.
Some red flags that you may need professional assistance include the following:
- The machine is not turning on or off properly
- The machine is leaking water or coffee
- The device is making strange noises or not brewing correctly
- The machine’s display screen is not functioning correctly
If you need professional help with your Keurig K-40, several reputable repair services specialize in coffee makers, including Keurig machines. These services can provide expert advice, diagnose the problem, and provide professional repair services to get your device back in working order.
Here are some reputable Keurig K-40 repair services to consider:
- Keurig Customer Service: Keurig provides customer service for their coffee makers, and they can assist with troubleshooting, warranty repairs, and other issues. You can reach Keurig customer service by calling 1-866-901-2739 or visiting their website.
- Repair Sharks: Repair Sharks is a professional service specializing in Keurig coffee makers. They offer various repair services, including water pump replacement, power issues, and more. Contact them at (516) 499-6892 or visit their website.
- Mr. Appliance: Mr. Appliance is a nationwide appliance repair service that can assist with Keurig coffee makers. They offer same-day service, upfront pricing, and a one-year repair warranty. Contact them at (888) 998-2011 or visit their website.
Remember, when seeking professional help, choosing a reputable repair service specializing in coffee makers and having experience with Keurig machines specifically is essential. By selecting a reliable repair service, you can ensure that your Keurig K-40 is in good hands and will be repaired correctly.
Conclusion
In conclusion, the Keurig K-40 coffee maker is a popular and reliable machine, but it can experience some common issues over time. By following the guide in this article and implementing regular maintenance tips, users can troubleshoot and fix many of these problems independently.
Remember to always start by getting the essential tools needed for the repair and performing simple tasks like cleaning and descaling the machine regularly. However, if you feel uncomfortable performing any repairs yourself or the problem persists, seeking professional help from a reputable repair service is always an option.
We encourage readers to troubleshoot the issues independently before seeking professional help, as this can save time and money. By following the tips and solutions in this article, you can help ensure that your Keurig K-40 coffee maker continues to brew that perfect cup of coffee every time.
FAQs
How Much Does A Keurig K-40 Repair Cost?
The cost of repairing your equipment is determined by the problem it is experiencing. However, if your machine has its warranty, there will be no associated repair costs (unless the user purchased the machine on trade).
Why Does Water Appear In The Brewer Base With The Water Reservoir Removed?
To avoid this incident, it is advised to place the water reservoir on the brewer properly.
Why Is My Keurig K-40 Brewing A Partial Cup?
Cleaning the exit needle of your Keurig K-40 is a crucial step to ensure that your machine is working correctly and brewing a full cup of coffee.