Quick Navigation
Are you a proud owner of a Nespresso Aeroccino Plus milk frother? Congratulations! You are on your way to enjoying soothing & delicious café-quality drinks from the comfort of your own home. However, if you’ve been experiencing trouble with getting the perfectly-frothed milk you desire, don’t worry. You’re not alone. In fact, many Nespresso Aeroccino Plus users face similar challenges. But fear not because this is the ultimate troubleshooting guide that will help you master your Nespresso Aeroccino Plus and achieve the frothed milk of your dreams. Get ready to say goodbye to disappointing froth and hello to perfect foam every time!
Overview
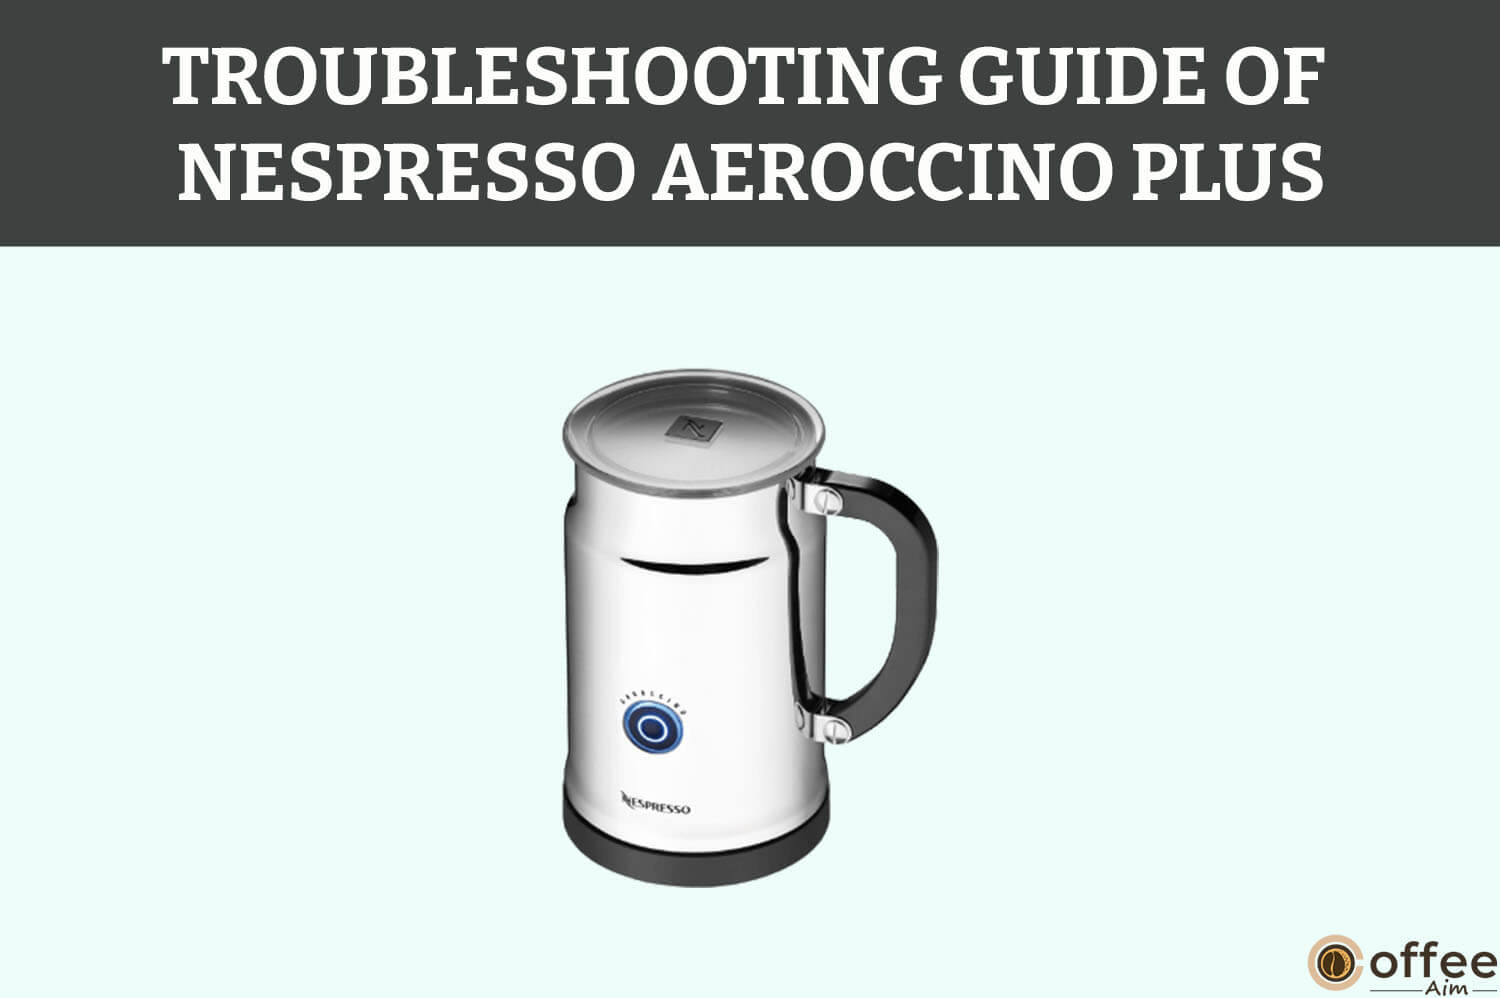
The Nespresso Aeroccino Plus milk frother is a popular tool for coffee lovers who want to create cafe-quality drinks from the comfort of their own homes. This innovative appliance allows users to easily froth milk to the perfect consistency for lattes, cappuccinos, and other coffee drinks. However, despite its many benefits, users often encounter common issues when using the Nespresso Aeroccino Plus, such as inconsistent foam, burnt milk, and difficulty cleaning the frother. That’s where this ultimate troubleshooting guide comes in. The aim of writing this article is to provide you with a comprehensive guide to mastering your Nespresso Aeroccino Plus, from troubleshooting common issues to achieving perfectly frothed milk every time. Whether you’re a seasoned coffee enthusiast or a novice looking to perfect your home-brewed coffee game, this guide will help you become a Nespresso Aeroccino Plus pro in no time.
- Are you in a desire to buy a perfect Nespresso machine to pair up with your mornings? Then you can check the Best Nespresso Machines guide for it.
Getting Started
Before you start troubleshooting your Nespresso Aeroccino Plus, there are a few essential tools you’ll need to have on hand. These tools will help you fix any issues you may encounter and ensure that your milk frother is functioning properly. Here are the essential tools you’ll need:
- Soft Sponge Or Cloth
A soft sponge or cloth is essential for cleaning the frother without scratching or damaging the surface. You can use it with a mild detergent or a solution of whiter vinegar and water to remove any buildup.
- Milk Thermometer
A milk thermometer is beneficial for achieving the perfect temperature for your frothed milk. It helps ensure that your milk doesn’t overheat, which can cause it to scorch or burn.
- Replacement Whisk
A replacement whisk is useful if your current whisk is worn or damaged. It ensures that your milk frother can continue to froth milk properly and consistently.
- Cold Milk
Cold milk is essential for achieving perfectly frothed milk. It froths better than warm or room-temperature milk.
By having these essential tools on hand, you’ll be well-equipped to troubleshoot your Nespresso Aeroccino Plus and enjoy perfectly frothed milk every time.
Now you know about the required tool, it’s time to demonstrate what the problem is with your machine, what thing is creating the issue, and how you can easily solve it.
Problem 01: Nespresso Aeroccino Plus Not Frothing
Nespresso Aeroccino Plus is a great device to fill your regular Espresso shot with froth milk. Not only does it gives you enhanced taste, but it also allows you to taste different coffee types. But all this tasting is not possible when your Nespresso Aeroccino Plus is not working. Below I have given a few common causes with their solution that make your frother not work.
Cause 01: A Burnt-Out Heating Element
Prolonged usage of the frother can lead to the failure of the heating element. In Nespresso Aeroccino Plus, the heating element is made up of copper strips that are imprinted on the circuit board. Constant heating and water contact due to rinsing can cause corrosion or burn scratches on the printed circuit board, which hinder the working capacity of the frother. Let’s see how you can fix it.
Solution 01: Fixing Burnt-Out Heating Element

It’s better to let the experts do the job of fixing the burnt-out heating element as it requires some technical work and knowledge. Overall you have to do is
- Open the frother by unscrewing the base.
- Clean and scrape off the enamel from the printed circuit board.
- Solder using the thin strip of copper.
But if you want to go through more in-depth tutorials on how you can fix burnt-out heating elements, then consider viewing the video below.
Video link: Repair Nespresso Aeroccino Heating Element
Solution 02: Contact Nespresso

If the above solution is not working for you, I advise you to contact Nespresso to let them help you. To know how you contact them, check out the “When to seek professional help” section below.
Cause 02: Broken Magnetic Whisk
A magnetic whisk is one of the major parts of the milk frother. Damage on this can lead to no frothing. So it’s better to fix it to continue your frothing journey.
Solution: Replace The Magnetic Whisk

A magnetic whisk is a fragile part, and it can get damaged or break unintentionally. I recommend buying a new whisk as they are easily available in online stores. After buying, tackle it carefully and rightly position it in the frother for a better experience.
Cause 03: Dirt On The Electrical Contacts
Together with dust and milk drips can lead to dirt formation, which should be cleaned properly. Let’s see how to clean the dirt.Solution: Cleaning The Electrical Contacts

Here are the instructions on cleaning the dirt.
Instructions:
- Unplug the Aeroccino Plus from the mains.
- Take a small brush and dip it in the soapy solution.
- Then rub the brush and clean the dirt from the electric contacts.
- Clean and dry the electric contacts with a soft cloth.
- Let the frother rest for some time before you start using it.
Cause 04: Using The Wrong Type Of Milk
It’s important to know what kind of milk you are using in the frother. Not every milk type can be frothed, and Nespresso also tells the user which milk type is good and compatible with frothing.
Solution: Choose Nespresso-Recommended Milk

Alternative milk (almond milk or soy milk) has less fat and proteins, which makes it difficult to froth. That’s why it is recommended to use dairy milk or cow milk for frothing. Further, you can also use almond milk or oat milk as well.
Cause 05: Gunk On The Magnetic Whisk
If you notice the milk is heating up, but there is no froth formation, then the problem will be with the whisk. As the whisk is constantly in contact with the milk and water over time, gunk can be formed on it, which leads to malfunctioning or inability to function.
Solution: Cleaning Gunk From The Magnetic Whisk

Here is what you can do to clean the whisk,
Instructions:
- Take a small cup of vinegar and add some salt to it.
- Take out the whisk and dip it in the vinegar solution overnight.
- Then take it out, and scrub it using a brush.
- Rinse, clean, and dry it.
- Place it back in the frother.
Cause 06: A Damaged Thermocouple
Thermocouple is essential in determining how hot the froth should get to prevent milk burn. When the desired temperature is reached, it senses it and automatically turns off the frother. A short circuit can burn it out or can exhaust out due to long usage over the years. Let’s see the solution to it.
Solution 01: Replacing The Damaged Thermocouple
The best thing to fix the thermocouple is to replace it with the new one. Let’s see how you can replace it.
Instructions:-
- Open the frother by unscrewing the base.
- The thermocouple will be seen attached to the printed circuit board with the help of a connector.
- Take the thermocouple out and place a new one in its place.
- Add a thin layer of thermal paste to ensure the thermocouple is conducting heat effectively.
For a more comprehensive tutorial, you can watch the video below.
Video Link: Repairing Nespresso Aeroccino
Solution 02: Contact Nespresso

If the above solution is not working for you, then I advise you to contact Nespresso to let them help you out. For contact details, see the section “When to seek professional help” below in this article.
Problem 02: Why Does The Aeroccino Not Start?
If the Nespresso Aeroccino Plus milk frother is not starting, then there are a couple of things you should keep in check.
Cause 01: Check The Mains
It could be possible that the main plug is not ON.
Solution: Turn ON The Main Plug

Turn ON the main plug if it is turned OFF.
Cause 02: Jug Is Positioned Incorrectly
It could be possible that the milk jug is not placed correctly upon the base.
Solution: Correctly Place The Jug

Place the milk frother jug on the clean base correctly to ensure the proper working of the frother.
Cause 03: Incorrectly Attached Whisk
Whisk is an important element of the frother, and if it is not attached correctly can lead to problems like Aeroccino failing to start.
Solution: Attach Whisk Correctly

Place and attach the whisk to the milk jug correctly so that it can perform its function by turning it on. Here’s how you can do it
Instructions:
- First thing first, you have to know whether you are making hot froth or cold froth.
- If you are frothing cold, then you have to attach the metal spring to the whisk
- If you are frothing hot, then remove the metal spring.
- After you have decided and made the changes to the whisk, it’s time to put it in the frother.
- Inside the milk jug, you will see a magnetic protruding cylinder shape.
- Place the whisk on top of it.
- Give it a little spin to ensure it has been placed correctly on it.
- For more visual detail, you can check the video below.
Problem 03: Milk Is Not Frothing In The Nespresso Aeroccino Plus
Besides the type of milk you are using, the quality of the milk is also crucial for frothing. Let’s see the cause and solution for each cause to get only the best quality froth out of milk frother.
Cause 01: Not Using The Right Milk Temperature
Not using a certain temperature of milk could affect the frothing quality. The milk should not be too cold or too hot.
Solution: Use The Right Milk Temperature

When you are frothing either whole or semi-skimmed milk, it is necessary to have the milk at the temperature of 6-8 °C (42.8-46.4 F), which is also the refrigerator temperature.
Cause 02: Unclean Milk Jug
In uncleaned jugs, buildups will start to form, which deteriorates the froth quality.
Solution: Clean The Milk Jug

It’s important to clean the milk jug after every use to maintain hygiene and froth quality. Let’s see how you can clean your frother;
Instructions:
- Plug off the Nespresso Aeroccino Plus.
- Remove the milk jug from the base.
- Remove the jug lid and whisk.
- Rinse the lid and whisk thoroughly.
- Using a soft damp sponge, clean the inside of the milk jug.
- Dry the jug with a soft cloth.
- Place back the lid.
- Here you have it, your clean frother.
Video Link: How to clean Nespresso Aeroccino.
Problem 04: Nespresso Aeroccino Plus Button Blinking Red
Nespresso Aeroccino Plus has a button on the side of the cylindrical jug, which is used to start the frothing process. This button has a red LED. If it is blinking unusually, then it’s better to know the reason.
Cause 01: Frother Is Too Hot
When the frother becomes too hot, the red LED starts to blink to show the device has been in use for quite a time, and it’s time to give it some rest.
Solution: Give Some Rest To The Frother

When you see the red LED blinking, then you should give some break to the frothing process, and you could also give the milk jug a rinse under cold water to cool it down.
Cause 02: Not Enough Milk
Your frother LED is blinking red because there is not enough milk in the milk jug.
Solution: Fill The Milk Jug Upto Marked Level

You should fill the jug to the corresponding indicator level to avoid blinking of red light and also use the appropriate whisk that has come with the device.
- For hot milk froth, fill to the upper max.
- For cold milk froth, fill to the lower max.
Problem 05: Overflow Of Milk From Nespresso Aeroccino Plus
Inside the frother milk jug, you will see two marks, upper “max” and lower “max.” These are there to let the user know how high you should fill the jug with milk (depending upon whether you want cold froth or hot froth) to avoid spillage.
Cause: Filling More Than The Mark
If you fill more than the upper “max” line, then you will have to face milk overflow.
Solution: Fill Jug Upto Marked Level

You should fill the jug to the corresponding indicator level to avoid overflow and also use the appropriate whisk that has come with the device.
- For hot milk froth, fill to the upper max.
- For cold milk froth, fill to the lower max.
Maintenance Tips
Now that you’ve learned how to troubleshoot your Nespresso Aeroccino Plus milk frother, it’s time to talk about maintenance. Regular upkeep is key to keeping your milk frother in tip-top shape, ensuring that it continues to produce perfectly frothed milk for your coffee drinks.
Cleaning your milk frother after each use is essential to prevent milk residue from building up and clogging the device. Here are a few easy & simple steps you can take to maintain and clean your Nespresso Aeroccino Plus milk frother:
- After each use, rinse the milk frother with hot water and wipe it dry with a clean cloth. This will remove any milk residue and prevent it from sticking to the internal covering of the frother.
- If there is any stubborn residue or build-up inside the milk frother, you can clean it by adding a small amount or a few drops of dish soap and hot water to the frother and running it on the “cold” setting.
- Be sure never to immerse the base of the milk frother in water, as it contains electrical components. Instead, use a damp cloth for wiping.
- The frothing whisk should also be removed and cleaned after each use. Use hot, soapy water and a soft-bristled brush to gently clean the whisk. Then rinse it with hot water and wipe it dry.
- It’s important to descale your milk frother regularly to prevent mineral build-up. Nespresso recommends descaling your Aeroccino Plus every 3 months, but this can differ depending on how often you use it and the hardness of your water. Follow the instructions provided in the user manual for descaling your specific model.
By following these simple & easy maintenance tips, you can prevent future problems with your Nespresso Aeroccino Plus milk frother and ensure that it continues to froth your milk to perfection.
When To Seek Professional Help
Even with the best maintenance and troubleshooting practices, there may come a time when your Nespresso Aeroccino Plus milk frother requires professional assistance. Don’t worry – there are plenty of Nespresso-approved repair services available to help get your frother back in working order. Here are some clues that it’s time to seek professional help:
- Your milk frother is not turning on or heating up, even after you’ve tried all the troubleshooting steps outlined in this guide.
- You notice visible damage to your milk frother, such as cracks or broken parts.
- Your milk frother is making unusual noises or emitting strange smells.
If you’re experiencing any of these issues, it’s best to contact a reputable repair service that specializes in Nespresso Aeroccino Plus milk frothers. Here are some top repair services in the USA to consider:
- Nespresso Repair Center: You can visit their website (https://www.nespresso.com/us/en/repair-center) to find an authorized repair center near you, or call their customer service line at 1-855-325-5781.
- Espresso Machine Specialists: This repair service specializes in fixing Nespresso machines, and they offer both in-store and mail-in repair options. You can visit their website (https://www.espressomachinespecialists.com/)
- The Coffee Machine Company: Based in Florida, this repair service offers both on-site and mail-in repair options for Nespresso machines. You can visit their website (https://www.thecoffeemachinecompanyusa.com/)
When you contact a repair service, make sure to provide them with your model number and a description of the issue you’re experiencing. They may also ask for proof of purchase and warranty information.
By seeking professional help when needed, you can ensure that your Nespresso Aeroccino Plus milk frother continues to provide perfectly frothed milk for your coffee drinks for years to come.
Conclusion
Congratulations! You’ve now mastered the art of troubleshooting your Nespresso Aeroccino Plus milk frother. By following the tips & techniques outlined in this guide, you’ll be able to fix many common issues and ensure that your frother is always in top working condition.
Remember, regular maintenance and cleaning are crucial to preventing problems with your milk frother. By taking good care of it & addressing any issues as soon as they arise, you can avoid costly repairs or replacements.
If you do encounter an issue that you can’t fix on your own, don’t hesitate to seek professional help. There are many Nespresso-approved repair services available that can help get your milk frother back to working order.
However, before seeking professional help, we encourage you to try troubleshooting the issue on your own. Many problems can be easily resolved with a few know-how steps. By taking the time to troubleshoot the issue yourself, you can save time and money & feel a sense of accomplishment in the process.
So go ahead and give troubleshooting a try. With the tips and techniques presented in this guide, you’ll be on your way to perfectly-frothed milk for your coffee drinks every time.
To find out and discover more features and knowledge regarding your Nespresso Aeroccino Plus, you can check out the below two guides related to the Nespresso Aeroccino Plus Milk Frother.
Frequently Asked Questions
Now that you have learned how to troubleshoot common issues with your Nespresso Aeroccino Plus, you may still have some questions about its use and maintenance. In this section, I’ve compiled a list of frequently asked questions to help you address any lingering concerns you may have. From cleaning and descaling to troubleshooting more complex issues, we’ve got you covered. By familiarizing yourself with these FAQs, you can enjoy perfectly frothed milk every time you use your Nespresso Aeroccino Plus.
Why Won’t My Nespresso Aeroccino Plus Turn On?
If your milk frother isn’t turning on, it would be due to a variety of causes, for instance, a disconnected power cord, a tripped circuit breaker, or a faulty electrical outlet. Check these potential issues and try troubleshooting them before seeking professional help.
Why Isn’t My Milk Frothing Properly?
If your milk isn’t frothing properly, it could be due to a number of reasons, such as using the wrong type of milk, not using enough milk, or not cleaning the frother properly. Try troubleshooting these potential issues before seeking professional help.
How Do I Clean My Nespresso Aeroccino Plus?
To clean your milk frother, simply rinse it with warm water and wipe it down with a soft cloth after each use. You can also use a gentle cleaning solution if necessary. For a deep clean, soak the frother (without the base) in hot, soapy water for a few minutes and rinse thoroughly.
Can I Put My Nespresso Aeroccino Plus In The Dishwasher?
No, it’s not recommended to put your milk frother in the dishwasher, as it could damage the frother’s delicate components. Instead, hand wash it with warm water and gentle soap.
How Do I Troubleshoot Other Issues With My Nespresso Aeroccino Plus?
If you encounter any other issues with your milk frother, such as leaks, strange noises, or inconsistent performance, consult the manufacturer’s user manual for troubleshooting tips. If you’re still having trouble, try reaching out to a reputable repair service for assistance.
By knowing the answers to these frequently asked questions, you can troubleshoot issues with your Nespresso Aeroccino Plus with ease and confidence.