Quick Navigation
To satisfy your midnight coffee craving, you have recently bought Nespresso Expert and now searching for an easy user guide. No? You have a long-time companionship with your Nespresso Expert but now it has denied making a coffee for you? The worst is you have lost the user manual also. Don’t worry! I know how to handle all the mood swings of coffee makers. Let’s discover the world of Nespresso Expert to know how to use a Nespresso Expert and request it to make coffee for you.
Safety Measures
I always become super-excited when coffee is the point of discussion. However, putting my excitement back, I always tried my best to take precautions first. Hence, it is better to be safer than sorry so there are some cautions for you to follow to protect yourself and your loved ones before continuing further. Nespresso machines are not harmful hence sometimes we alter some of the functions that we don’t know about and they may lead to shocks or burns. Thus, read complete safety precautions to be on the safer side.
Specifications Of Nespresso Expert
In this section, you are going to know precisely about the features of your Nespresso Expert like frequency, voltage, pressure, capacity of the water tank, dimensions, and the version of your Nespresso machine. This will help you to analyze whether the features of your coffee maker are in accordance with the space or voltage of your home. If not then you should return it.
| Features | Details |
| Power | 220-240 Volts 50-60 Hertz1150-1260 Watts |
| Maximum Pressure | 19 bar / 1.9 MPa |
| Frequency | 2.402 – 2.480 GHz (MaxTransmit Power 4dBm) |
| Water Tank Capacity | ~1.11 / 37.5 oz |
| Dimensions in inches | Width: 15 inHeight: 11.3 inDepth: 8.8 in |
| Dimensions in cm | Width: 38.05 cm Height: 28.7 cmDepth: 22.3 cm |
| Weight | ~4.4 kg / 9.7 lbs |
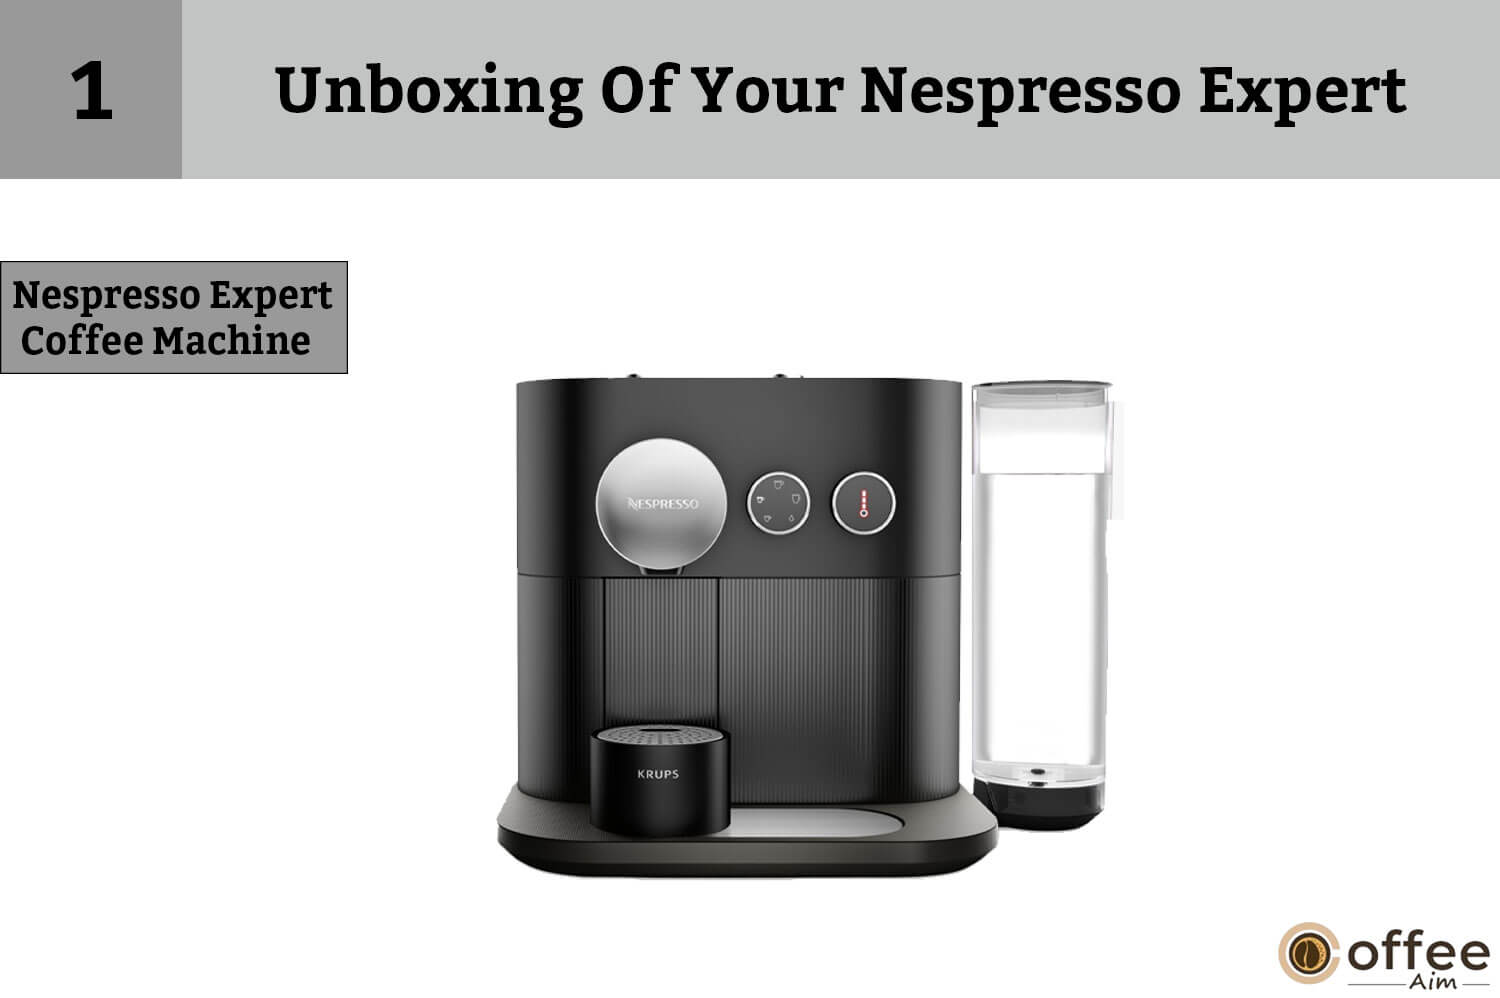
Unboxing Of Your Nespresso Expert
I know you can’t wait to operate your Nespresso Expert coffee maker. so let’s start with the unboxing of the package you have received. What will you see inside the box? The package contains all the items that you will need for making a delicious cup of coffee for you. Therefore, check the box carefully, and if anything is missing then immediately contact the seller. Let’s do it!
1. Nespresso Expert Coffee Machine
You have got the major item i.e., Nespresso Expert Coffee Machine. Place it on a smooth, leveled surface and head towards the box to get more.
2. Tasting Box Of Nespresso Capsules
Here you have found an amazing gift from Nespresso the Tasting Box of Nespresso capsules. Great!! Brew a delicious cup of coffee using these capsules in your newly bought Nespresso Expert.

3. Nespresso Welcome Brochure
To show the good gestures Nespresso welcomes through a Welcome Brochure. Read this literature and embrace yourself.

4. User Manual
Here is the “User Guide” provided by Nespresso to you. It contains important instructions related to using your Nespresso Expert.

5. Quick Start Guide
Nespresso doesn’t want you to wait to start your Nespresso Expert. Thus, here you get a “Quick Start Guide” which helps you in setting your coffee maker. Follow the easy instructions and begin your journey with this amazing Nespresso brewer.

6. One Water Hardness Test Stick
Nespresso is very caring for you guys. It doesn’t want to damage your Nespresso Expert. Thus, here you have got a “Water Hardness Test Stick” through which you can check the level of water hardness. Why is it important to check water hardness? Hold on! I’ll discuss it later in this article.

Parts of Nespresso Expert
To use a Nespresso as an expert you should know that each part has its own way of usage and method to follow so you can have the best results every time you make your favorite coffee. There are several recipes that you can make by knowing in-depth information on parts. Let’s have a look at all the parts and their functions!
1. Maintenance Light
The maintenance light indicates the accumulation of junk in your Nespresso expert and reminds you to clean/descale the machine. It also alerts you if the water tank is empty or have a low water level.

2. Slider For Capsule Insertion:
Slider is the place to insert your flavored capsule into the Nespresso Expert and brew your coffee in no time.

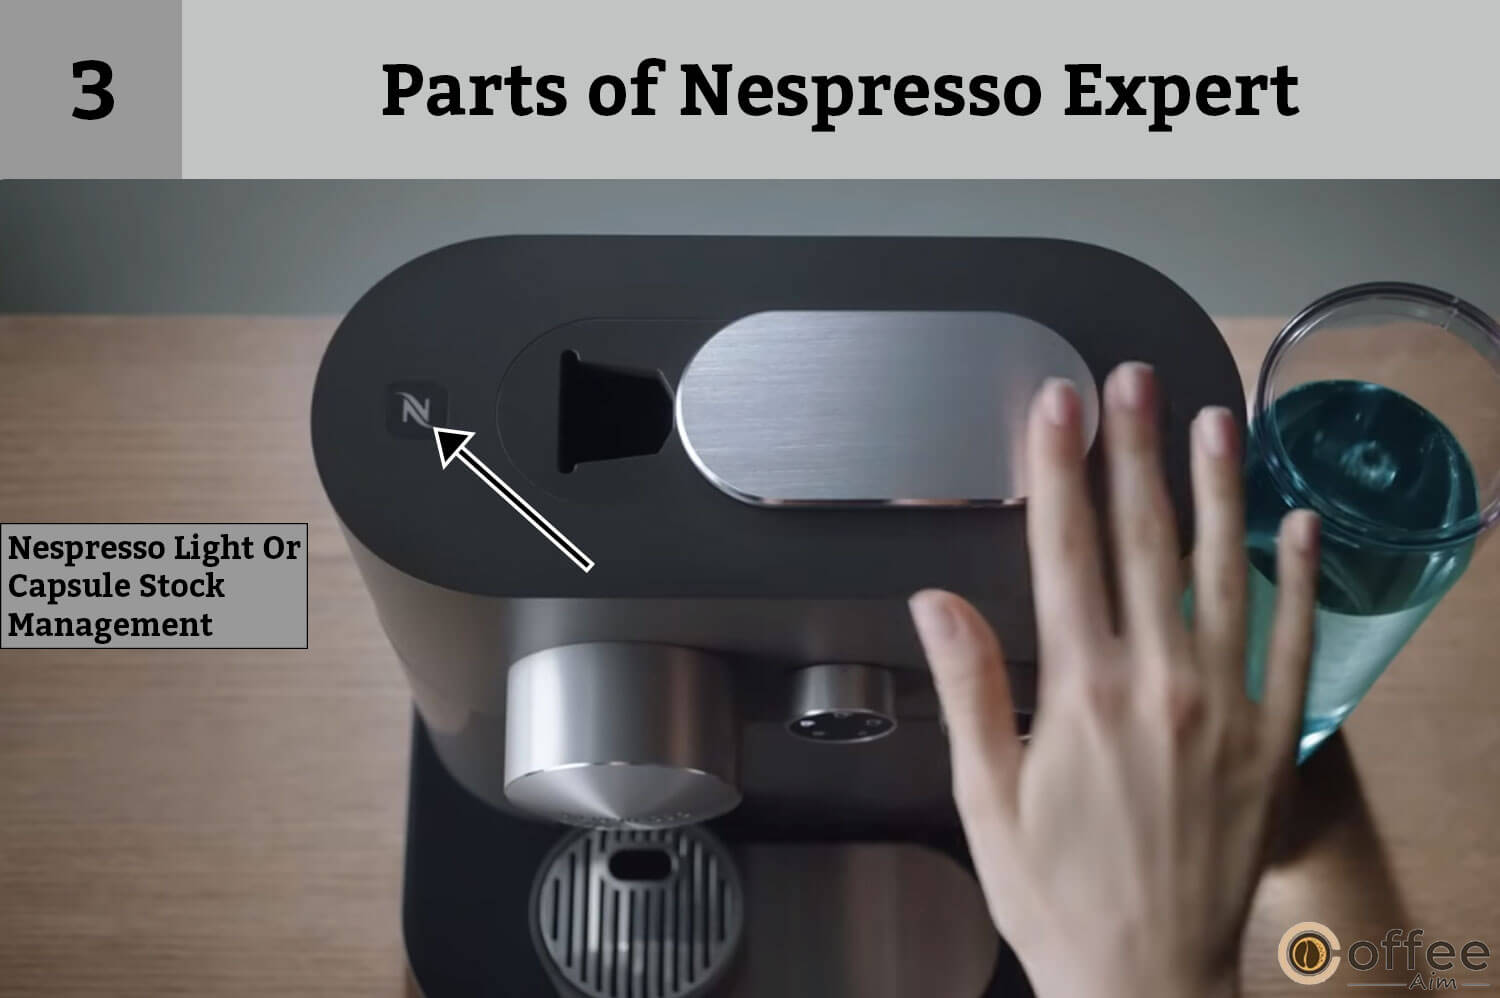
3. Nespresso Light Or Capsule Stock Management:
When the Nespresso light turns on, your Nespresso machine reminds you to restock your capsules so you never run out of capsules.
4. Coffee And Hot Water Outlet
As the name implies, the coffee and other brewed drinks flow out from this outlet once the brewing is completed.

5. Metallic Base
The metal base is for the sleek design and for placing your cup to brew your coffee to perfection.

6. Water Tank And Lid
The Nespresso Expert coffee maker uses water to brew coffee so the water tank comes in as an attachment. The water you filled in the water tank should be potable and fresh to ensure the full flavor of the coffee. The lid is to cover the water tank after filling it with water.

7. Brewing Button
The brewing button is used to initiate the brewing process of coffee after inserting the capsule in the capsule holder. The button is located at the upper part of your Nespresso machine.

8. Temperature Dial
The temperature dial is used to customize coffee according to your preference in terms of warm, hot, and extra hot. It is also used to switch off your machine by completely turning the dial. .

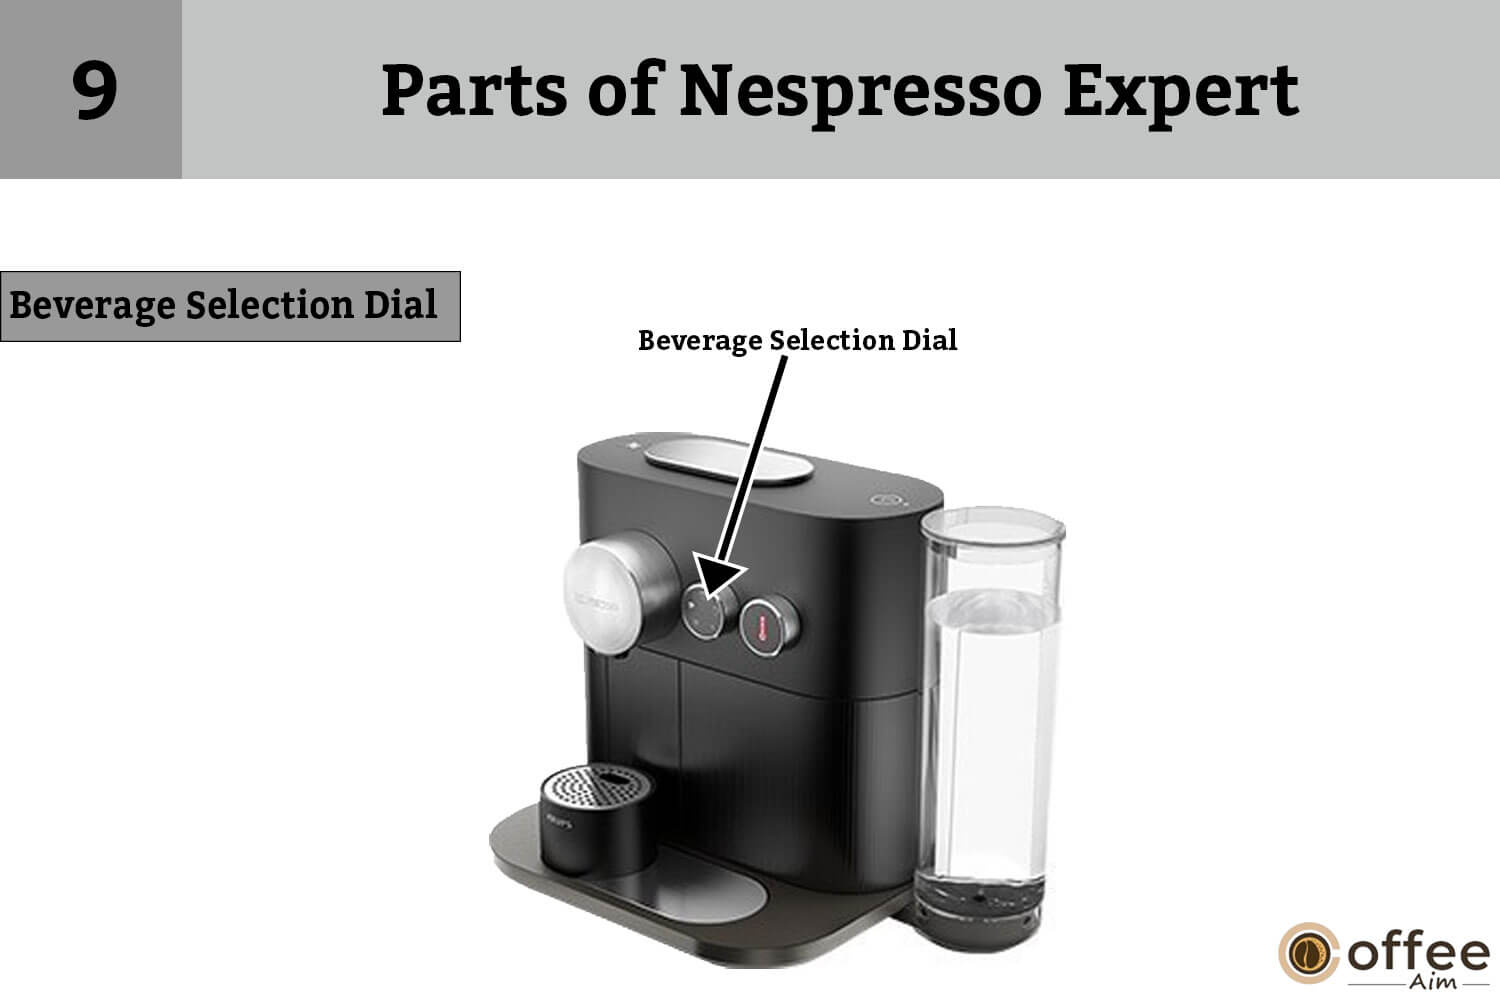
9. Beverage Selection Dial
The drink selector wheel allows you to select your own types of coffee such as ristretto, espresso, lungo, americano or even hot water in seconds.
10. Water Tank Base
This is the part where you place or fix the water tank. It keeps the water tank in place firmly and prevents it from displacing during the brewing process.

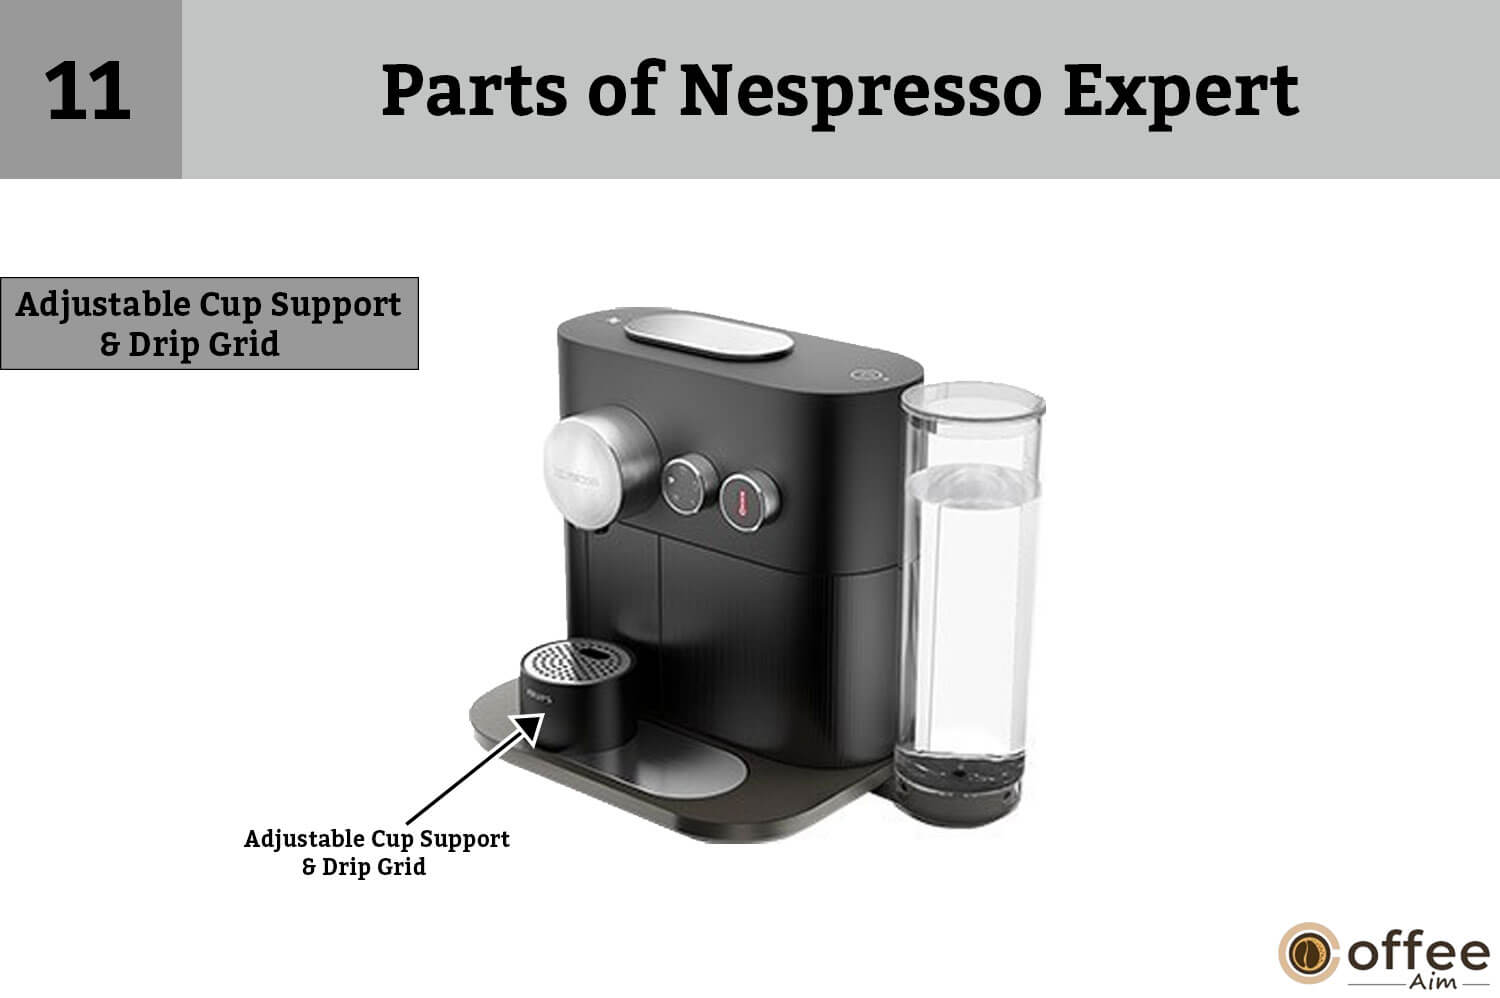
11. Adjustable Cup Support & Drip Grid
Want to make a tall glass of coffee? No worries! Your Nespresso Expert has an amazing part “adjustable cup support” to accommodate a tall recipe glass. Thus, slide the cup support across the metallic base of the machine and place your tall glass on it. It also works as a drip grid.
12. Drip Tray
The drip tray is used to collect any leaked or spilled drinks during pouring into the cup through the outlet.

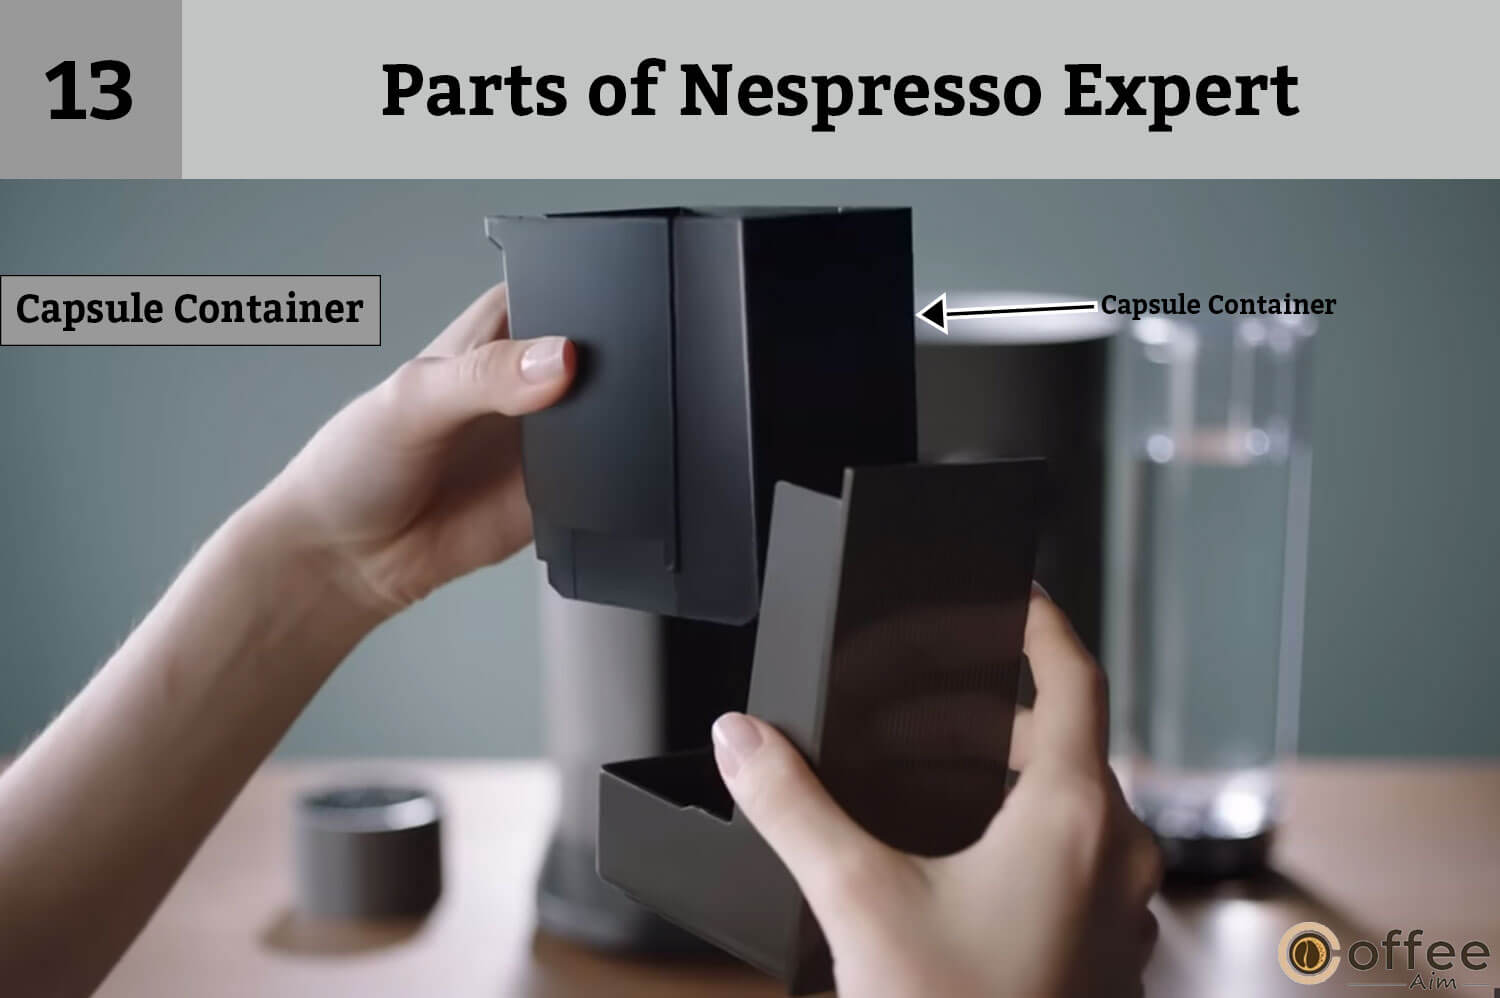
13. Capsule Container
It is a compartment where the used capsules automatically drop after 10 seconds of brewing. It can contain up to 12 used capsules.
Switch Your Machine On/Off
Are you confused about switching your Nespresso Expert on/off? No problem! Here, I will discuss the complete process in a straightforward way. Through this, you not only learn about switching the machine on and off but also how you can properly start the machine for brewing and stop it after getting desired results. Let’s dig deep into it!
For Turning On:
- Press the Brew button, turn the dial, or open the slider to turn on your Nespresso Expert.

- Lights will start blinking, which indicates that the water has begun to heat up.

- It will take about 25-30 seconds to heat up the water.

- Steady light means your coffee maker is ready.

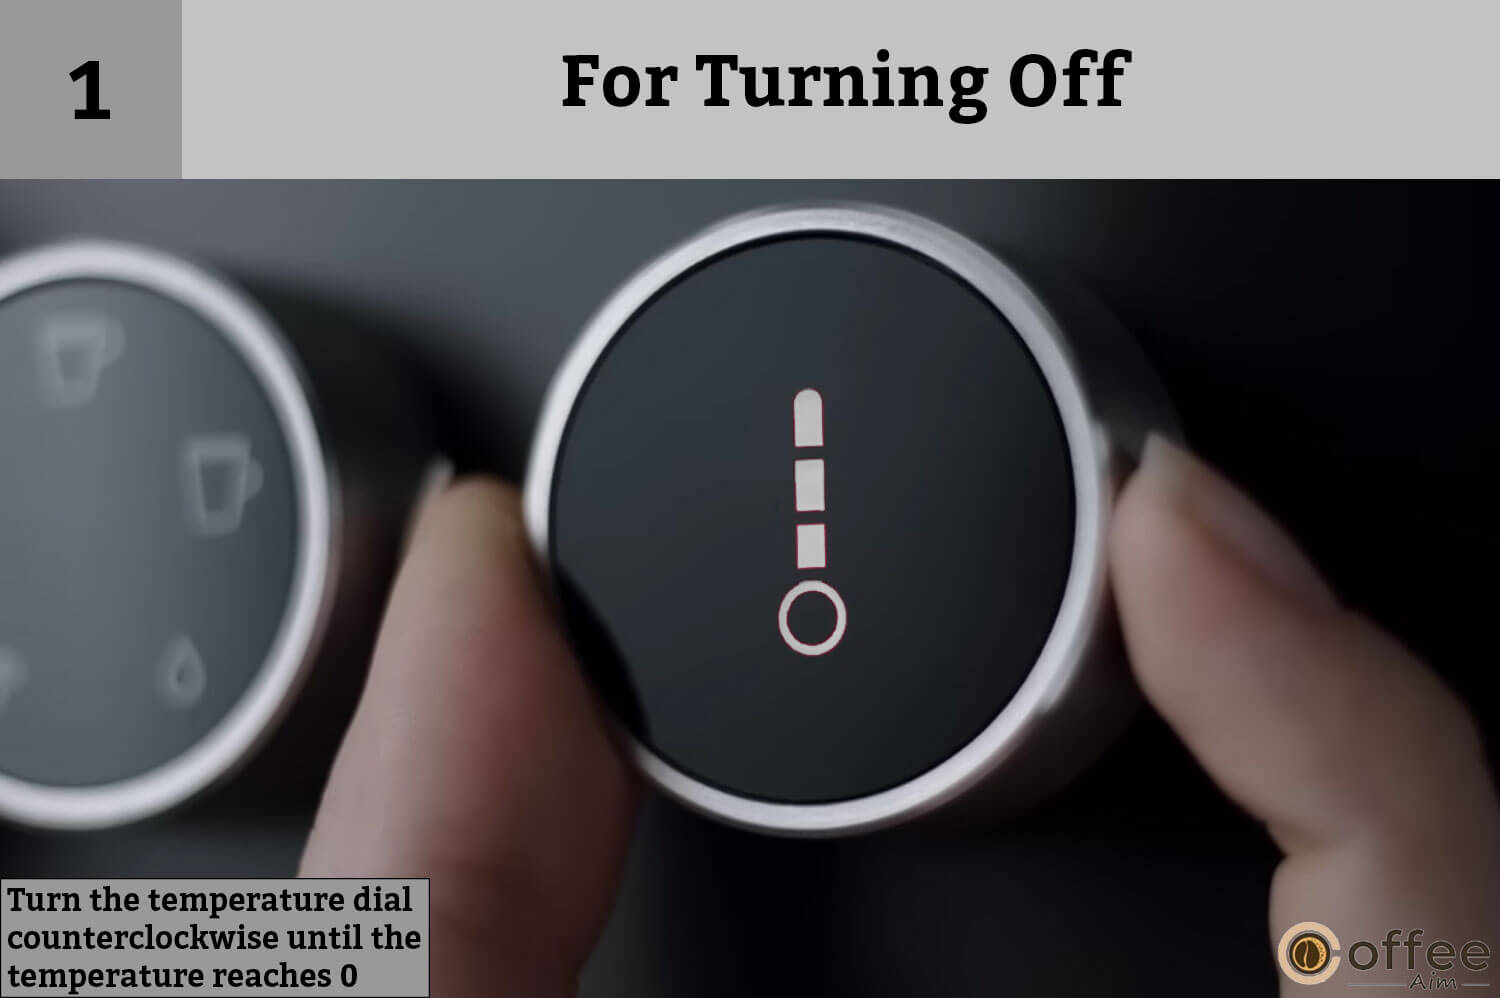
For Turning Off
Turn the temperature dial counterclockwise until the temperature reaches 0. The light will flash for 5 seconds before your Nespresso Expert switches off.
First Use Or After A Long Period Of Inactivity
I know you are very excited to make a yummy coffee for you with your newly bought Nespresso Expert. So, no more waiting! You are almost there, set your coffee maker according to the instructions below and treat yourself to your favorite coffee cup. Let’s do it!
- Disassemble To Clean

Remove the water tank and capsule container from your Nespresso Expert and clean them manually.
Hazard: The water tank and maintenance module are not dishwasher safe as they may break.
- Cables Safety

Adjust the cord length and tuck the excess under your Nespresso machine to avoid breakage and unnecessary hurdles. Make sure the machine is in an upright position to avoid spilling water.
Hazard: The removable parts are not dishwasher safe.
- Fill The Water Tank

Now, fill the water tank with fresh, potable water to ensure fresh coffee.
- Assemble The Parts

After cleaning and filling the water tank place it back onto its base. Furthermore, place all other parts i.e., drip tray and capsule container in the right position.
- Plug In Your Nespresso Expert

Now, plug your coffee maker into a grounded socket.
Note: Always plug your Nespresso Expert into the mains to avoid loads of electricity.
Connect Machine With Different Gadgets
One of the amazing features of your Nespresso Expert is that you can easily connect it to your mobile. For this information go through the instructions in the “Get the App” section and connect different devices including your phone with your Nespresso.
Initial Cleaning
It’s time to run a water-cleansing brew in your Nespresso Expert. Do it by following the method below:
- Place a suitable container (cup/mug) under the coffee outlet.

- Open and close the slider to see if there is any capsule present.

- Don’t insert the coffee capsule in the capsule holder while the cleansing cycle.

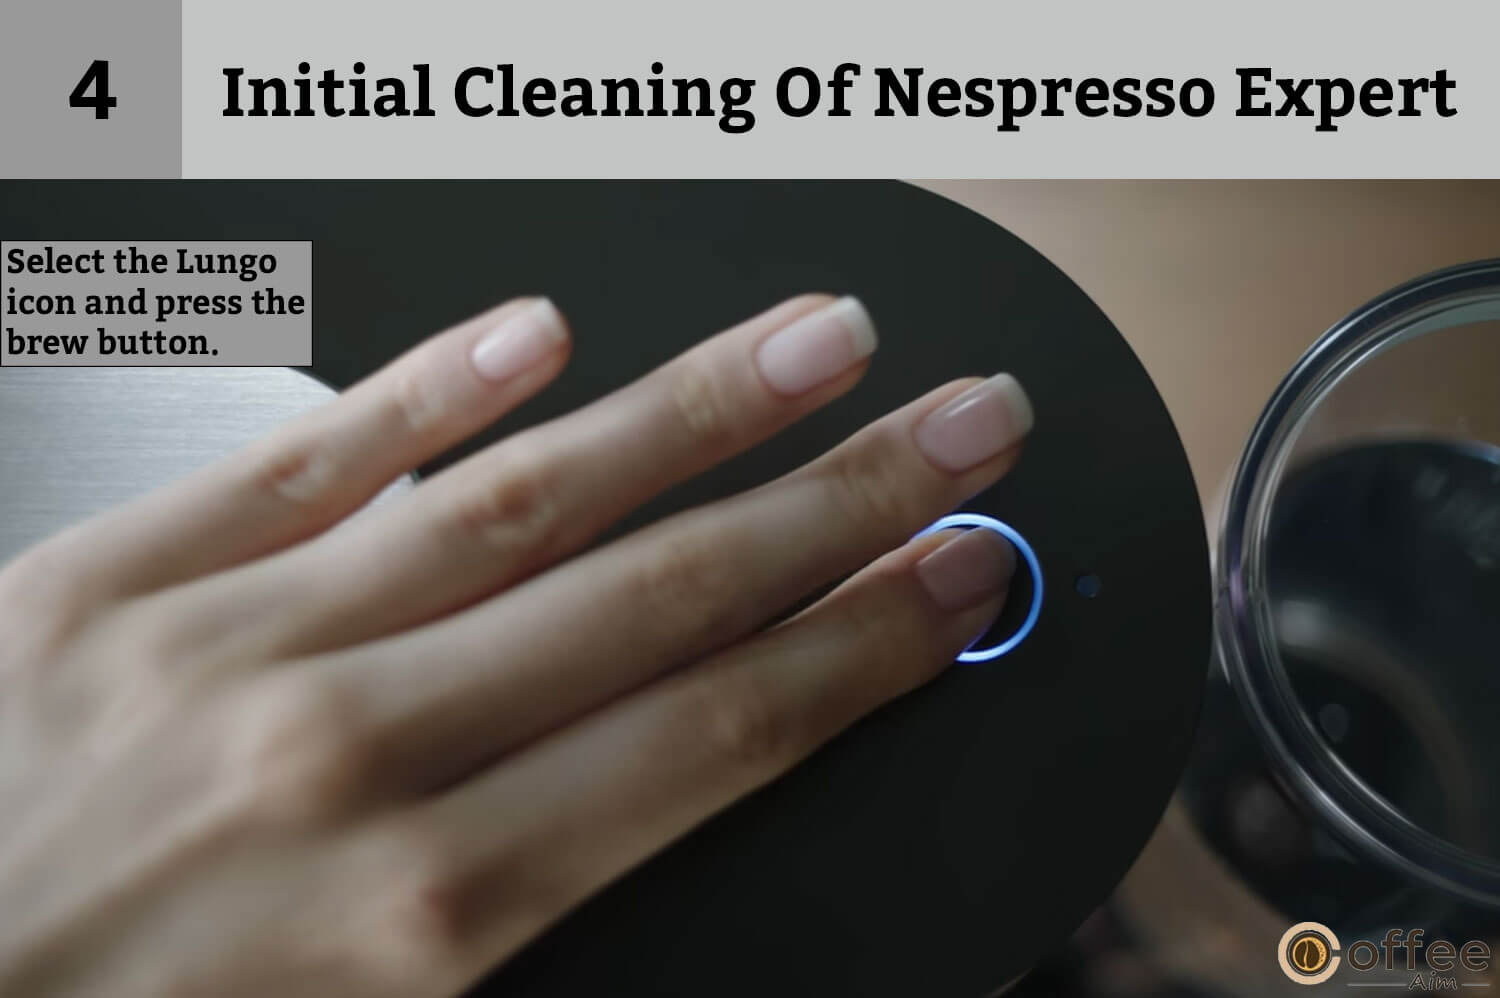
- Now, select the Lungo icon present on the beverage selection dial and press the brew button.
- Repeat this process thrice.

- Now, select the Hot water icon and again press the brew button.

- Repeat the process twice.

- Empty the container and drip tray.

Regular Coffee Preparation
Finally! The time has arrived when you will brew your favorite delicious cup of coffee. Brewing the coffee will take about 25-30 seconds. You can select your desired coffee size (Lungo, Espresso. etc.,) on the beverage selection dial. Coffee will flow automatically when the machine is ready. So let’s delve into the mesmerizing world of coffee!
- Fill The Water Tank
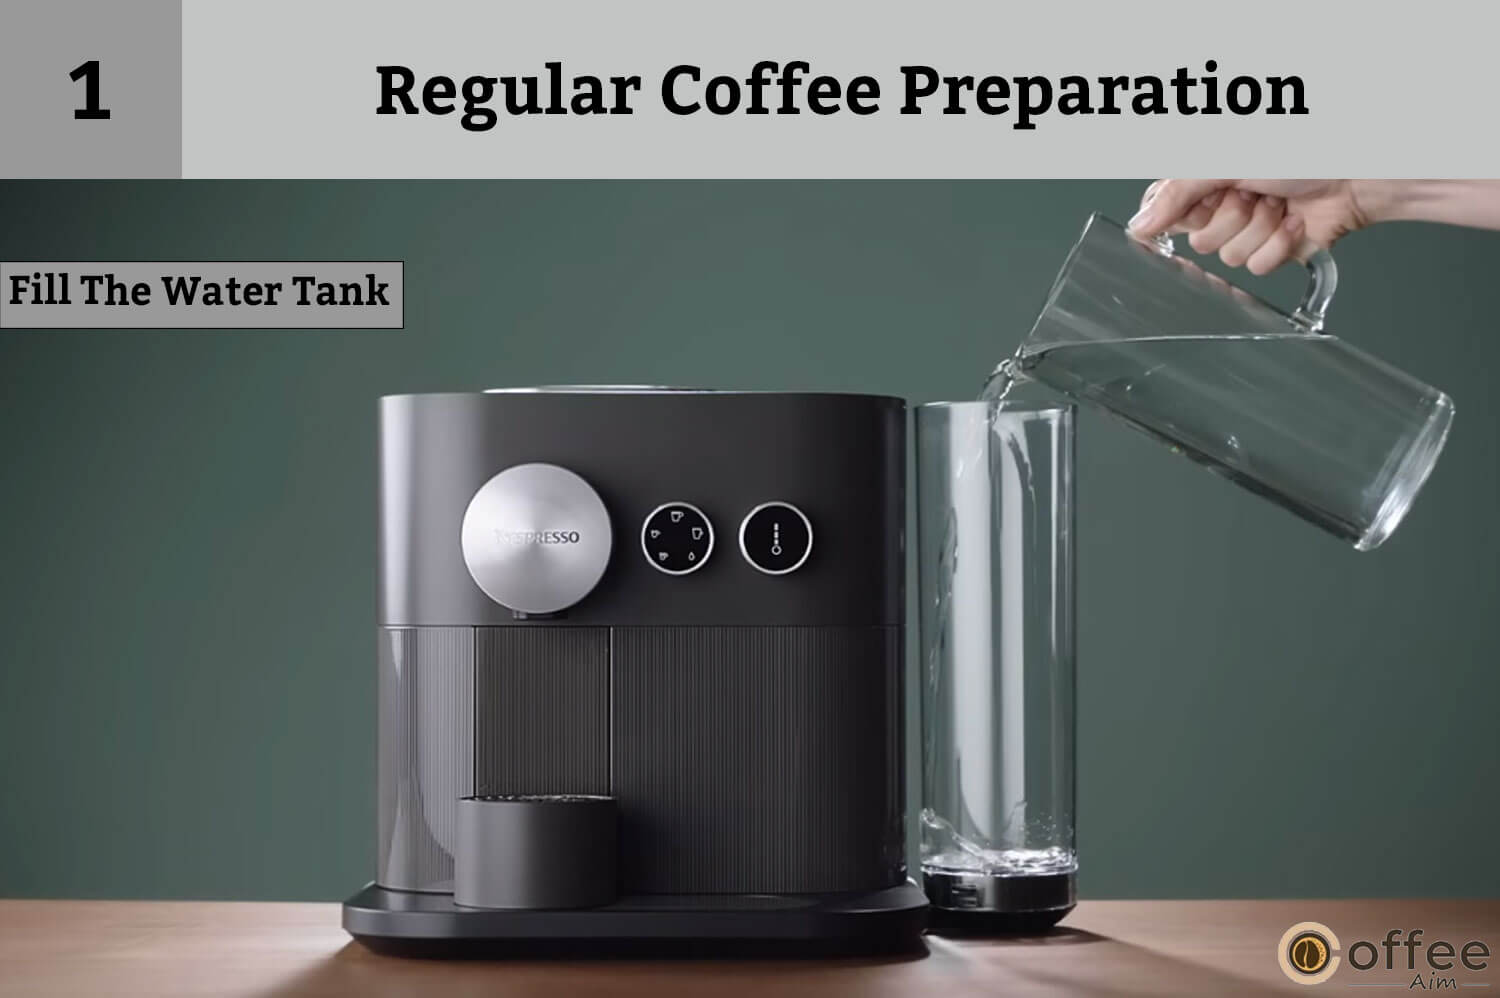
To prevent any interruption while making your favorite coffee, first fill the water tank with fresh drinking water.
- Place Your Favorite Cup
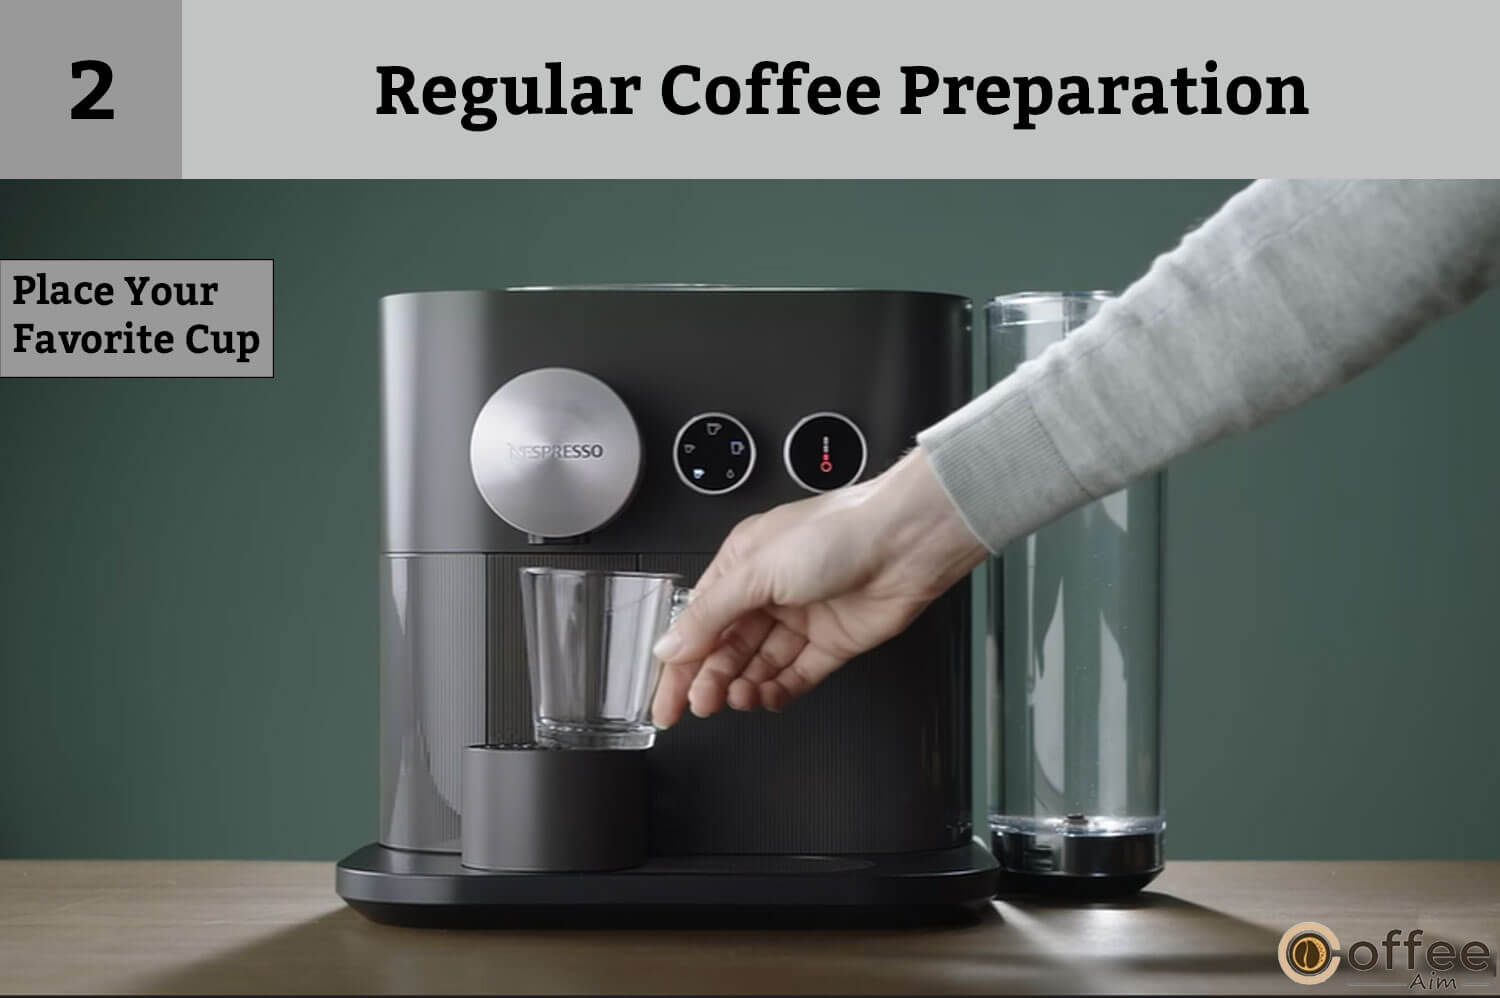
Now, place a cup/mug of your choice or according to the brew size you have selected under the coffee spout. Such as if you have selected Lungo then place a large mug under the coffee spout.
- Cup Size Adjustment
To accommodate a tall glass for coffee, slide the cup base support throughout the metal base of your machine.
- Open The Slider

All it takes is to open the slider, insert a capsule and close the slider.
- Beverage & Temperature Selection

To select the recipe of your choice turn the beverage selection dial until you reach that desired recipe. After that set the temperature by turning the temperature dial to the desired temperature. Now, push the Brew Button to start the brewing process. Once the brewing gets completed it will start flowing out from the coffee outlet.
Important: The highest temperature setting is very hot so in this case, you must use a cup with a handle.
Below is the table that shows the different brew sizes present on the beverage dial through which you can select any one of your choices. Let’s discover!
| Recipes | Volumes |
| Ristretto | 25 ml / 0.84 oz |
| Espresso | 40 ml / 1.35 oz |
| Lungo | 110 ml / 3.7 oz |
| Americano | 25 ml / 0.84 oz coffee; 125 ml / 4.2 oz hot water |
| Hot water | 200 ml / 6.7 oz |
Note: Always use new/unused capsules to maintain hygiene.
- Coffee Is Ready!

Preparation stops automatically and the capsule will eject in the used capsule container automatically after 10 seconds of brewing completion.
- Manual Topping Of Your Coffee
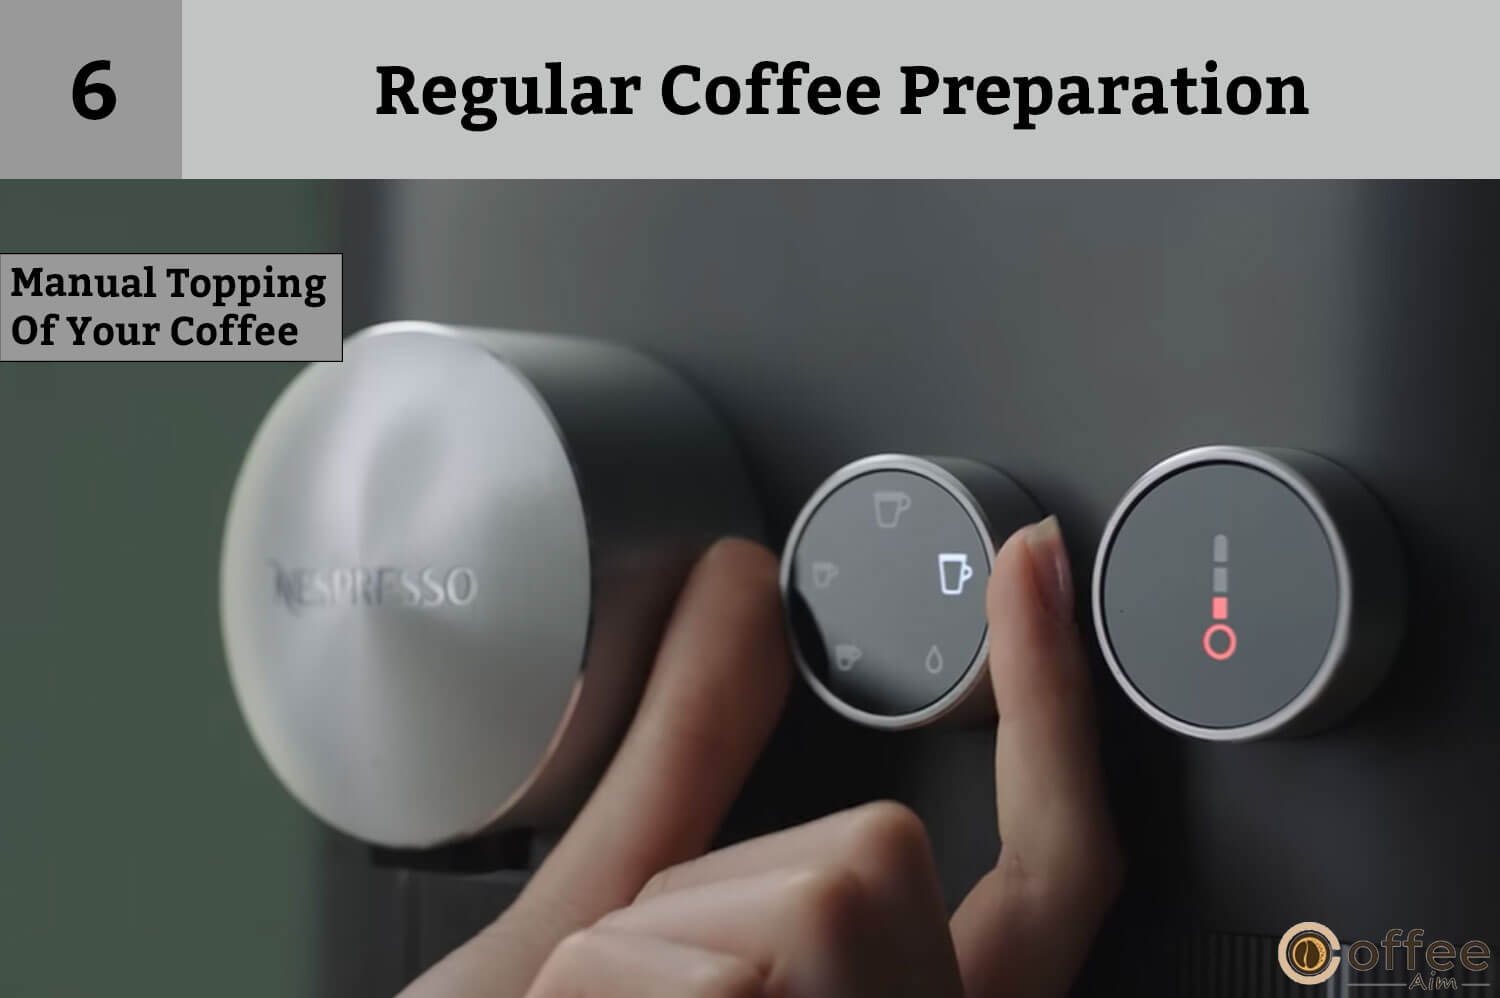
To refill the drink manually, press the brew button within 10 seconds after brewing is finished. To top-up your drink with water, you have to manually select the water icon on the beverage dial.
NOTE: Please note that the temperature cannot be changed during the brewing process.
- Stop Coffee Flow

Do you want to manually stop the coffee flow? Here is the solution! Press the brew button or move the slider slightly to the right of the machine and your coffee will stop flowing out.
Note: In this case, please note that manual topping is not possible.
- Cup Size Adjustment While Brewing

To change the selected cup size during brewing, select the new desired coffee button. If the amount of coffee brewed is more than the new desired coffee size, the machine will stop immediately.
How To Access Setting Mode?
Do you want to program the default machine setting for experiencing different coffee tastes? Then what’s the problem? Don’t you know how to do it? Calm down. Here I have a straightforward way for you. Let’s do it!
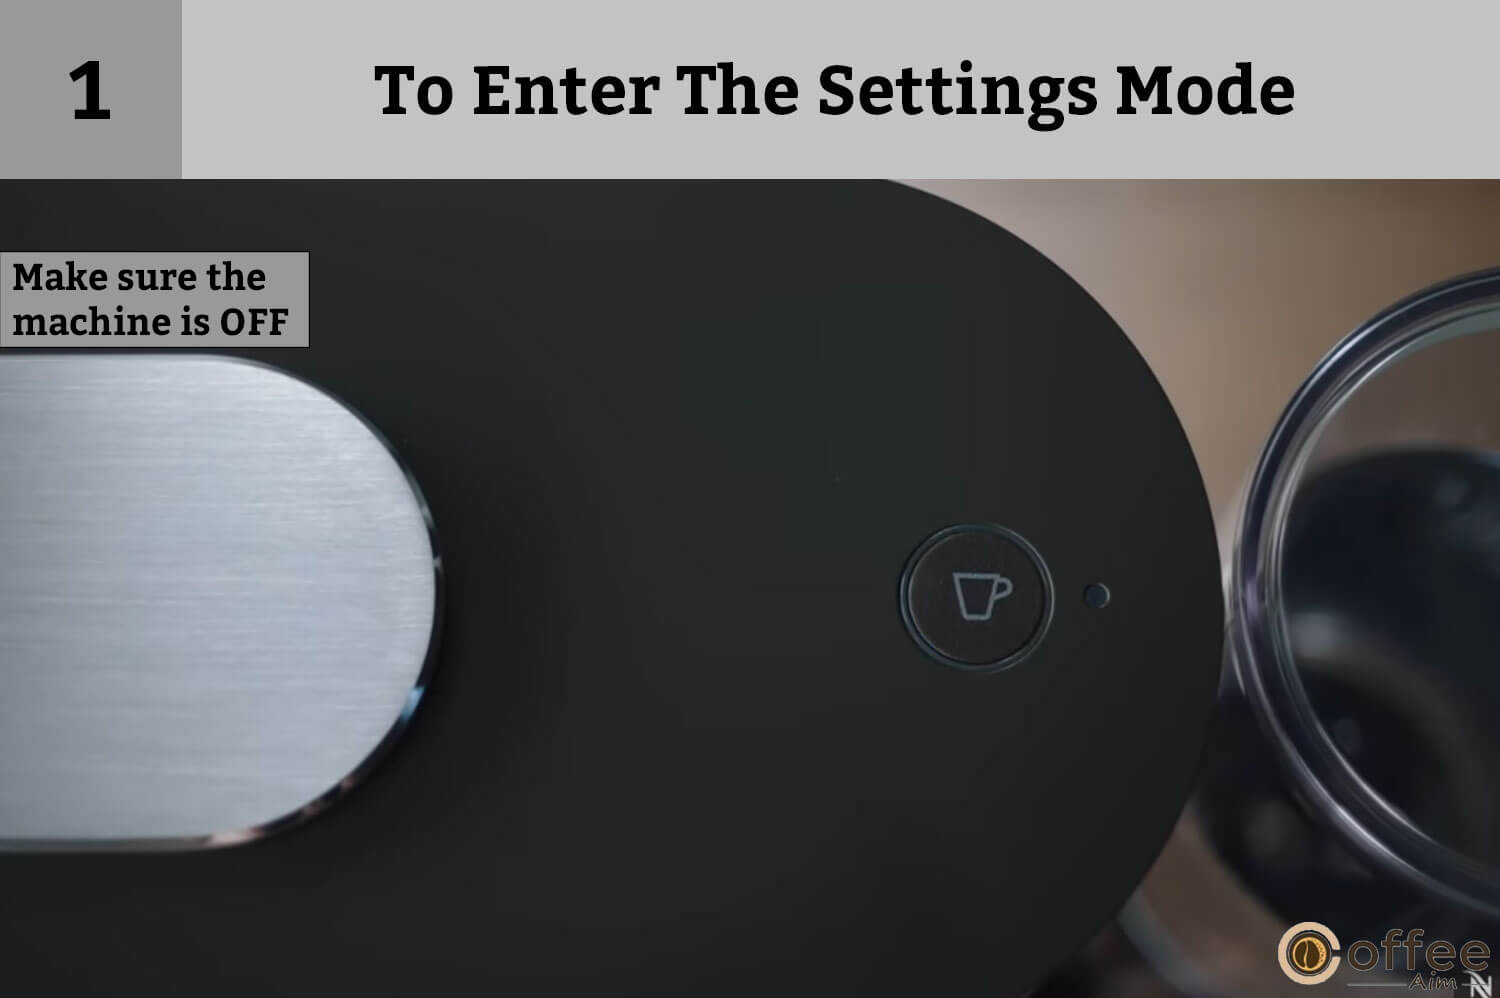
- To Enter The Settings Mode:
- First make sure the machine is OFF and the slider is closed properly.
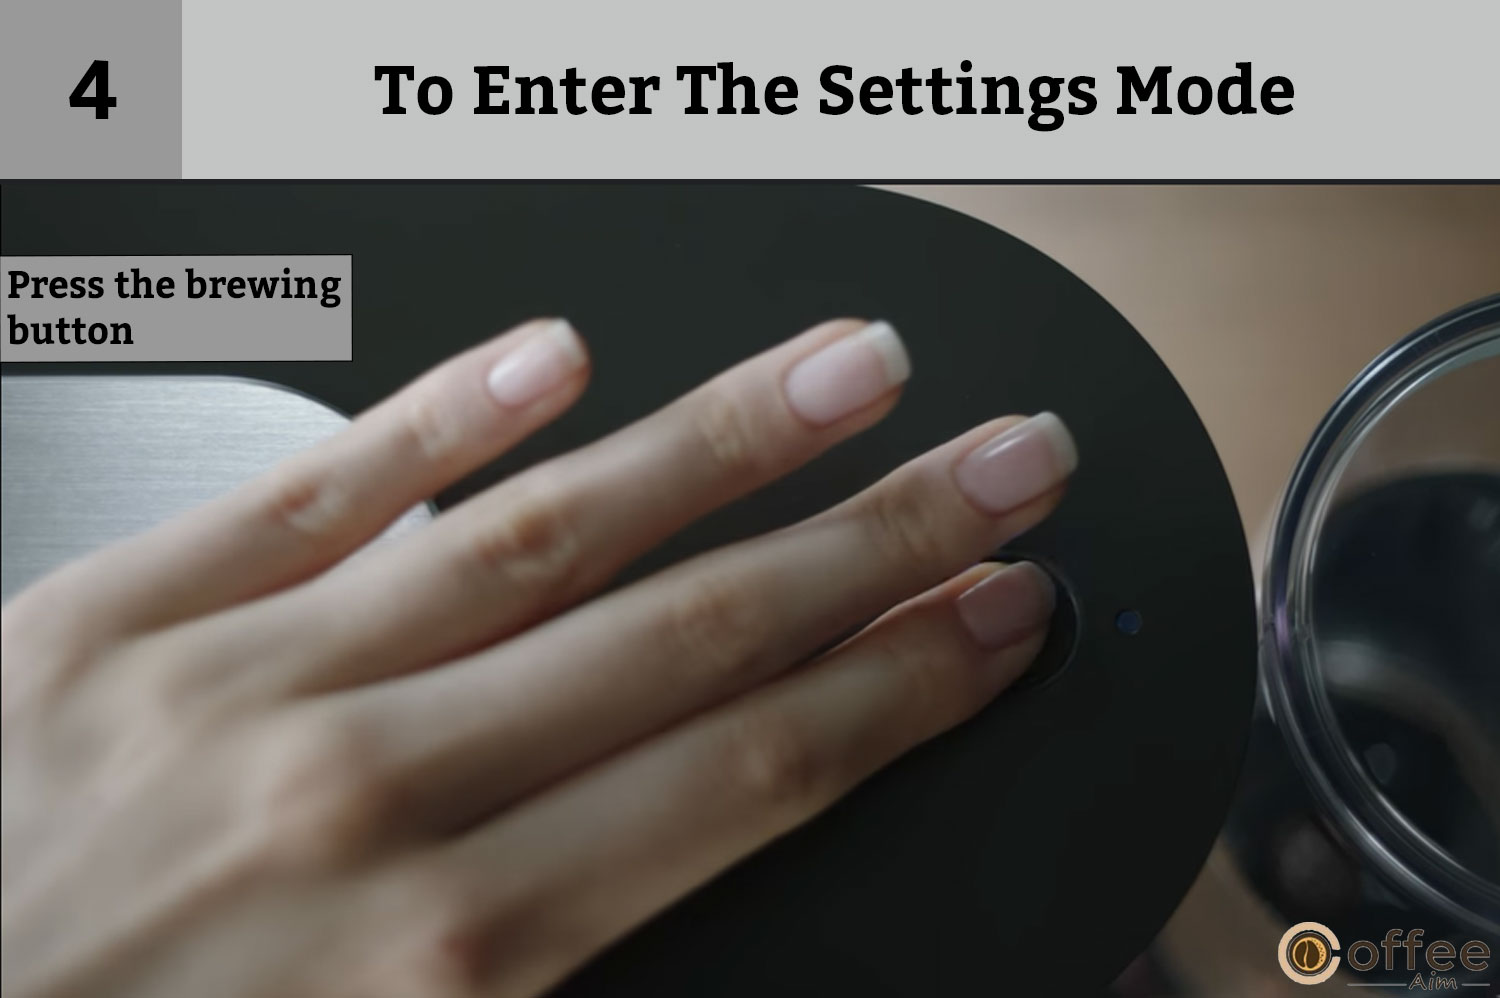
- Now, press the brewing button for 6 seconds.

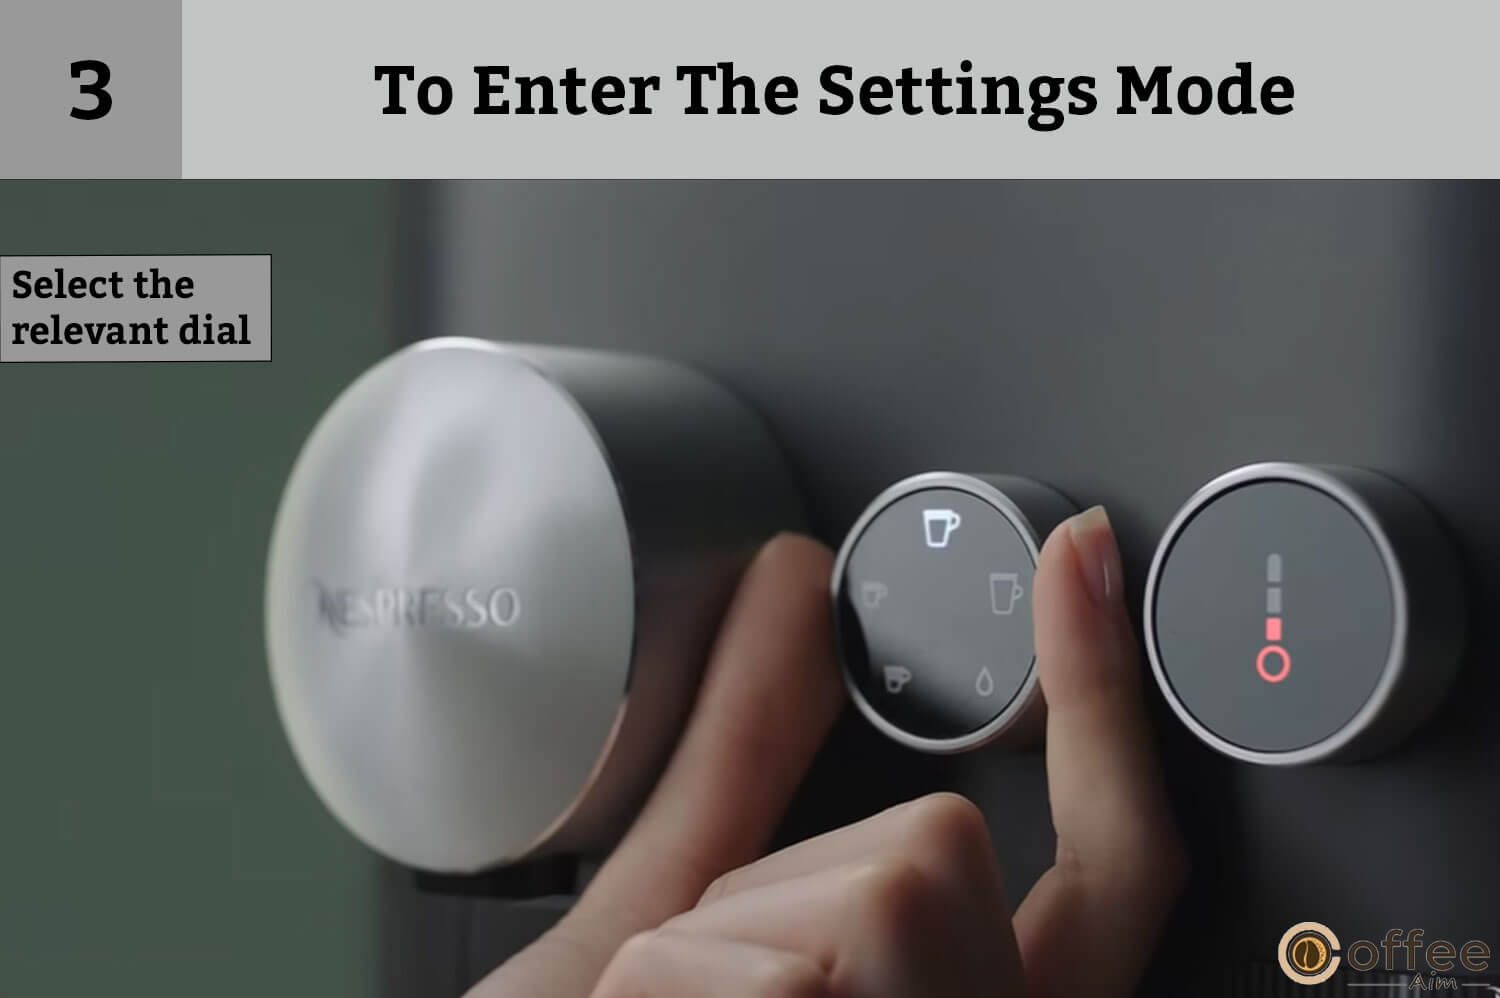
- Select the relevant dial to customize your coffee.
- Press the brewing button.
- To Exit The Setting Mode:
- The machine will automatically return to standby mode after 30 seconds.

- Open the slider.

Setting Mode Options
Are you confused about how to start any process in your Nespresso Expert other than brewing? I know it is a bit confusing because your coffee maker doesn’t have specific buttons for processes like descaling, resetting, etc., Don’t be puzzled! Every brew size icon has distinctive functions. After entering the setting mode you can press a button specific to that process. Below table contains all the functions related to each icon. Let’s discover!
| Brew Buttons | Setting Options |
| Ristretto | Descaling |
| Espresso | Emptying the system |
| Lungo | Reset to factory settings |
| Americano | Water hardness |
| Hot water | Energy savings mode |
| All Lights lit up | Bluetooth activated |
Energy Saving Feature
Your Nespresso Expert has an amazing energy saving feature which is enough to relax your nerves. No problem if you often forget to switch your machine off after brewing completion as it will turn off automatically after 9 minutes of inactivity. Let’s discover this feature!
Change The Automatic Off Mode:
- First enter the settings mode and select the hot water icon.

- Then press the brewing button for confirmation.

- Use a temperature dial to choose the desired time.

- Confirm by pressing the brewing button

- You have successfully turned off the “Automatic Off” mode!

You can also program the automatic off-timer according to your will. Turn the temperature dial up to the limit shown in the images below. The selected icon will blink two times to confirm that changes have been made and after that machine will turn off automatically. Let’s do it!
| Temperature Dial | Time Settings |
| 9 minutes | |
| 30 minutes | |
| 2 hours | |
| 8 hours |
Programming Of Water Volume
Are you not happy with the default water volume setting? if yes then don’t worry. In your Nespresso Expert, every coffee button is programmable to accommodate your needs. Let’s first discover the volume settings of each brew size!
| Beverage | Volume Setting |
| Ristretto | From 15 to 30 ml / 0.5 to 1 oz |
| Espresso | From 30 to 70 ml / 1 to 2.33 oz |
| Lungo | From 70 to 130 ml / 2.33 to 3 oz |
| Americano | Coffee from 15 to 110 ml / 0.5 to 3.7 ozHot water from 25 to 300 ml / 0.84 to 10.1 oz |
| Hot water | From 50 to 300 ml / 1.7 to 10.1 oz |
Settings For Ristretto, Espresso & Lungo:
- Make sure your Nespresso Expert is powered ON before starting the program.

- Open the slider and insert the capsule.

- Close the slider.

- Select your preferred coffee on the beverage selection dial and press and hold the brew button.

- Release the button when the desired volume is reached.

- The Brew button will flash three times to confirm the setting.

Settings For Americano:
- Select the Americano recipe on the beverage selection dial.

- Now, press and hold the brew button until the desired volume is obtained.

- Press and hold again to obtain the desired water volume.

- The Brew button will flash once for verification.
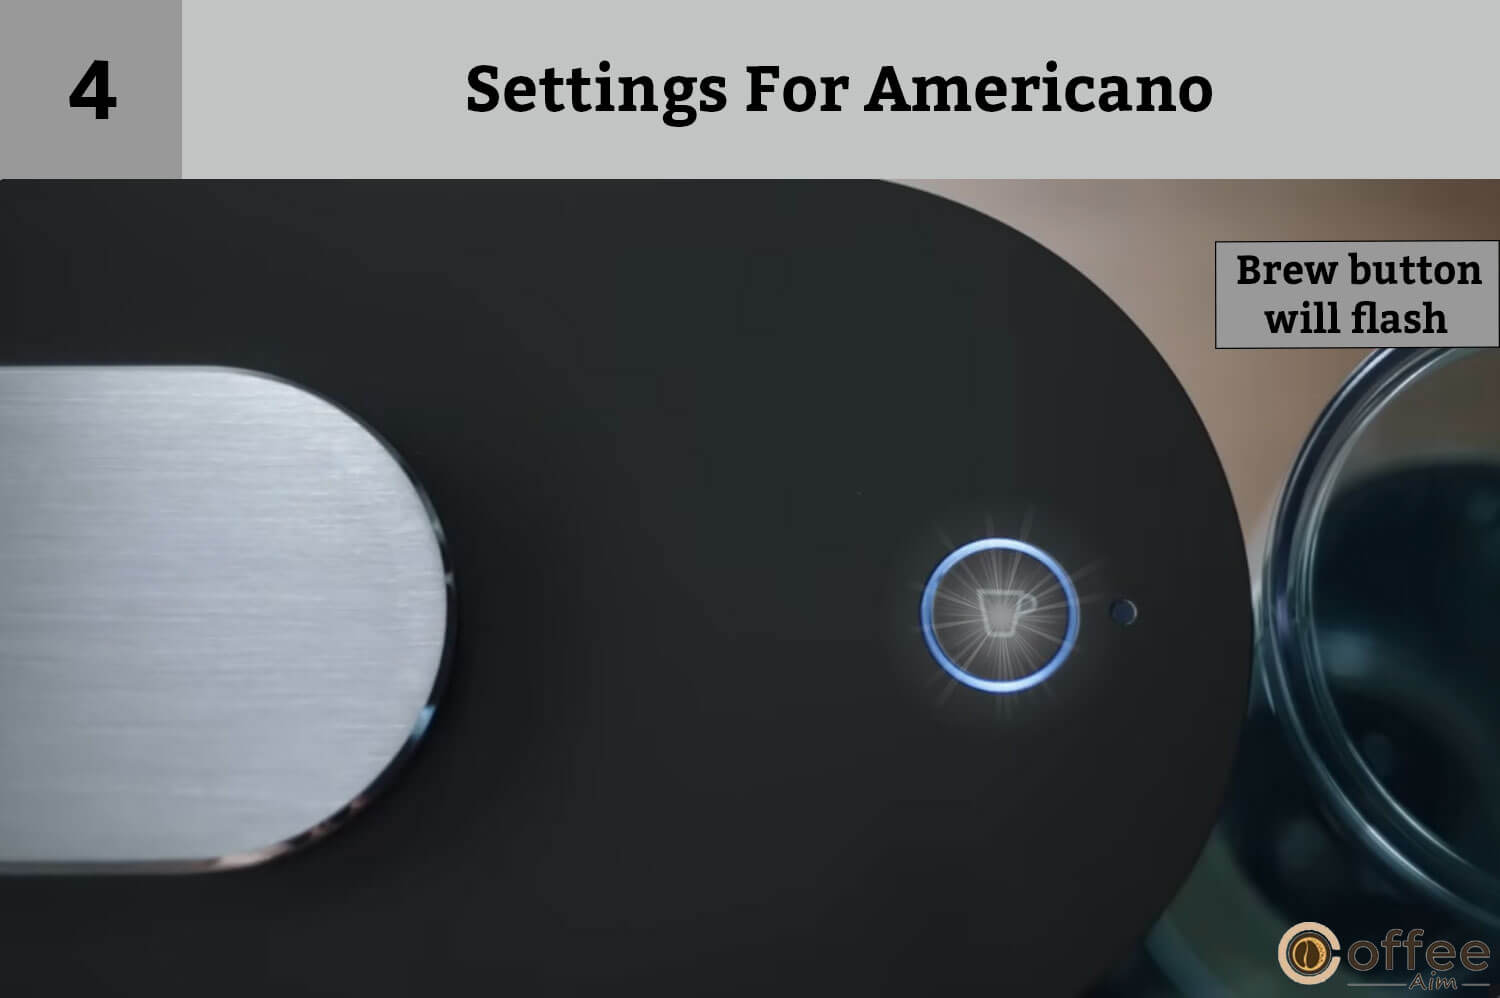
- Your desired amount of water and coffee is now programmed.

Settings For Water Volume:
- Select the hot water recipe on the beverage selection dial and press and hold the brew button until the desired water level is obtained.

- The volume of water is now stored successfully for the future.

Clean Your Nespresso Expert
It’s time to care for your loving Nespresso Expert! Cleaning is a must to keep your coffee maker in good working condition. So, if you want to have a perfect cup of coffee each time then manage some time and do proper cleaning of your Nespresso Expert. Let’s do it!
Note: To ensure hygiene and premature deterioration of your machine, it is highly recommended to empty and clean the used capsule container daily.
- Remove The Water Tank & Lid

First of all, remove the water tank and its lid. Properly clean the water tank and its lid with an odorless detergent and rinse with lukewarm water.
- Dry All Parts Of The Water Tank

Clean and dry all the parts of the container with a clean towel, cloth, or paper, and then reassemble all the parts.
- Clean The Surface

Use a wet cloth and an odorless detergent to prevent harsh chemicals and then clean the machine’s surfaces, including the area under the metal grid.
Hazards: Avoid immersing any object of the machine directly into water or any other liquid.
Avoid using any harsh cleaning materials e.g., solvents, sponges, and dishwashers to clean your machine, also don’t put it directly into the dishwasher.
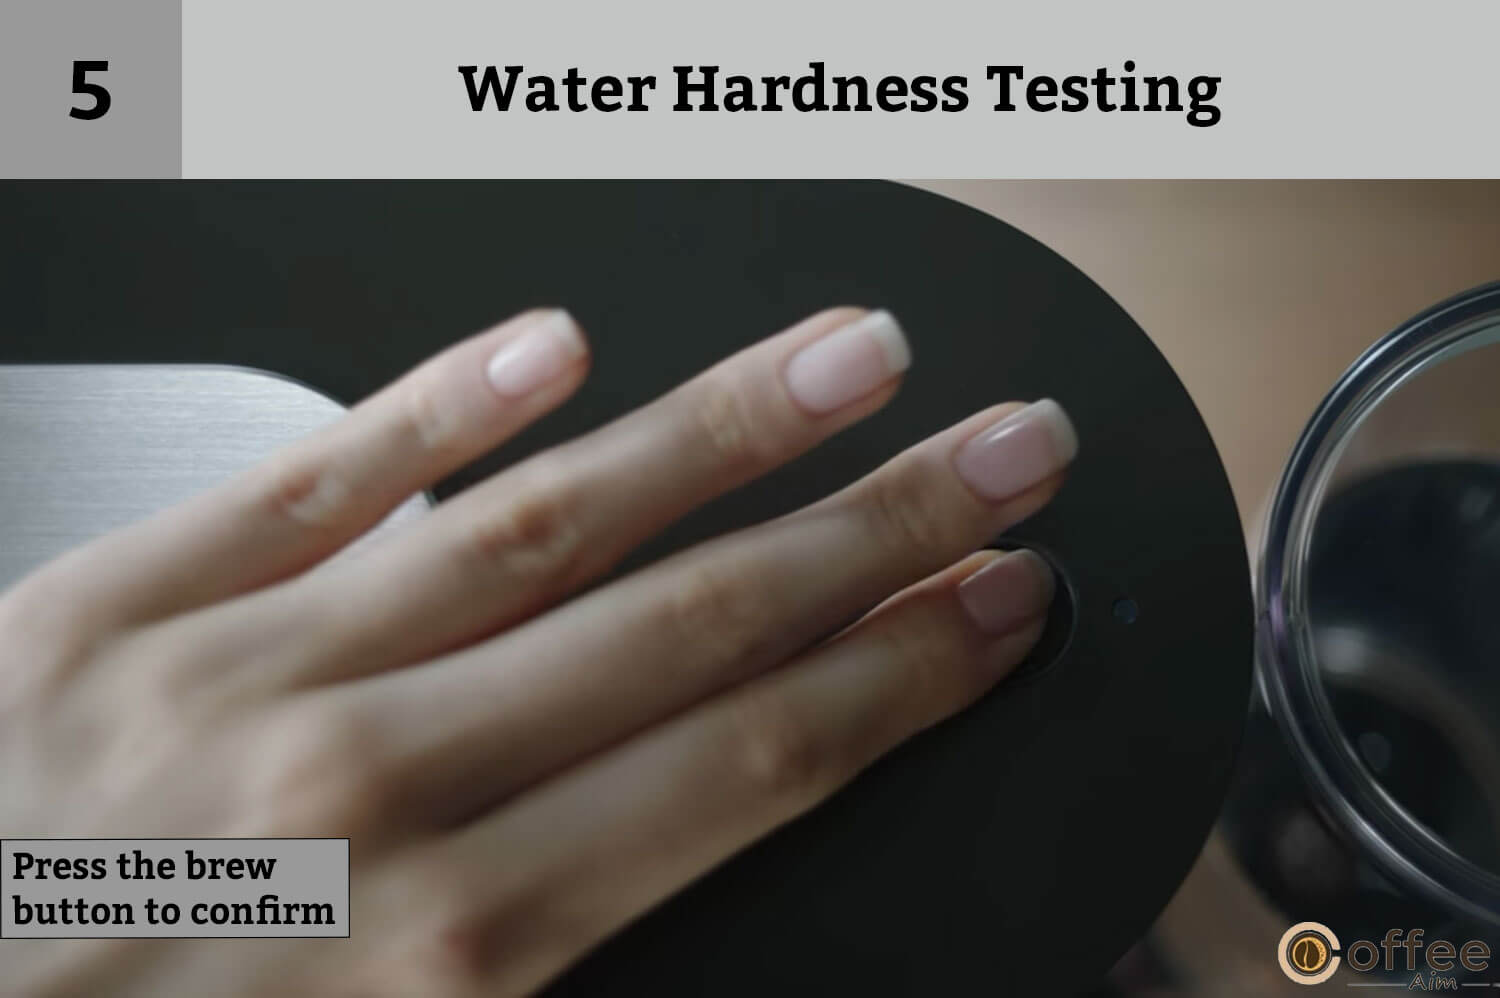
Water Hardness Testing
The level of water hardness can be tested with the water hardness testing stick available on the first page of the user manual.
Here is how to enter the water hardness setting mode:
- First make sure the machine is turned off and the slider is closed properly.

- Then press the brew button for 6 seconds, both dials will start flashing for confirmation.

- Select the Americano icon and press the brew button, the Americano icon will then flash to confirm.

- Use the temperature dial for the selection of the appropriate level

- When finished, press the brew button to confirm.
- The device exits the settings mode and automatically turns off.

| Water Hardness | App. | fH | dH | CaCO3 | Descale after:Cups (40 ml / 1.35 oz) |
| Level 0 | <5 | <3 | < 50 mg/l | 4000 | |
| Level 1 | >7 | >4 | > 70 mg/l | 3000 | |
| Level 2 | >13 | >7 | > 130 mg/l | 2000 | |
| Level 3 | >25 | >14 | > 250 mg/l | 1500 | |
| Level 4 | >38 | >21 | > 380 mg/l | 1000 |
fH- French degree
dH- German Grade
CaCO3- Calcium Carbonate
Note:
You can modify water hardness level any time from using water status level in the App.
Also, a strong use of Americano or hot water function can lead your Nespresso to early descaling.
Descale Your Nespresso Expert
Every area has a different type of water that consists of various mineral contents such as lime. With the passage of time this content build-up in the machine and leads to scale development. Undoubtedly, these scales are non-toxic but if they remain unattended can lead to the malfunctioning of your coffee maker. Therefore, it is necessary to descale your machine in 3-6 months. Let’s descale your precious Nespresso Expert!
Safety Measurements For Descaling:
- When reviewing information about descaling, please read the precautions carefully.
- Information is available in the descaling package in the table where the frequency levels are available.
- Descaling solutions can be harmful and should be used with care and avoid direct skin contact.
- Use products that come with your Nespresso for descaling, other products available at home can damage the machine.
- Consider checking the table that explains the descaling frequency that will work with your machine for each water hardness level
- If you have any further questions, please forward them to the Nespresso Club for clarification.
- The descaling will take approximately 20 minutes.
Note: To leave the descaling feature before confirmation with the temperature button, you have to open the slider as the machine will go back to stand-by mode after 30 seconds have passed.
- Empty The Drip Tray

First of all, empty the drip tray and used capsule container.
- Fill The Water Tank

For the descaling, add two units of descaling liquid into the water tank and then add water up to the MAX FILL line.
- Place A Container

To collect hot liquid (which came out from the coffee outlet after descaling) place a container of a minimum of 1.2 L capacity under the coffee outlet.
- To Enter The Descaling Mode:

- Make sure the machine is OFF and the slider is closed properly.
- Then press the brewing button for 6 seconds and release.
- Both dials will flash for confirmation that you have entered the descaling mode.
- On the recipe icon, select the Ristretto icon and press the brewing button to validate the selection.
- Then, for the temperature dial, select high level “I” to confirm or lower level “O” to cancel, press the brewing button to confirm your choice.
- The Ristretto icon will blink to confirm you are in descaling mode.
Note: The Ristretto icon will flash throughout the descaling process. The light for maintenance will remain On while the machine is automatically running. The maintenance light will flash when manual user intervention is required.
- Descaling Solution Rinse:

- Press the brewing button to start the descaling solution cycle.
- The liquid used for descaling will then run through the hot water and coffee outlet.
- Once the machine stop and the maintenance light start flashing, remove and empty the drip tray and then place it back.
- Press the Brew button again and the machine will stop automatically once the water tank is empty.
Note: You can stop the descaling process anytime by pressing the Brewing button. To continue the process again, just press the brew button again.
- Rinse All The Parts

Wash the water tank, drip tray, and cup support after descaling to avoid any residue in your coffee maker.
- Refill The Water Tank

Fill your water tank again with 1.2 L / 41 oz fresh potable water.
- Fresh Water Rinse:

- After running the descaling cycle, now run the clean water rinsing cycle to clean all the residual chemicals.
- Press the Brew button to start the rinsing cycle.
- Your machine will stop automatically when the water tank runs empty.
- Now, remove and empty the drip tray and place it back on.
- Machine will turn off itself when the descaling process is done.
- Your machine is now ready to use after decluttering.
Note:
If the maintenance light blinks even after you have done rinsing it indicates that you have filled less than 1.2 L / 41 oz water in the water tank. Thus, refilled the water tank up to the recommended limit.
Empty Your Nespresso Expert
Are you planning to stop using your Nespresso Expert for some time? No? You are going to shift to another city and are now worried about how to pack your coffee maker properly so it may not get damaged. No problem! I have the solution to your problem. Let’s empty your Nespresso Expert before packing it.
Disclaimer:
- The steam may come out of the brewer.
- The machine may remain inactive for 10 minutes after emptying.
Remove The Water Tank:

- Remove the water tank from the coffee machine.
- Place a container under the coffee spout.
- Remove the drip tray, empty it, and put it back in the machine.
- Make sure the machine is off and the slider is closed properly.
Enter The Setting Mode:
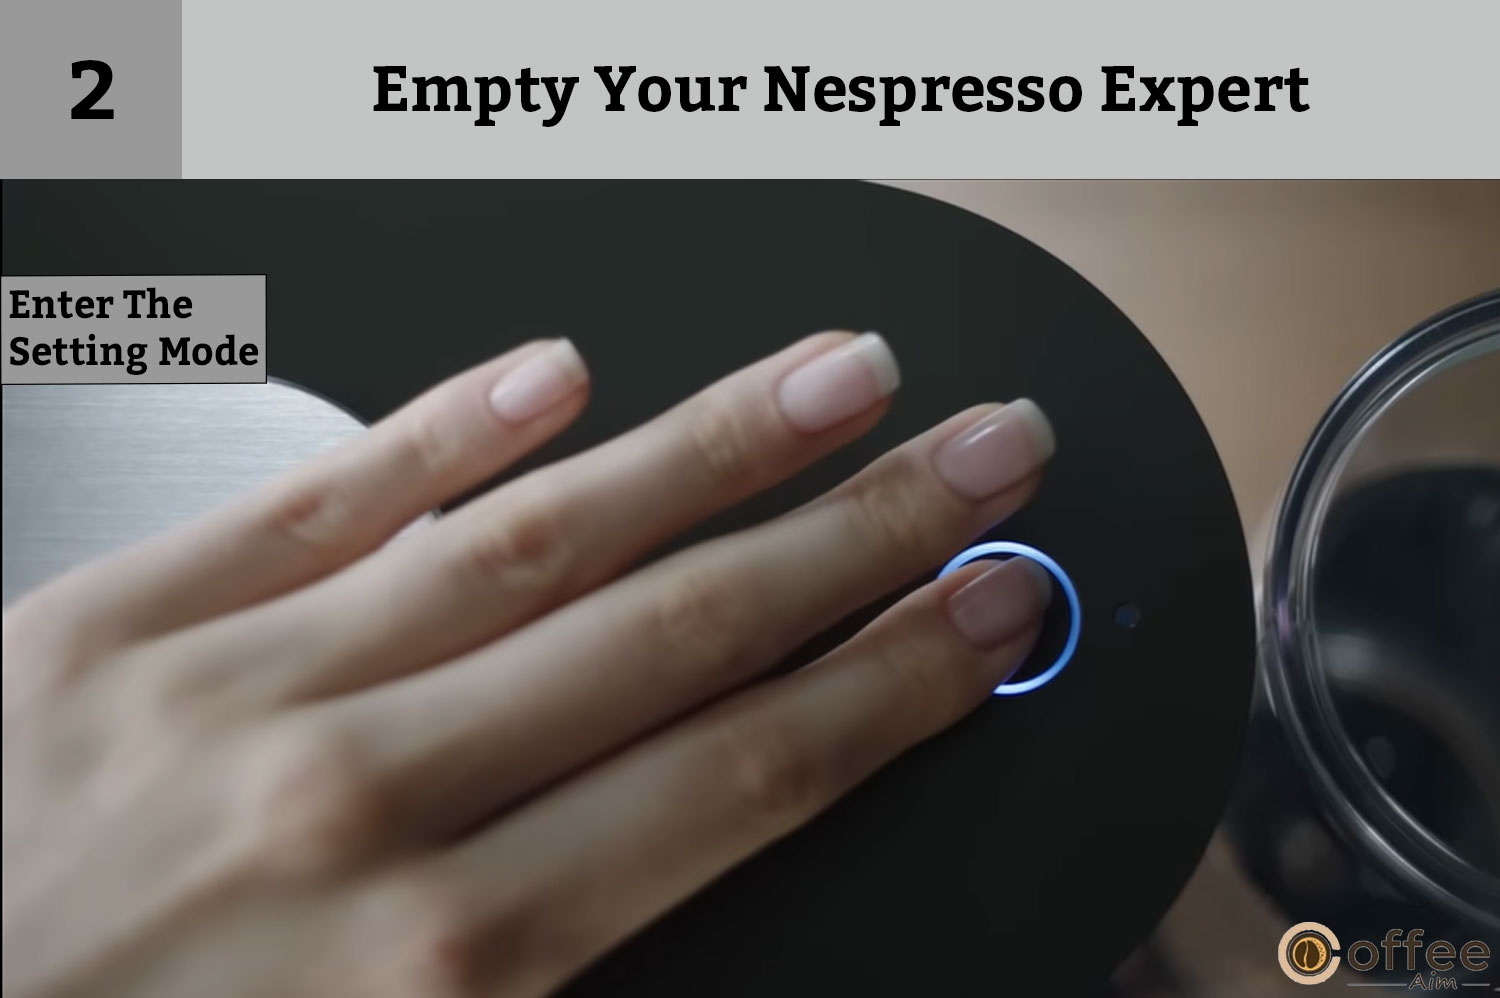
- Press the Brew button for 6 seconds, then both dials will flash to confirm you are in settings mode.
- Select the Espresso icon on the beverage selection dial and press the brew button, the espresso icon will flash for confirmation.
- Press the brew button to exit this mode without resetting the factory setting.
- To restore the factory settings, turn the temperature dial to the maximum level and press the brew button.
- The emptying process will begin soon after.
- Clean the drip tray and cup holder when done with the brewing process.
- The machine will automatically switch to off mode when the machine is empty.
Turning Your Nespresso Back To Default Settings
Are you not happy with the programming you have made and now want to turn back to the default settings of your Nespresso Expert? It’s not a big deal. Let’s do it!
Disclaimer: If you are doing a factory reset it will remove the pairing and capsule stock management and resets the water hardness level.
Factory Default Settings
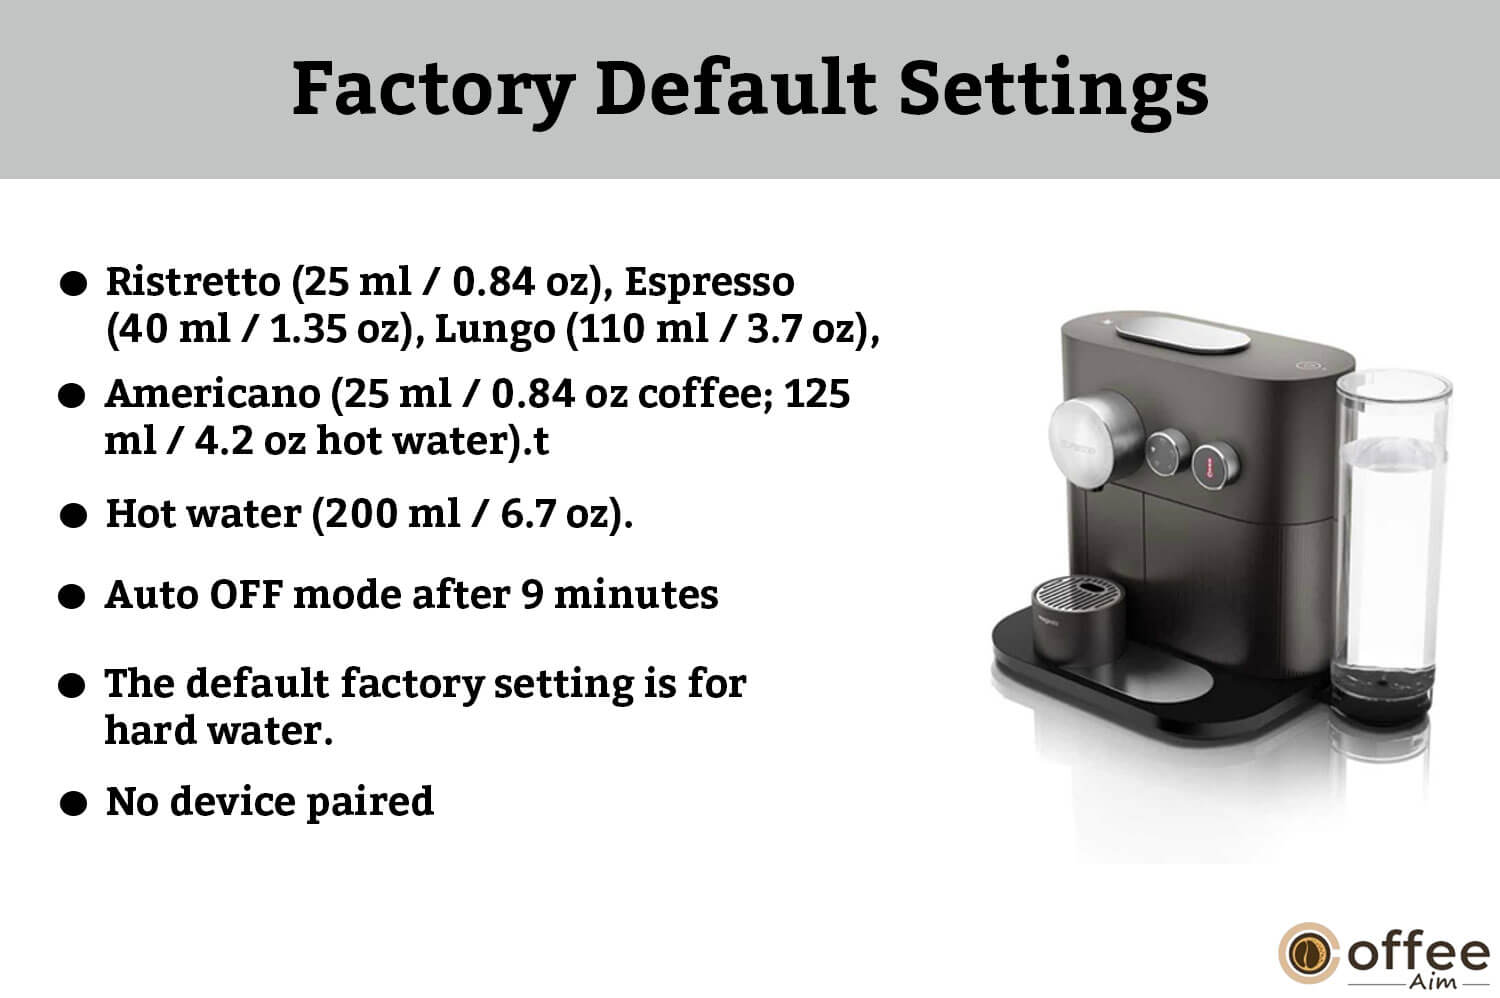
These are the in-built factory default settings. Let’s have a look at these settings first!
- Ristretto (25 ml / 0.84 oz), Espresso (40 ml / 1.35 oz), Lungo (110 ml / 3.7 oz),
- Americano (25 ml / 0.84 oz coffee; 125 ml / 4.2 oz hot water).
- Hot water (200 ml / 6.7 oz).
- Auto OFF mode after 9 minutes.
- The default factory setting is for hard water.
- No device paired.
How To Reset To Default Factory Settings?
- Make sure your machine is off and the slider is closed.

- Press the brew button for 6 seconds in the result both dials will flash to confirm that your
the machine has entered the setting mode.

- Then select the Lungo Cup and press the brew button.

- Lungo Cup will blink to confirm that your machine has entered the resetting mode.
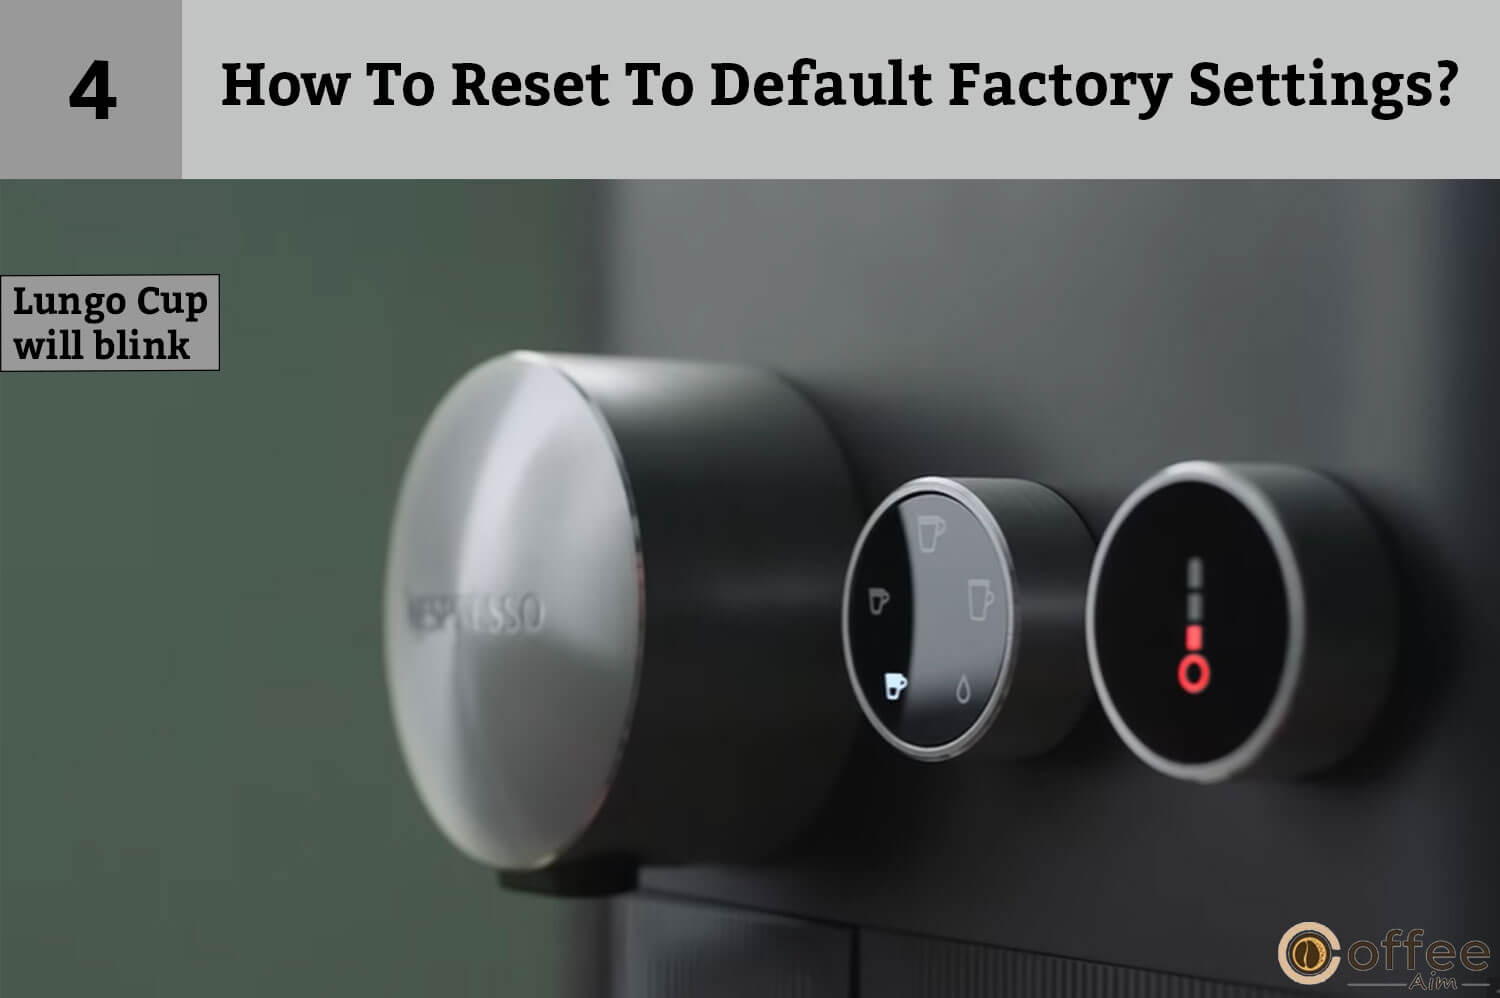
- Press the brew button to exit this mode without factory resetting.

- To reset the machine to initial settings, turn the temperature dial to the maximum level and press the brew button.

- All the lights will start blinking to confirm.

Troubleshooting
You are upset because your Nespresso Expert is not working properly. Now your main problem is how to fix it. Will you have to call a technician or contact Nespresso Customer Service? Wait, calm down! There is no need to be tense. Here I have listed the most common issues and their solutions. Now be happy and repair your Nespresso Expert by yourself. Let’s go!
| Sr no. | Problem | Possible Reasons & Solutions |
| 1. | Pairing with your device was not successful. | First, check if the Bluetooth on your phone or tablet is activated.Check the compatibility of your device with the machine by visiting the “Get the app” section.Make sure the device which you have connected is at a distance of 20cm at pairing time.When pairing, there shouldn’t be a microwave placed nearby. |
| 2. | If you want to unpair your machine via the App. | First, go to the app and click the “Name” then click on the “Machine status” and after that click on “Unpair this Machine”At last, click on “unpair this device” to confirm the unpairing. Note: If you unpair your machine, this will cause the machine to go back to default settings and all the saved programs will lose. |
| 3. | No Lights on the coffee machine. | It may be because your machine turned off automatically. (Check the paragraph on “Energy Saving Feature”).Check the mains, plugs, and fuse. |
| 4. | No Coffee No water coming out, and unusual coffee flow. | Check the water tank is in position.If the water tank is empty then fill it up to the MAX FILL line with potable water.Descale your Nespresso Expert if necessary. |
| 5. | Coffee is not hot enough. | Maybe the cup is too cold, consider getting it preheated.Descale your Nespresso Expert if necessary. |
| 6. | The slider for coffee placement is not closing completely or the machine isn’t brewing. | Consider emptying your capsule container.Check if there is any capsule blocked in the machine. Note: Don’t place your finger inside the machine. |
| 7. | Water Leakage (Water under the machine). | Unplug your machine Remove and empty the drip tray if full.Clean all the water under the machine.Replug your machine into a grounded switch. If the problem persists then contact Nespresso Club. |
| 8. | The Maintenance light is ON. | If the brew light is on and also the maintenance light is slowly blinking it means descaling is required.Brew light is off but the Maintenance light is ON, which means the water tank is empty or the capsule container is full. If the problem persists, call the Nespresso Club. |
| 9. | The Nespresso light is ON. | It indicates that your capsule stock is empty. (You can order your new batch from the App or the Nespresso website). |
| 10. | The machine is overheating or in an environment below 0 degrees. | The maintenance light will go on and also the brewing button will be off.The temperature button will blink fast.Wait for a while until all the buttons are off.You can’t use the machine during this period. |
| 11. | The water and coffee flow is not stopping even after pressing the brewing button. | Move the slider slightly towards the back of the machine to stop the flow.The pouring of hot water stops after a short time. Therefore, don’t worry it is not a problem. |
| 12. | No coffee flow, water is directly going into the drip tray (Despite the capsule being inserted). | Check the slider by pulling it to make sure it is closed.If the problem is not fixed, call the Nespresso Club. |
| 13. | The machine automatically turns to OFF mode. | It is normal as your Nespresso Expert automatically goes to OFF mode after 9 minutes of inactivity for energy saving. (Check the paragraph on the “Energy Saving Feature”).To turn your Machine “ON”, press any of the Coffee buttons or open the slider. |
| 14. | The capsule container and drip tray are stuck. | Unplug the machine to switch it off.Lift your machine up.There will be a hole underneath the machine, push it to take off the container manually.Clean the capsule container, and drip tray and get it back on. |
Get The App
One of the amazing features are you can download the Nespresso App on your mobile phone or tablet and can handle your Nespresso Expert through this app. This app allows many updated features that you may not know by reading manuals only. Let’s see how you can get this app!
- You can download this app on both Android and iOS via Google Play Store and App Store respectively. However, If you already have it, update the App to access new features.

Note: To check if your device is compatible with this app go to http://www.nespresso.com/.
- Launch the App In Your System.

- On the upper right corner, click the machine icon in the Nespresso app.

Pairing Your Device
You have the Nespresso app on your phone and now it’s time to connect your device with the Nespresso Expert via pairing Bluetooth and WIFI.
To connect your device make sure it is in the 20cm vicinity of your Nespresso Expert.
Note: Make sure the Bluetooth mode is activated on your mobile device beforehand.
Connectivity Functions
Through the app you will get access to several amazing functions and programs such as
- Management of recipe
- Capsules stock management
- Schedule a coffee brewing timing
- Brew your coffee now or later
- You will be notified in case of any maintenance needed
- The descaling alert will tell you if any cleaning is necessary
- And more to see via the App
Contact Nespresso Club
I have attempted to cover each factor of your gadget and the trendy facts available. If your question has not been answered, please forward it to the Nespresso Club or your Nespresso representative.
Contact details to speak with a representative can be found in the Welcome to Nespresso brochure.
Disposal And Environmental Protection:
This machine fulfills all requirements of EU Directive 2012/19/EC. Both the packaging and the device are made from recyclable materials. This machine is manufactured using high-quality materials that are recoverable and recyclable. In the case of residual waste obtained from recycling, they can be used to obtain fairly pure materials.
The appliance can be recollected through a collection point thus, leave your appliance there. Information on disposal can also be obtained from local authorities.
For more information on Nespresso’s sustainability strategy, please visit http://www.nespresso.com/positive.
Breville Limited Guarantee
Breville takes responsibility for any manufacturing or workmanship defects in your product in the time span of 2 years in case of domestic use and 3 months in case of commercial use. In this time frame, Breville is going to take full responsibility for the replacement or repair of the damage to the machine at no cost at all.
If the product has been repaired or replaced, the guaranteed time is going to start from the date of purchase instead of the time of repair to the product. This assurance disclaims responsibility for indirect losses, as well as any other losses or damages to people or property resulting from any cause.
Moreover, it excludes flaws brought on by failure to use the device in accordance with instructions, accidental damage, abuse, tampering by unauthorised parties, poor maintenance, consumable parts, or ordinary wear and tear. It also does not pay for the expense of filing a warranty claim. Except when required by law, the provisions of this warranty are in addition to and do not limit, exclude, or otherwise alter the statutory rights that apply to the sale of the goods to you.
Your Nespresso machine will only operate properly and last as long as you use Nespresso capsules. This guarantee does not apply to any defect brought about by the use of non-genuine Nespresso capsules.
How To Claim Under Breville’s Warranty
Nespresso is taking the responsibility of tackling the product on behalf of Breville. If you think your product is faulty, get in touch with Nespresso customer service right away to find out where to ship or bring it so that a Breville-authorized service specialist can fix it.
Contact Nespresso
Australia: 1800 623 033
New Zealand: 0800 234 579
Note:
This product is imported and its warranty is distributed by Breville. Nespresso should not be considered for any liability considering the guarantee and warranty of this product, and all the terms and conditions directly follow the rules set by Breville itself.
Conclusion
Bingo! You have mastered the use of your Nespresso Expert by reading this guide. Now, head toward your coffee maker and extract delicious coffee for you in no time and without any hesitation. I have put my full potential to answer all your queries related to Nespresso Expert, however if you are still confused why not have another tour of this guide? Furthermore, if you want to know about the coffee machines and beans then do visit the “CoffeeAim” and satisfy your craving for coffee information.
Time to treat you with a delicious cup of coffee!
FAQs
How Does Nespresso Expert Work?
It’s quite a straightforward process as you can brew your cup of coffee in no time. Let’s have a look at it!
- First, fill up the water tank with freshwater.
- Turn on your machine.
- The machine will heat up in approximately 25 sec.
- The temperature dial will blink during this time and stop once the machine is ready.
- Select a Nespresso capsule.
- Open the slider, insert a capsule, and close the slider.
- Then place a glass cup under the coffee outlet.
- Turn your beverage dial to select your desired coffee cup size and turn the temperature dial to select the desired temperature.
- Press the brewing button.
- Your coffee will begin to flow.
- Once done, it will stop automatically.
How Do I Connect My Nespresso Expert Machine?
You can easily connect your Nespresso Expert with any of your devices (Android, iOS, tablet) by following the method below:
- Make sure your Nespresso Expert is plugged into the main socket.
- Press the brew button, open the slider, or turn the dial to switch the device on.
- Make sure that Bluetooth is enabled on your mobile device and that you are close to your Expert.
- Download the Nespresso app or if you have it already then update it to the latest version.
- Launch the app on your smartphone or tablet.
- From the Nespresso app homepage, click on the machine icon.
- Follow the pairing instructions on the app.
- When pairing is complete, the Nespresso icon will appear on the screen.
- Congratulations! You have successfully paired your device.
How Do I Use My Nespresso For The First Time?
- Rinse and clean the water tank before filling it only with fresh drinking water.
- Put the water tank in place.
- Ensure the capsule container and the cup support are in place.
- Plug your Nespresso Expert in a grounded socket.
- Switch it ON by pressing the brew button, opening the slider, or turning the dial.
- Place a suitable container under the coffee outlet.
- Now, select the Lungo icon present on the beverage selection dial and press the brew button.
- Repeat this process thrice.
- Now, select the Hot water icon and again press the brew button.
- Repeat the process twice.
- Empty the container and drip tray.
How Often Should You Rinse The Nespresso Expert Machine?
After 600 coffees or at least every six months, you should descale your Nespresso machine, according to the instructions. In addition, once the coffee has been made and the capsule has been taken out, we advise letting the water run to clear the coffee residue.