Quick Navigation
Welcome to the ultimate guide on how to use the Keurig B-40, a convenient and efficient coffee maker that brews your favorite beverages with ease. In this article, we’ll provide step-by-step instructions and expert tips to ensure you get the most out of your Keurig B-40 experience. Whether you’re a coffee enthusiast or simply looking for a quick and hassle-free brewing process, this guide will walk you through every aspect of using your Keurig B-40 and help you savor the perfect cup of coffee or tea every time. Let’s dive in and unlock the full potential of your Keurig B-40 Brewer!
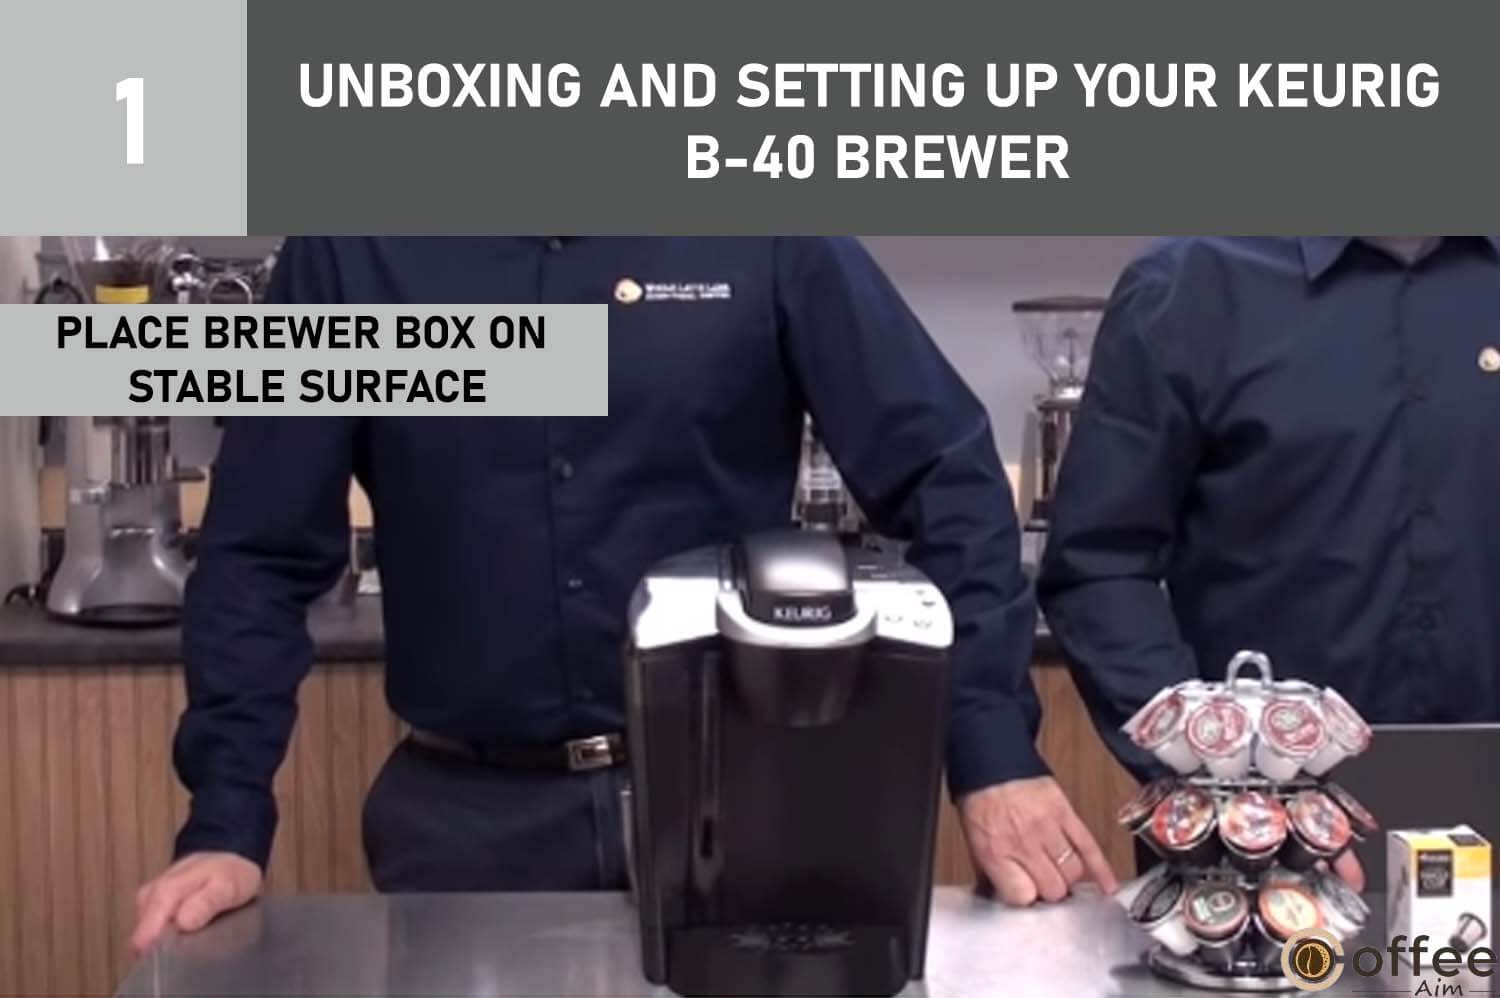
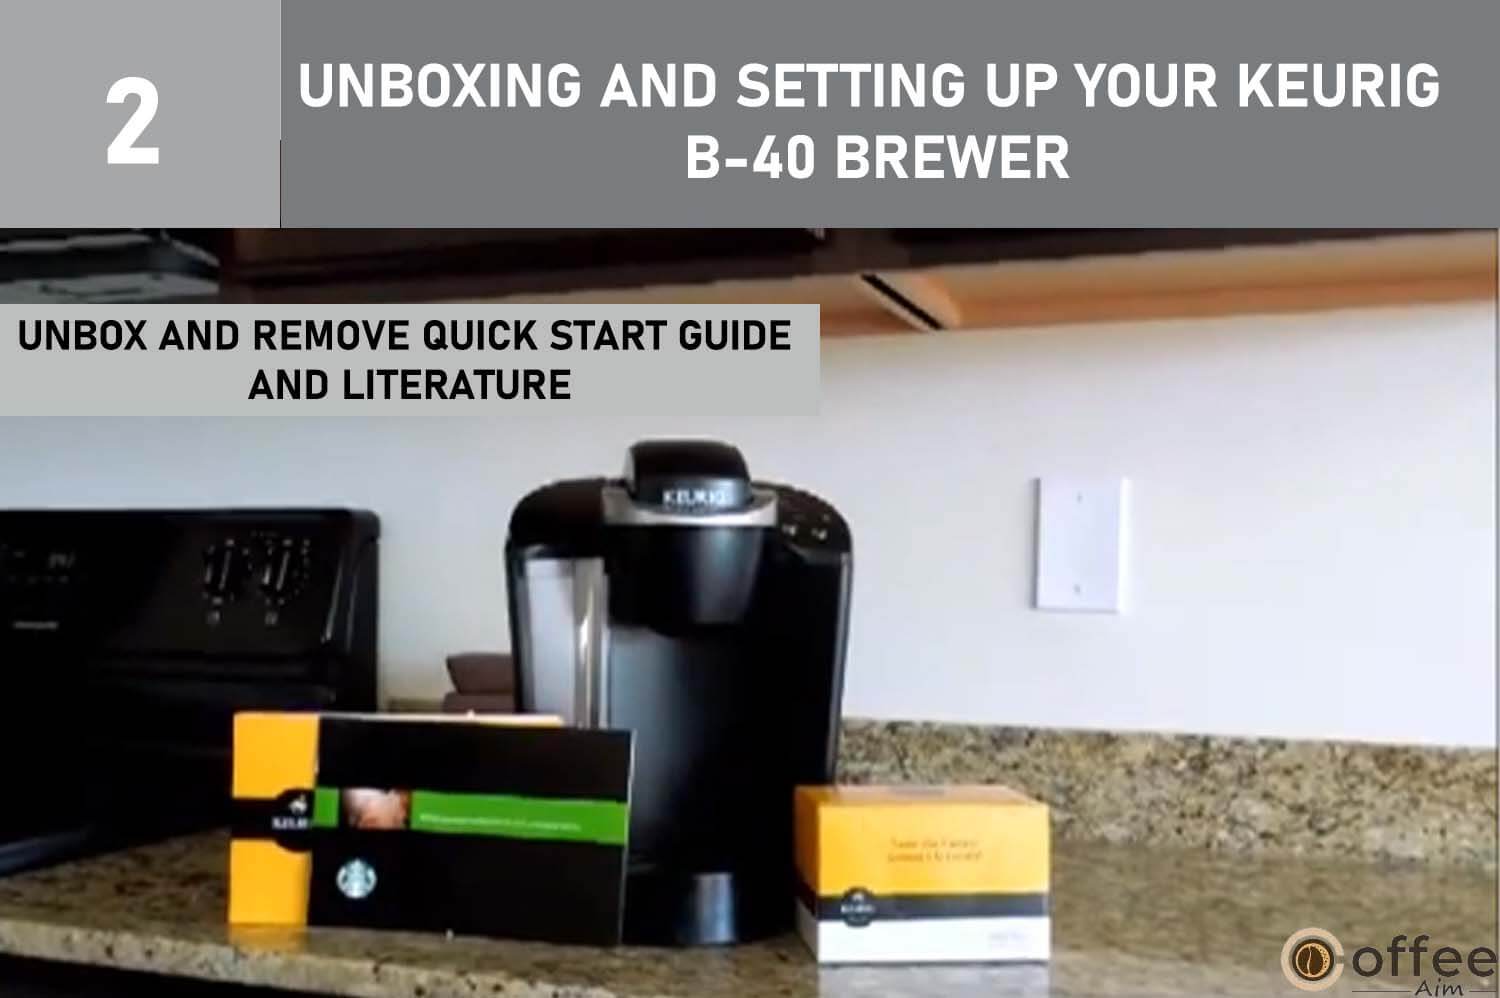
Unboxing and Setting Up Your Keurig B-40 Brewer
1. Find a large steady surface like a table or countertop to place the Brewer box.
2. Open the box and remove the Quick Start Guide, Use & Care Guide, and other literature.
3. Take out the package of complimentary K-Cup® portion packs.

4. Turn the box upside down with the front facing down.

5. Reach into the box and grab the plastic bag containing the Brewer.
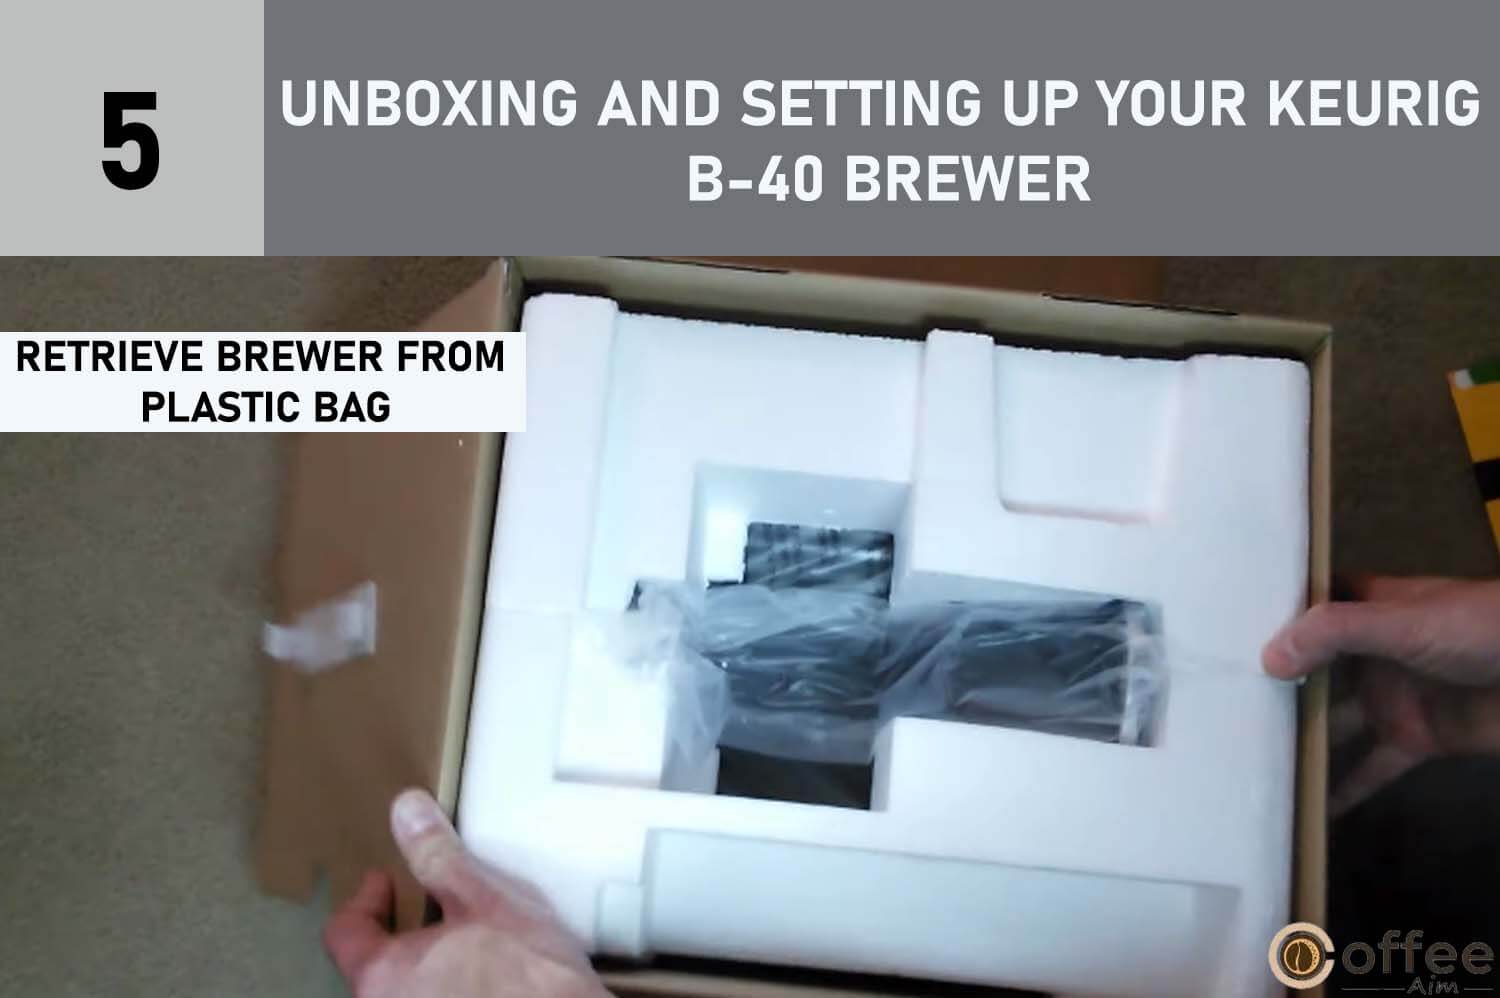
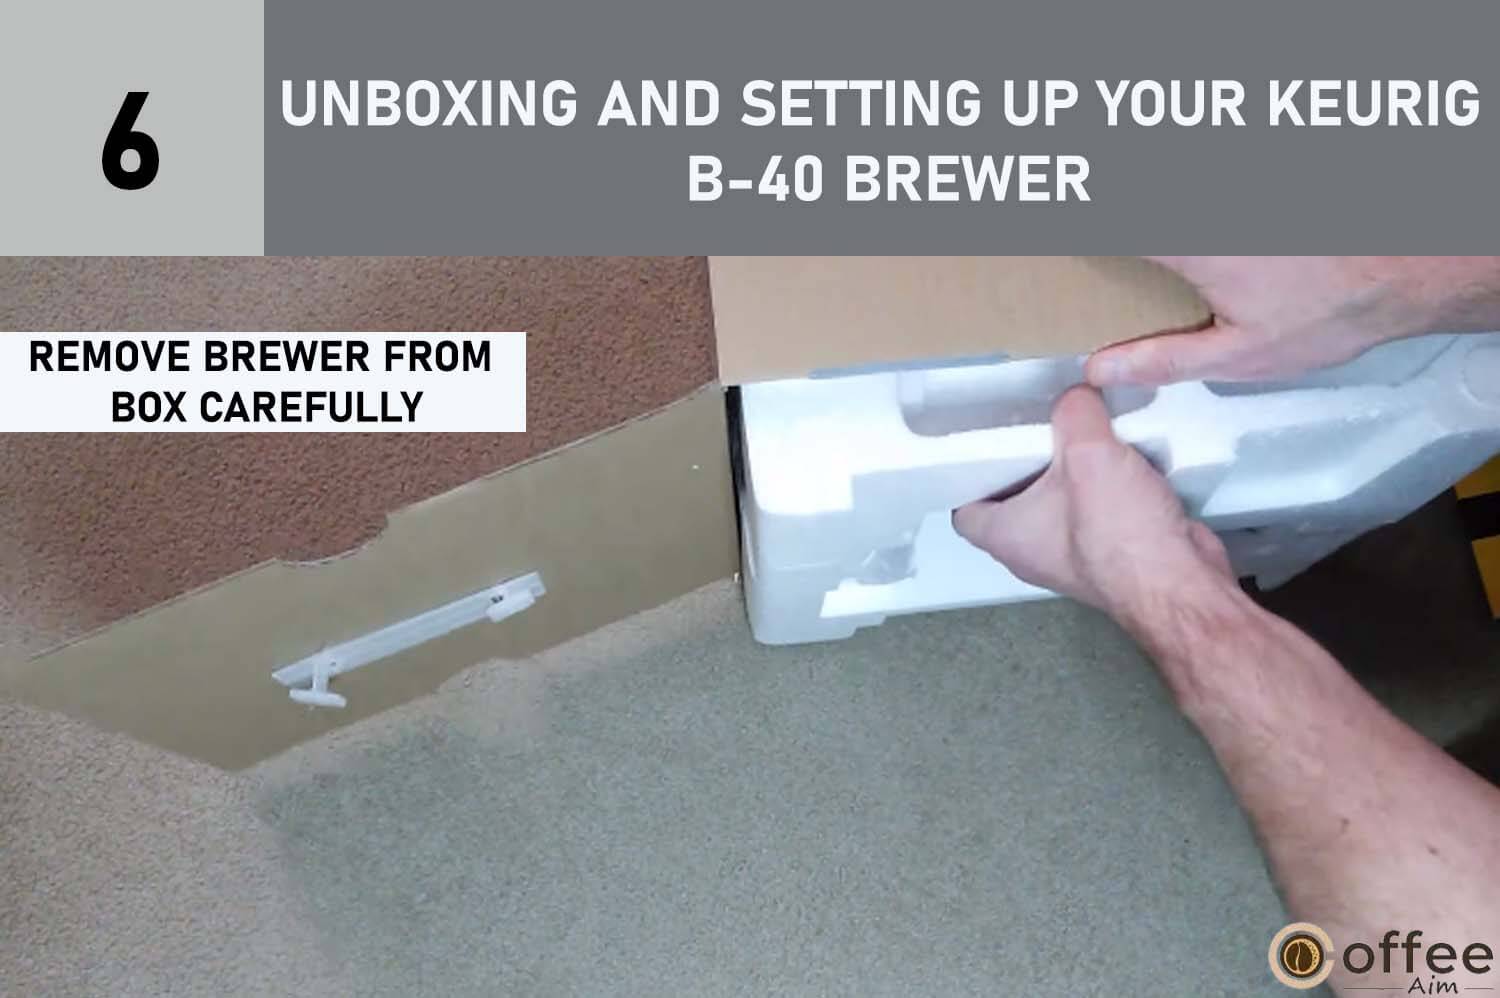
6. Carefully pull the plastic bag and packaging materials towards you to remove the Brewer from the box (it will still be encased in polyfoam).
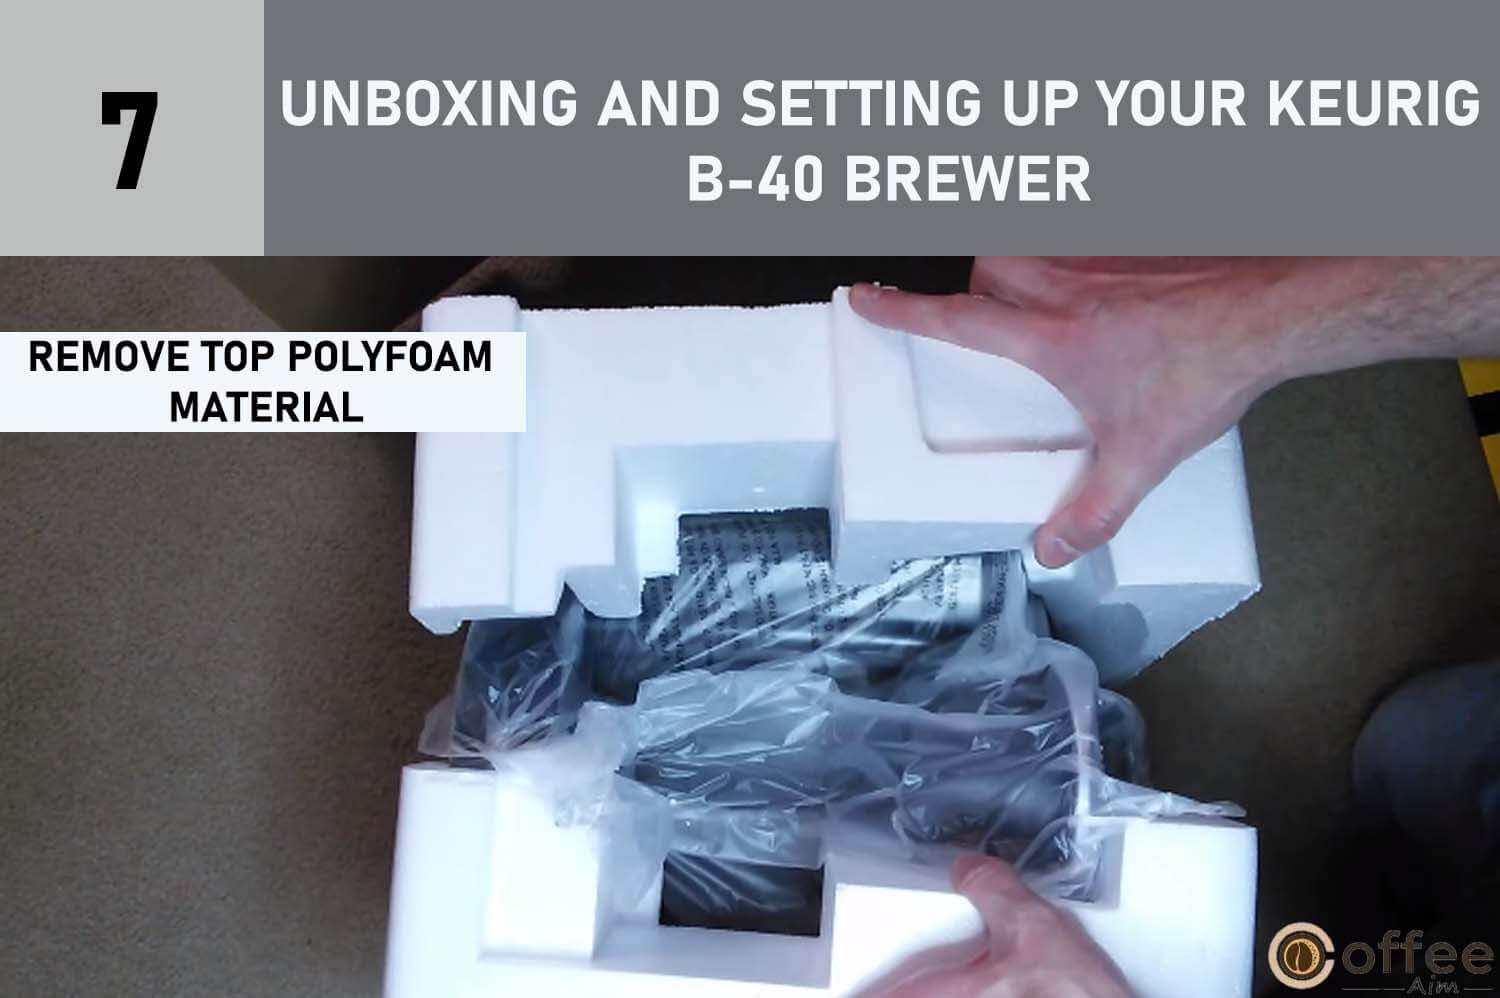
7. Remove the top polyfoam packaging material.
8. Carefully lift the Brewer off the bottom polyfoam and place it upright on a flat and steady surface.

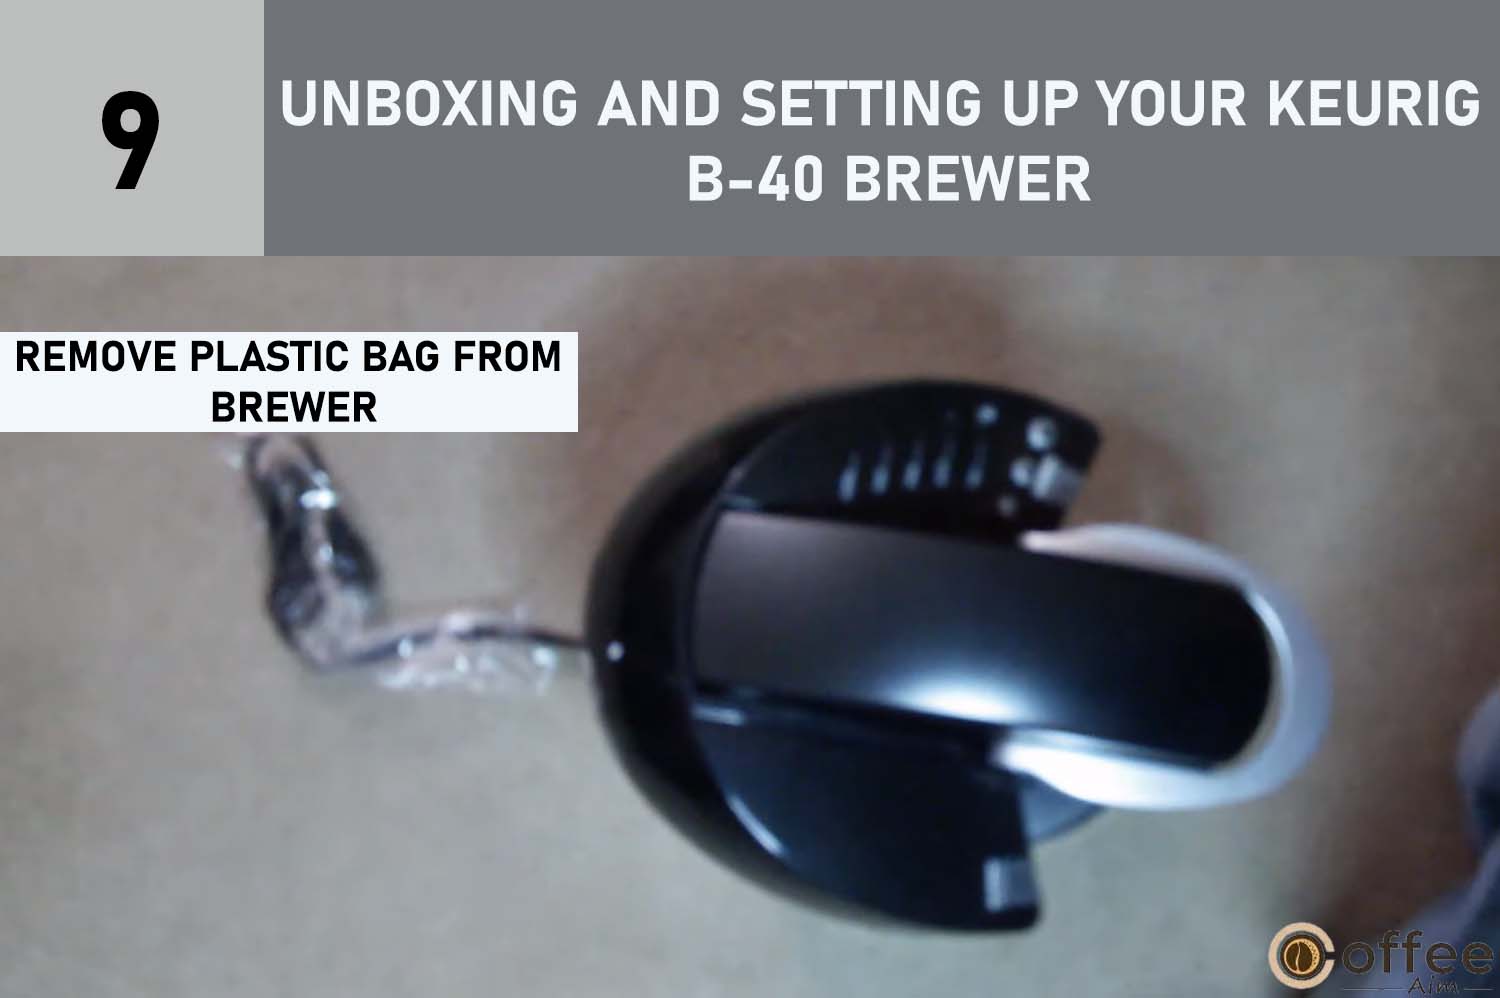
9. Lift the plastic bag off the Brewer.
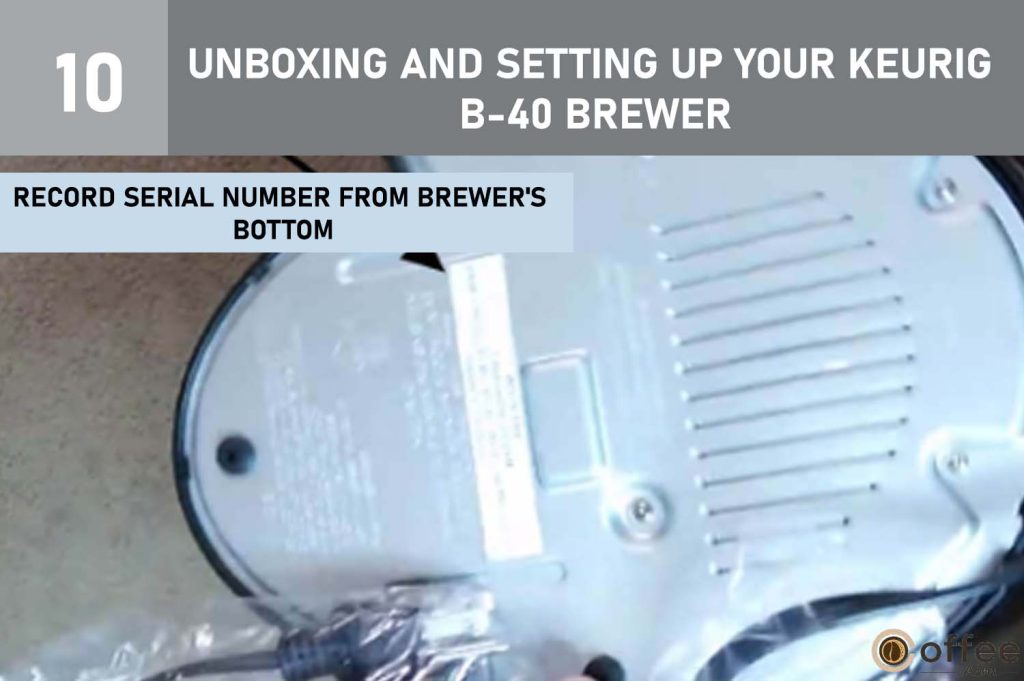
10. Carefully turn the Brewer on its side and record the Serial Number located on the white sticker at the bottom of the Brewer (also found on the Brewer box).
11. Place the Brewer upright on a flat surface and remove the tape holding the Water Reservoir in place.

12. Save all packing materials in case you need to ship the product in the future.

Parts of Keurig B-40 Brewer
A. Water Reservoir Lid
The cover for the water reservoir.

B. Water Reservoir
Container holding water for brewing.

C. Water Reservoir Lock Tab Slots
Slots to secure the water reservoir.

D. Handle
Used to lift and lower the K-Cup Holder.

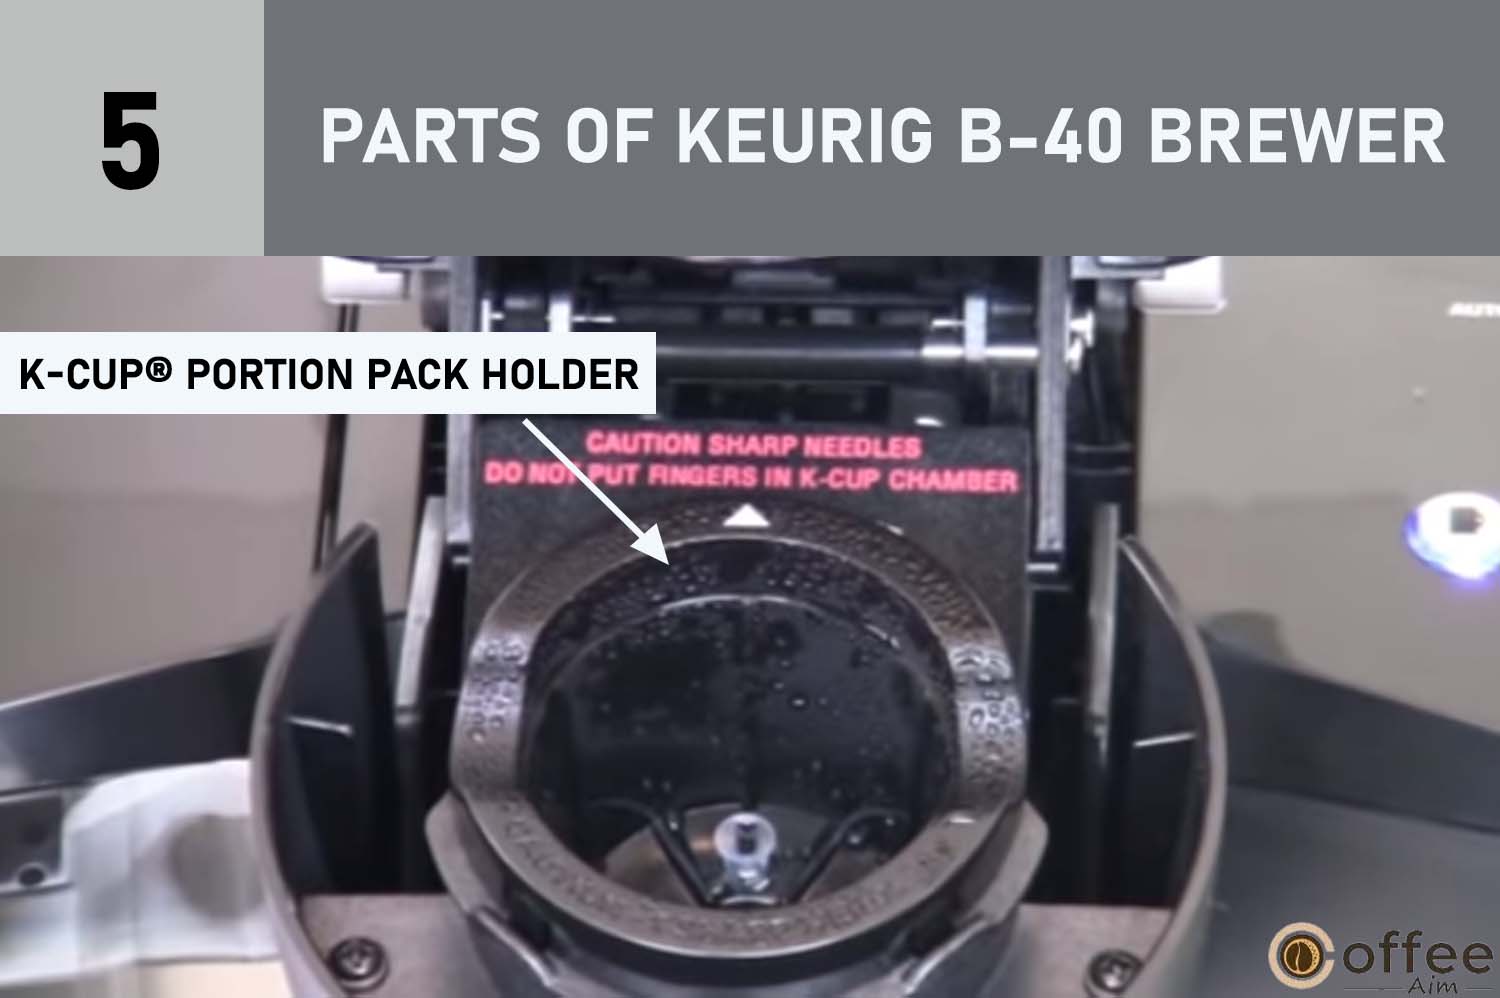
E. K-Cup® Portion Pack Holder
Holds the K-Cup for brewing.
F. Funnel
Part of the K-Cup Holder Assembly.

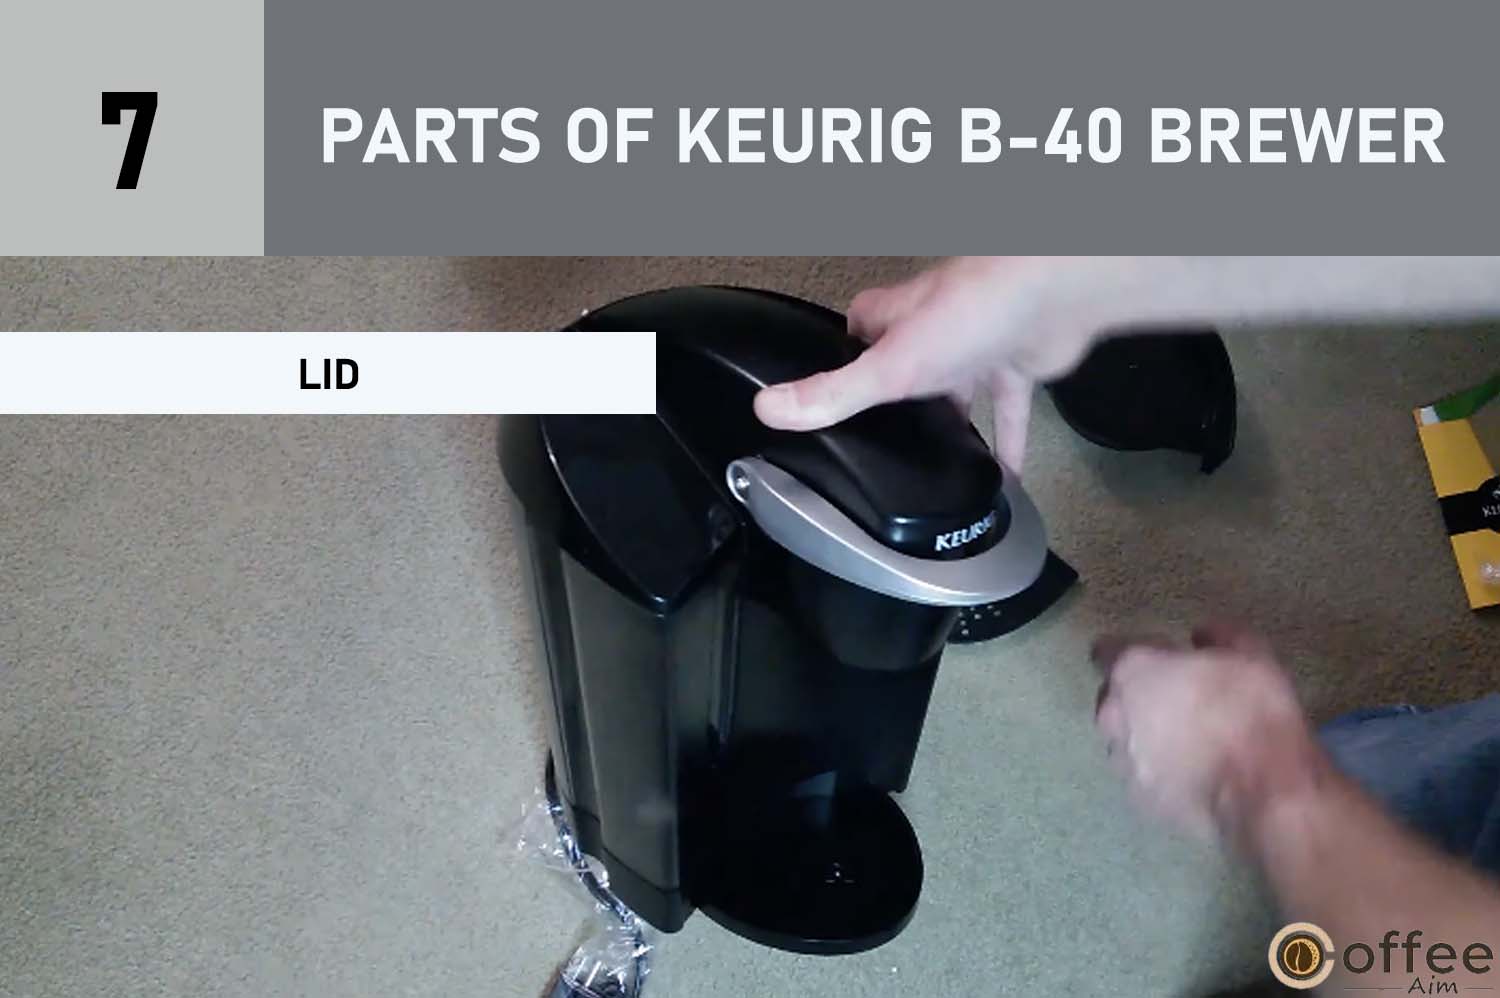
G. Lid
Covers the K-Cup Portion Pack Holder.
H. K-Cup® Portion Pack Assembly
Holds the coffee or tea.

I. Housing
Main body of the brewer.

J. Drip Tray Plate
Tray for collecting spills or overflow.

K. Drip Tray
Removable tray for easy cleaning.

L. Drip Tray Base
Base that holds the drip tray.

M. Vent
Allows airflow to cool the brewer.

N. Power Cord
Supplies electricity to the brewer.

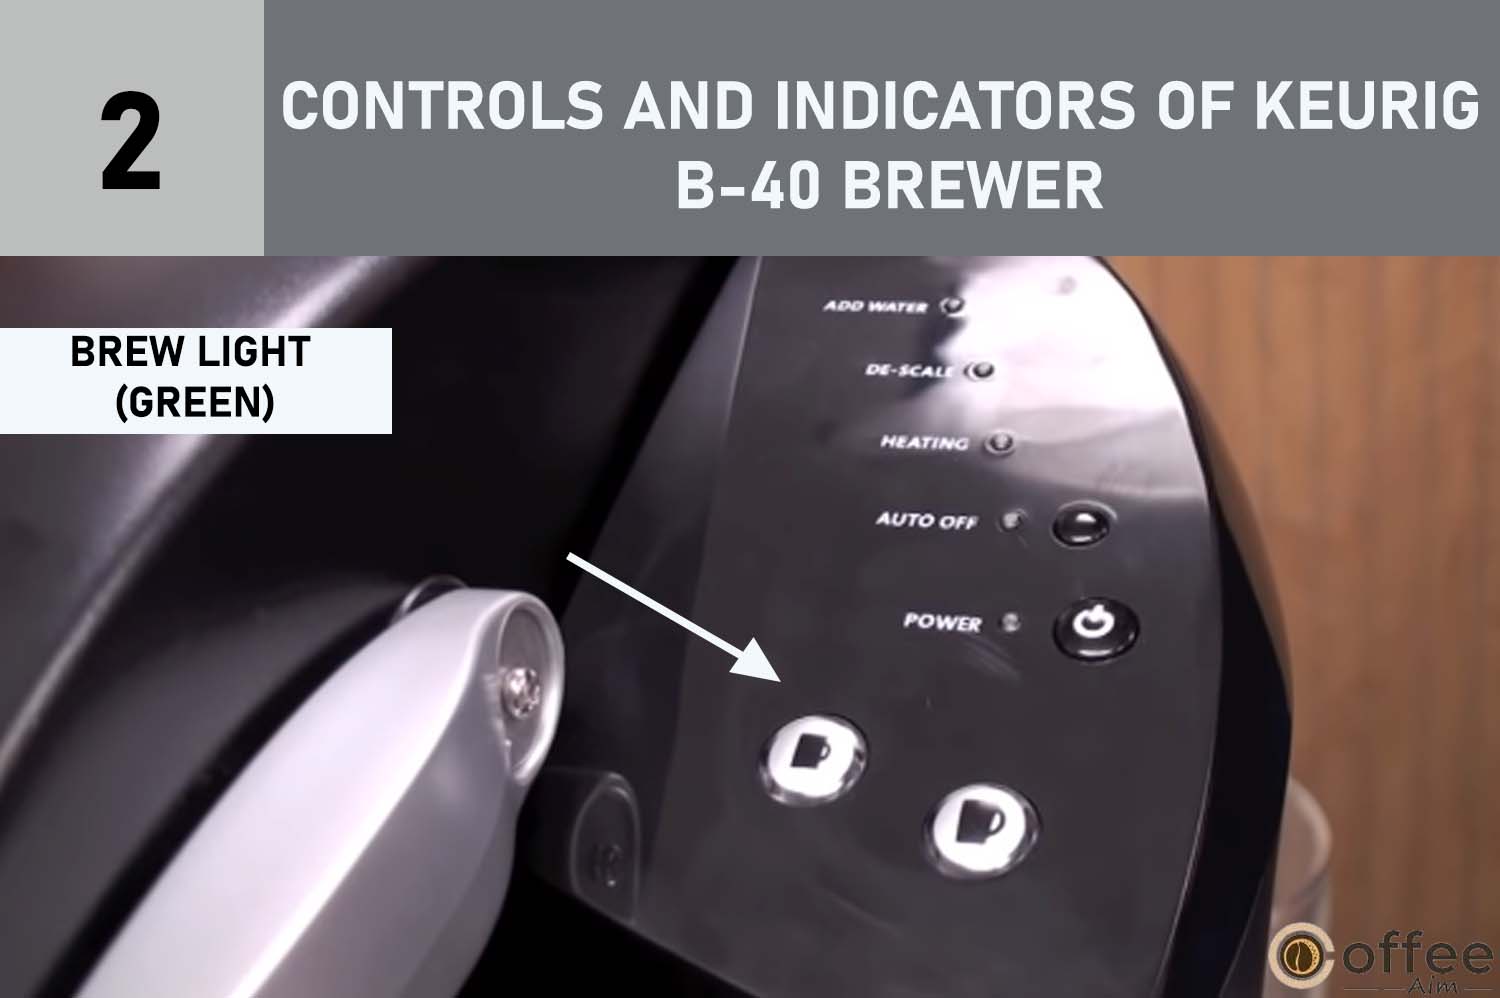
Controls and Indicators of Keurig B-40 Brewer
O. Brew Button
Press this button to start the brewing process.

P. Brew Light (Green)
Illuminates when the brewer is brewing.
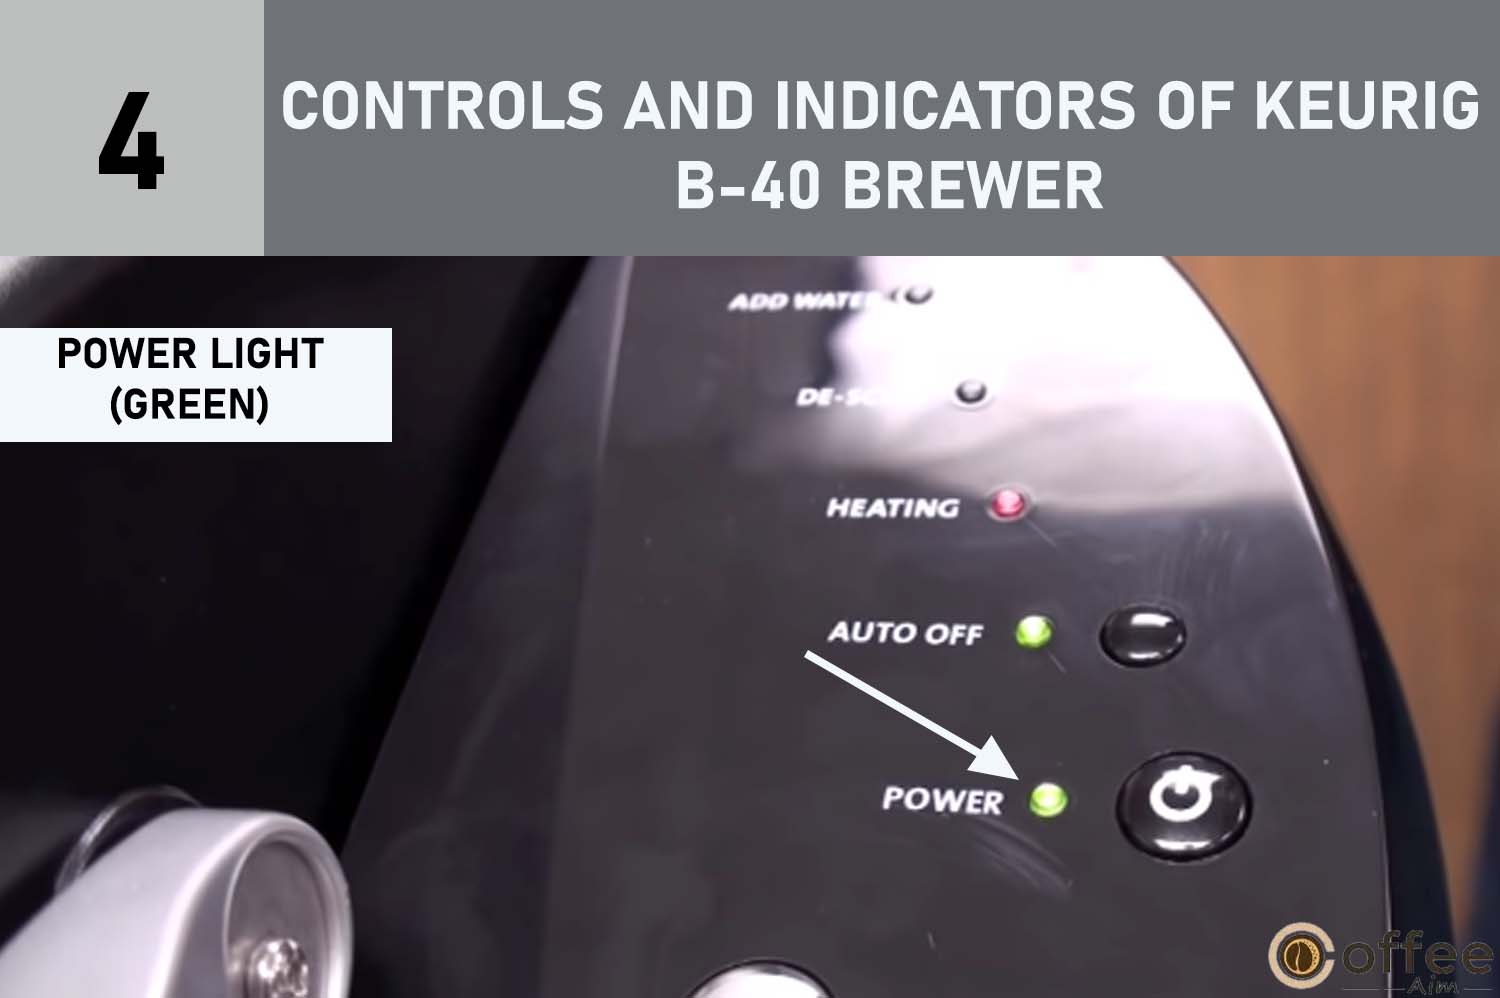
Q. Power Button
Press this button to turn the brewer on or off.

R. Power Light (Green)
Indicates when the brewer is powered on.
S. Auto Off Button
Press this button to program the auto-off feature.
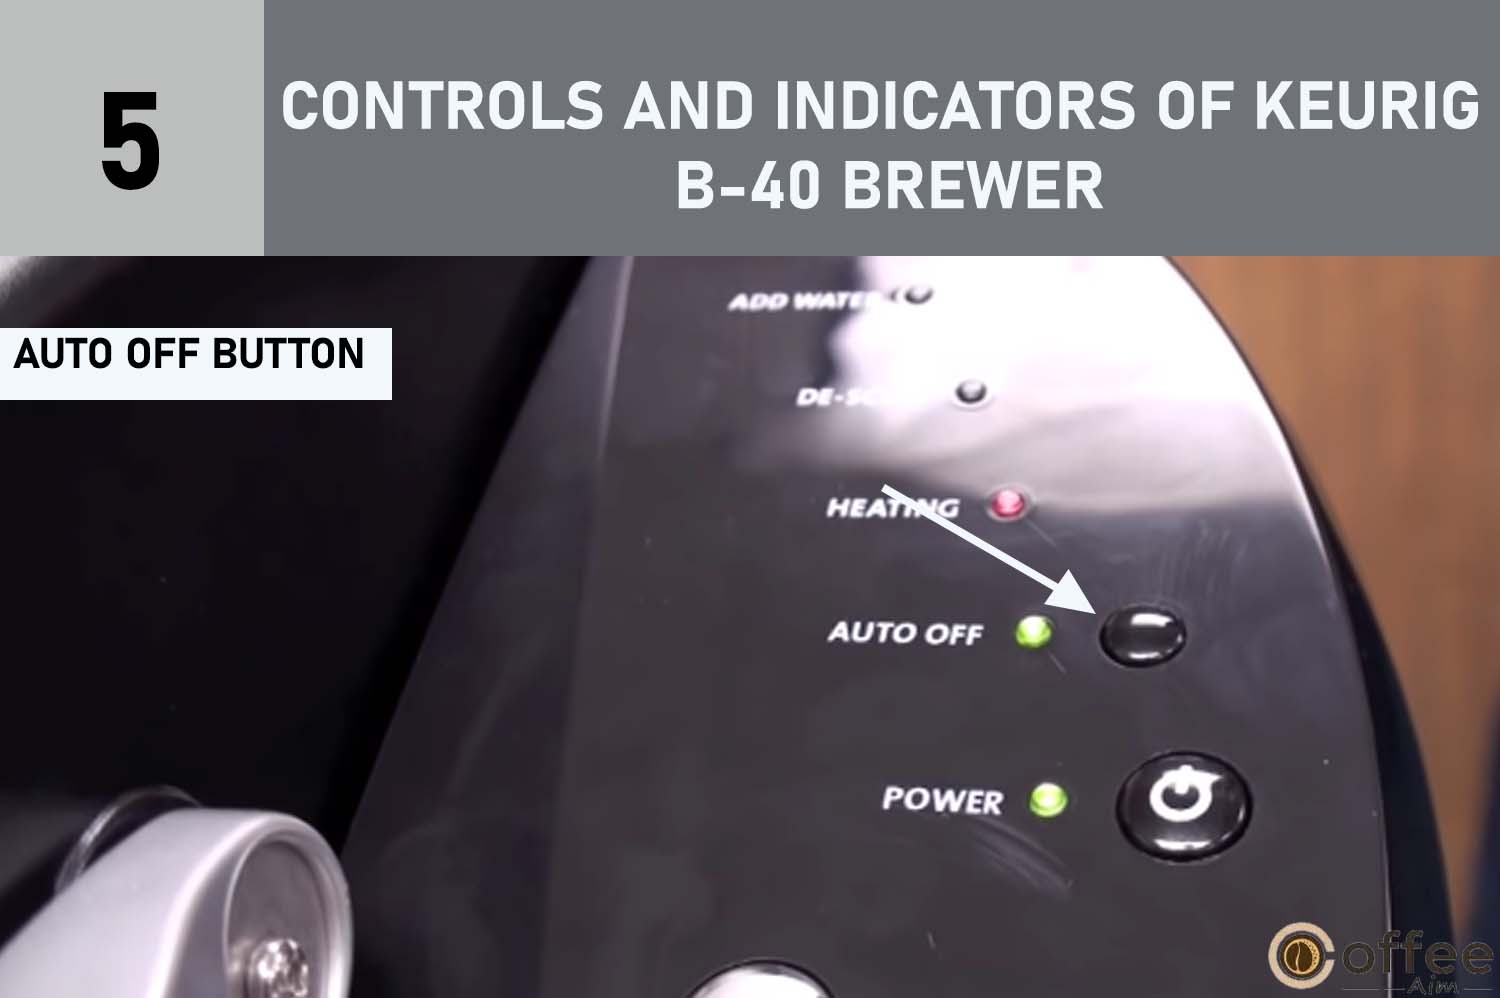
T. Auto Off Light (Green)
Indicates when the auto-off feature is active.

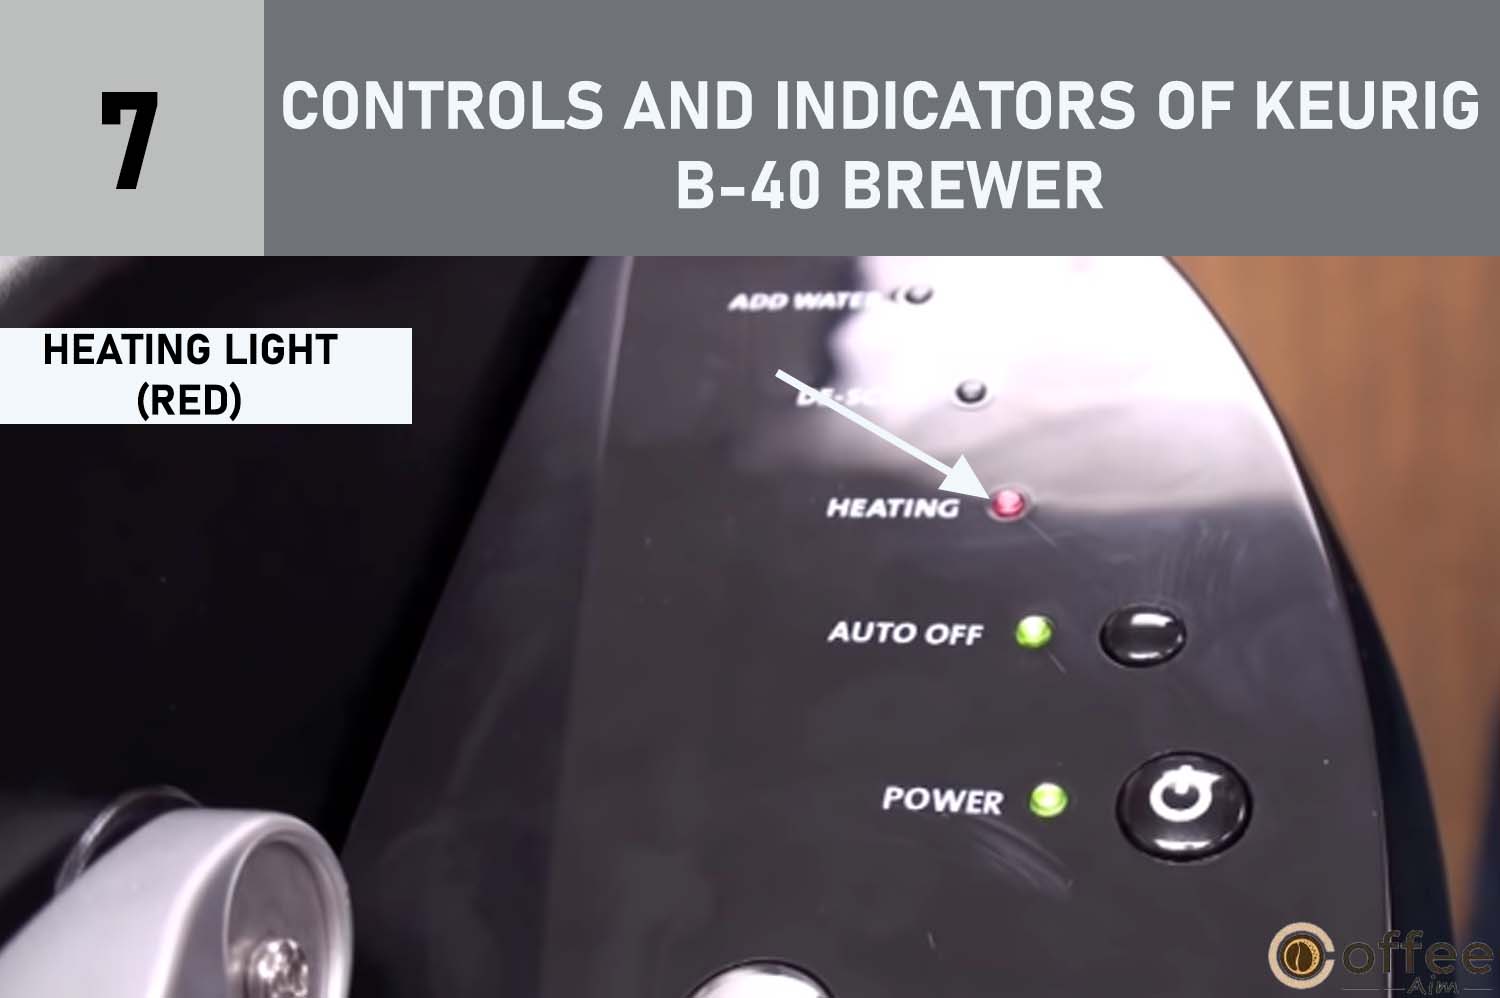
U. Heating Light (Red)
Illuminates when the brewer is heating water.
V. De-Scale Light (Red)
Alerts when the brewer needs descaling.

W. Add Water Light (Blue)
Indicates when the water reservoir needs to be refilled.

(Note: The above descriptions apply to the Keurig B-40 Brewer and its corresponding controls and indicators.)
WARNING: Keep all plastic bags away from children.
Priming Your Keurig Brewer for First Use: Essential Precautions
Vital: Priming is essential before using your Keurig B-40 Brewer for the first time, as explained below.
Caution: If your Brewer was exposed to freezing temperatures, wait at least two hours for it to reach room temperature before priming. A frozen or extremely cold Brewer will not prime correctly and may lead to potential damage.
Priming Your Keurig B-40 Brewer for Optimal Brewing – Step-by-Step Guide
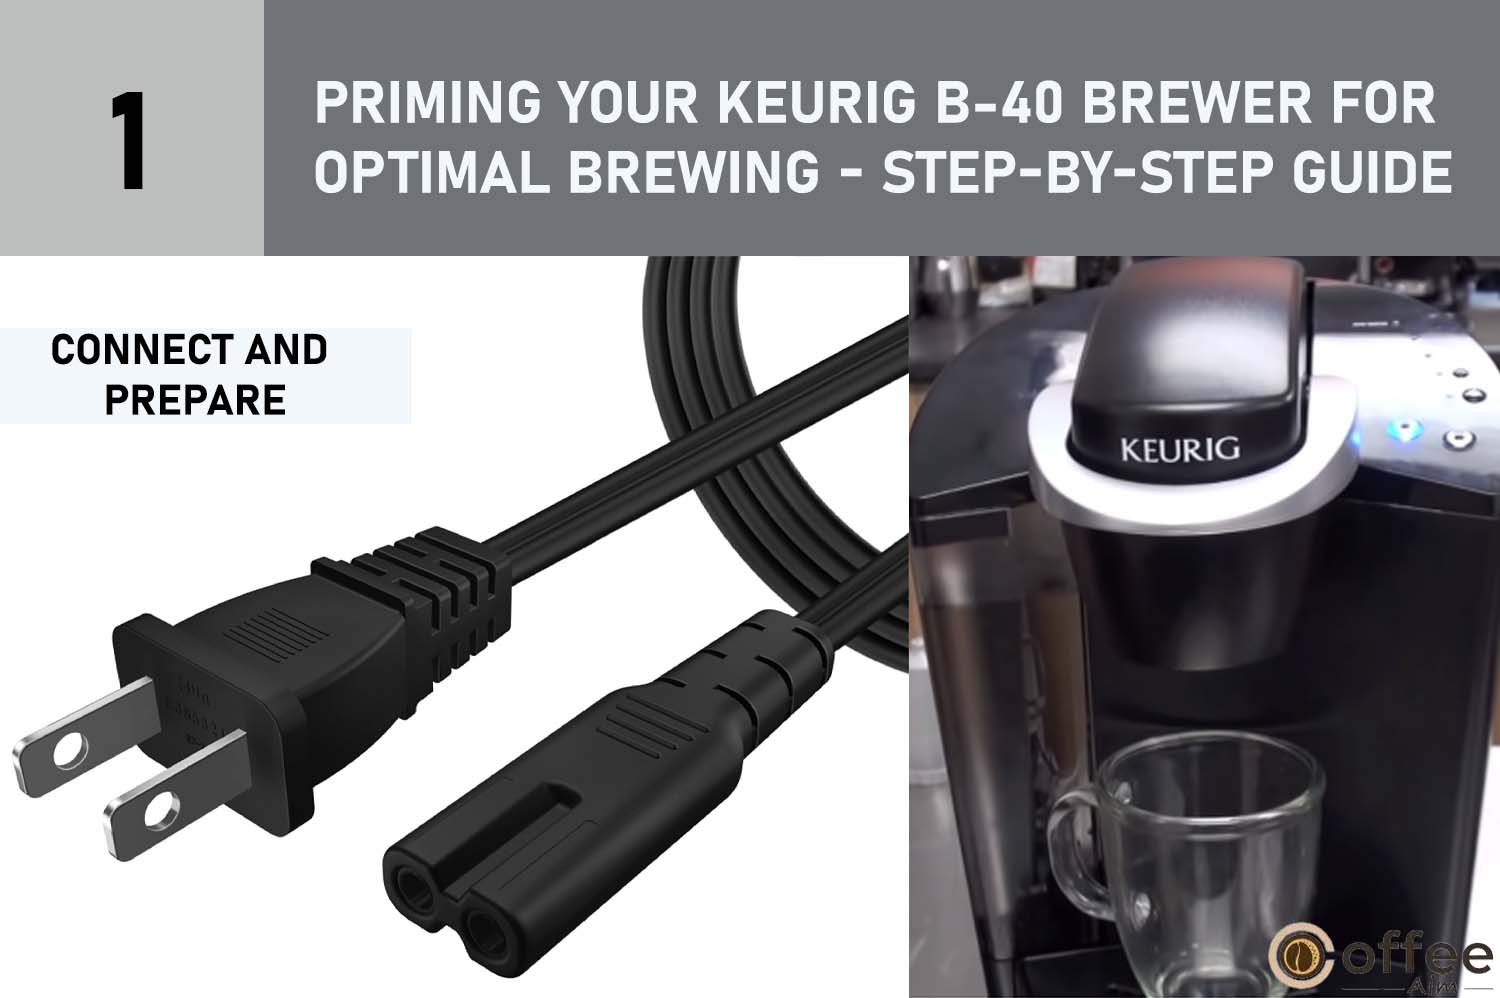
1. Connect and Prepare
Unwrap the power cord and plug the Brewer into a grounded outlet. Place a cup or mug on the Drip Tray Plate to collect brewed beverages.
2. Prepare the Water Reservoir
Remove the Water Reservoir from the Brewer by first taking off the Lid and then lifting the Reservoir straight up and away from the Brewer (it may require some effort). Rinse the Reservoir with fresh water to ensure cleanliness.

3. Fill the Water Reservoir
Fill the Water Reservoir with fresh water, making sure the water level reaches just below the top edge of the clear viewing area. Be cautious not to overfill the Reservoir.

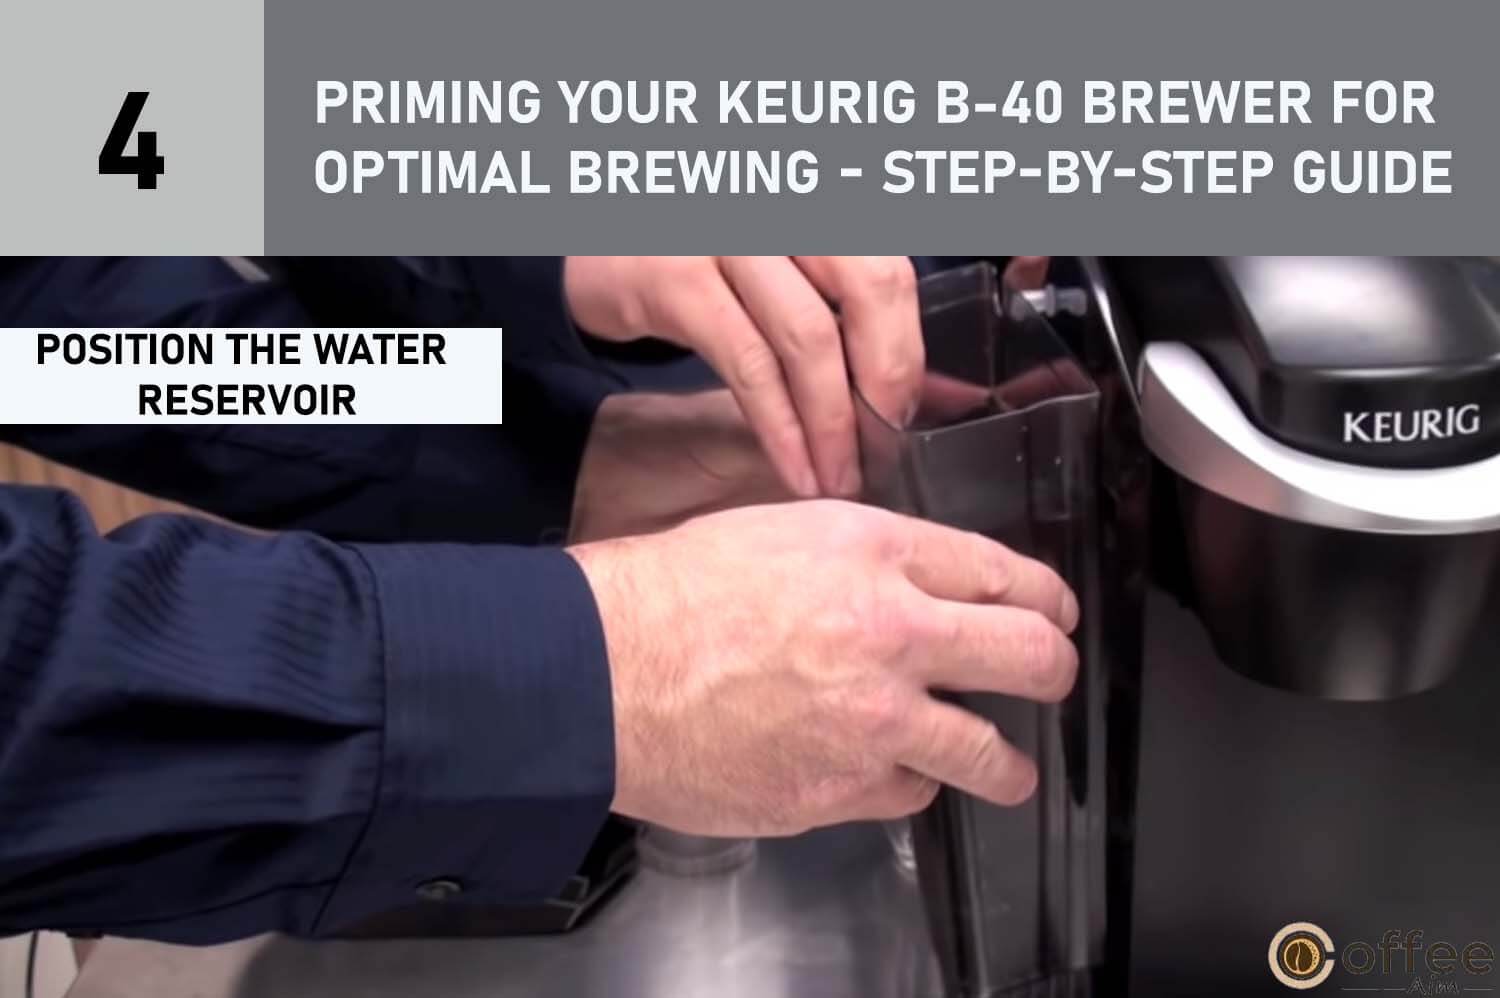
4. Position the Water Reservoir
Place the Water Reservoir base into the left side of the Brewer, ensuring that the Water Reservoir Lock Tabs engage securely with the Brewer. Replace the Lid on the Water Reservoir.
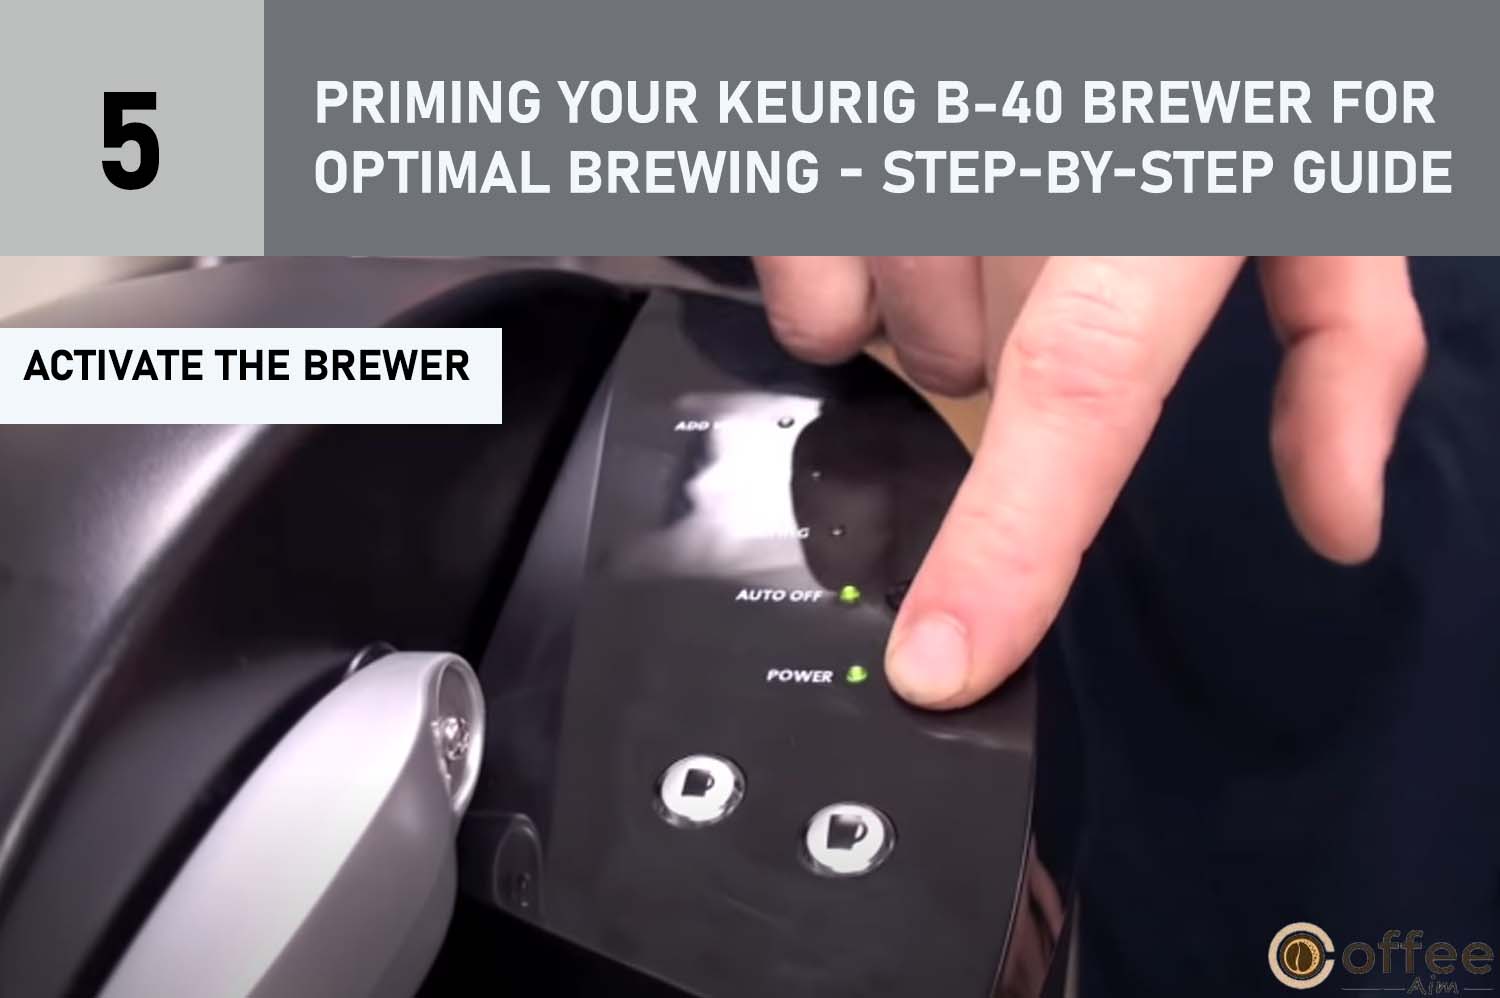
5. Activate the Brewer
Locate the Power Button on the upper right panel of the Brewer, and press it. The green light next to the Power Button will illuminate, indicating that the Brewer is powered on and ready for priming.
6. Priming Indication
The red light next to ‘DE-SCALE’ on the LED Control Center will flash, signaling the need to prime the Brewer. Before proceeding, ensure that the handle is fully down, and do not use a K-Cup for the Priming Sequence.

7. Initiate Priming
Press the Brew Button located below the flashing green light on the LED Control Center. The Brewer will automatically fill with water, initiating the priming process. The water will then be heated, which takes approximately 3 minutes. During the heating period, the red light next to ‘HEATING’ on the LED Control Center will become illuminated. Once the water is heated, the red light will turn off, and the green light above the Brew Button will flash.

- Cleansing Brew: To complete the priming process, press the Brew Button again below the flashing green light. This will start a cleansing brew, during which hot water will flow into your cup or mug. Pour this hot water into the sink.

Important Reminder: For brewing readiness, make sure the Water Reservoir is filled and correctly positioned on the Brewer. If the Reservoir is empty or not in place, the blue light next to ‘ADD WATER’ on the LED Control Center will be lit, and the Brew Button will remain inactive until water is added.
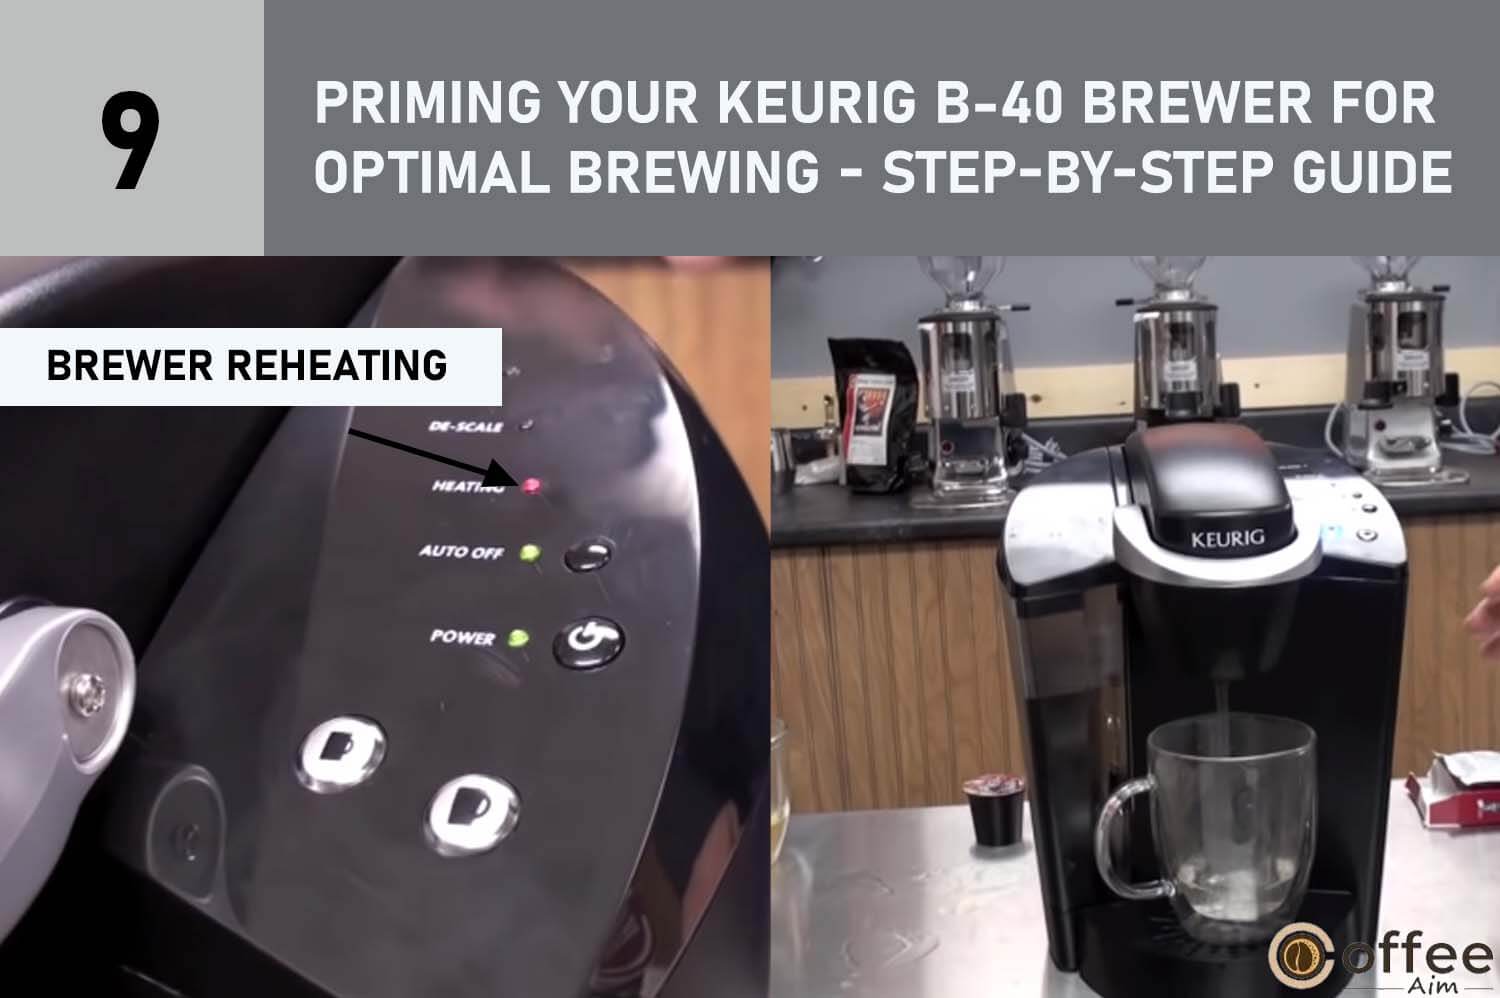
- Brewer Reheating: The Brewer may take 15 seconds to reheat water between brews. During this time, the red light next to ‘HEATING’ on the LED Control Center may be illuminated. When the water is reheated, the red light will turn off, indicating readiness for brewing.
Normal Occurrence: During the heating process and subsequent cycles, you may observe minor water seepage from the Vent, leading to dripping into the Water Reservoir. Rest assured, this is a standard behavior and does not indicate any malfunction.
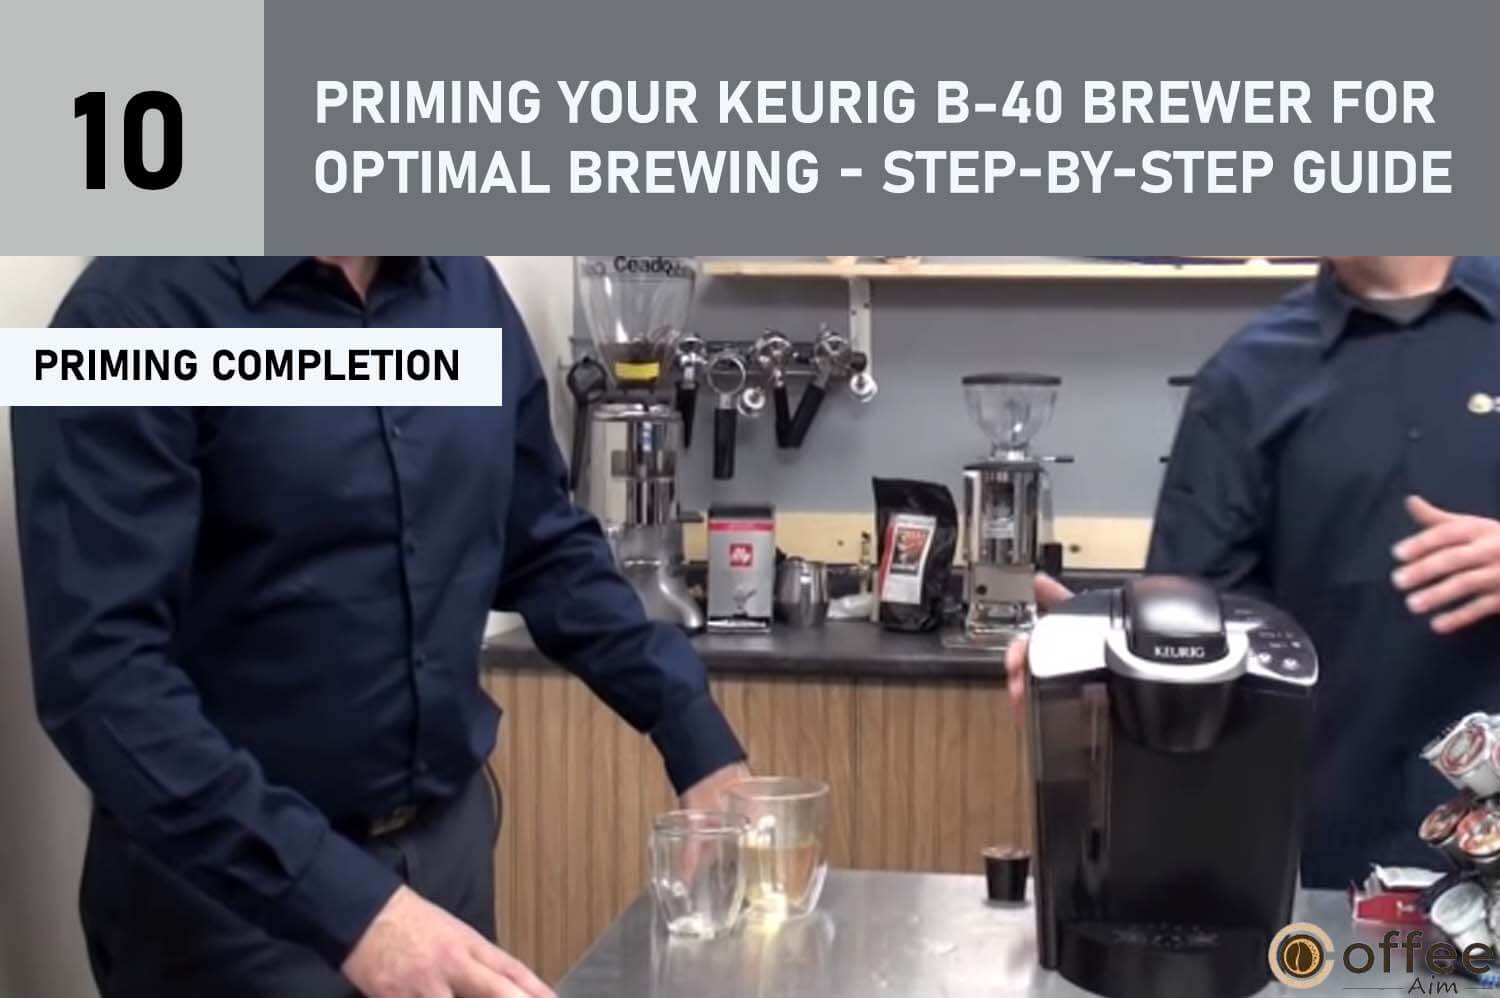
- Priming Completion: With the successful completion of the one-time priming process, your Keurig B-40 Brewer is now primed and ready to brew your favorite beverages. Enjoy your Keurig experience!
Helpful Hints for Using Your Keurig B-40 Brewer
- Keep your Brewer turned ‘ON’ at all times or set it to automatically turn off after two hours of inactivity.
To set the Auto Off Timer, follow the instructions on page 8 of the manual.
- For the best-tasting coffee or tea, use bottled or filtered water.
Water quality varies, so using filtered or bottled water can enhance the flavor of your beverage.
- Plug the Brewer into its own grounded outlet to ensure proper function.
Avoid overloading the electric circuit with other appliances.
- To brew into a travel mug, remove the Drip Tray Assembly and place the mug on the Drip Tray Base.
This allows you to brew directly into a larger travel mug for on-the-go convenience.
Brewing Your First Cup with Keurig B-40: Step-by-Step Guide
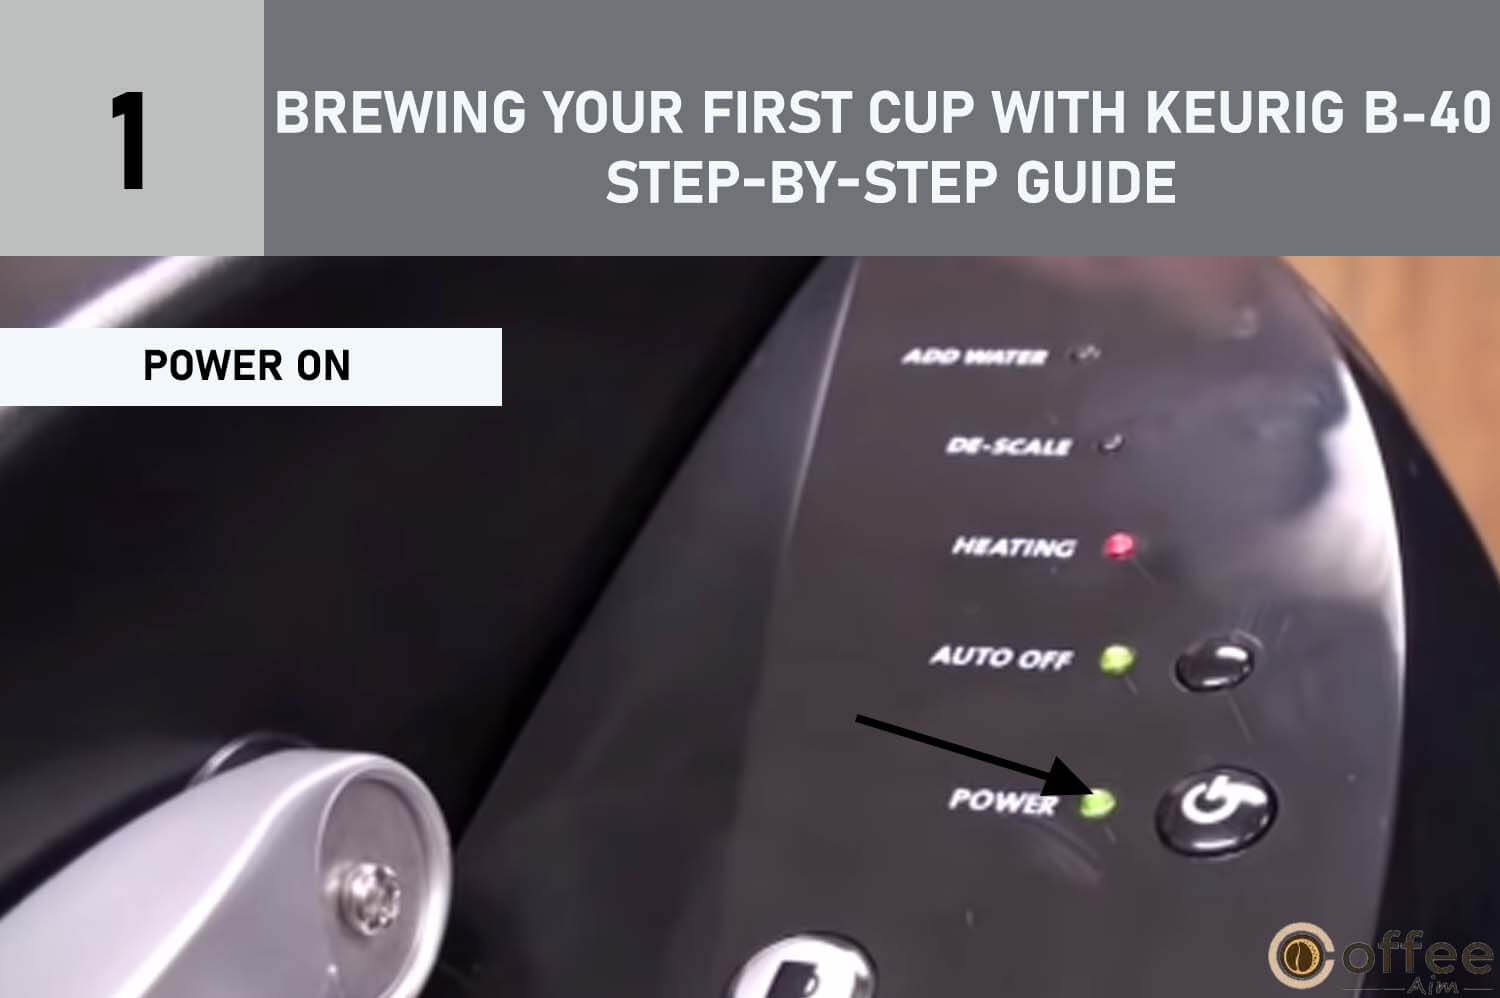
1. Power On
The green light next to the Power Button on the LED Control Center indicates that the Brewer is powered on and ready for use.
2. Prepare Cup
Place a cup or mug on the Drip Tray Plate to collect your freshly brewed beverage.

3. Open K-Cup Holder
Lift the Handle, and the K-Cup Holder will open towards you, revealing the brewing chamber.
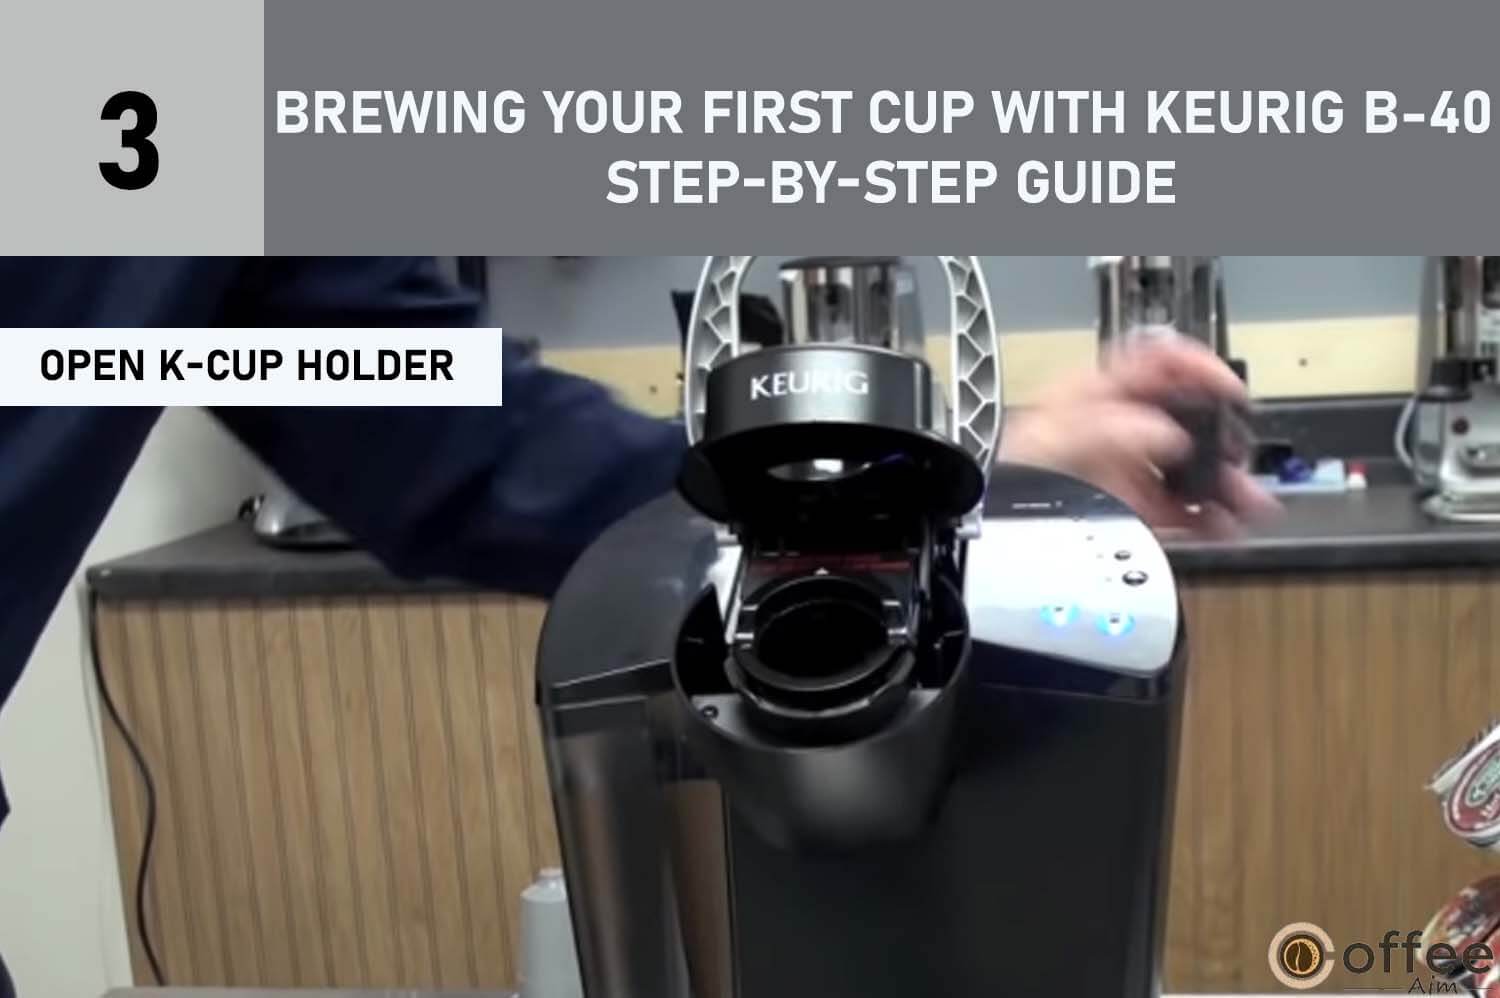
Safety Warning: Exercise caution as there are two sharp needles in the K-Cup® portion pack chamber—one above the K-Cup Holder and the other at the bottom. To prevent injury, refrain from inserting your fingers into the K-Cup Chamber during use.
4. Select K-Cup® Portion Pack:
Choose your desired K-Cup® portion pack from the variety available.

NOTE: Do not remove the foil lid or
puncture the K-Cup ® portion pack.
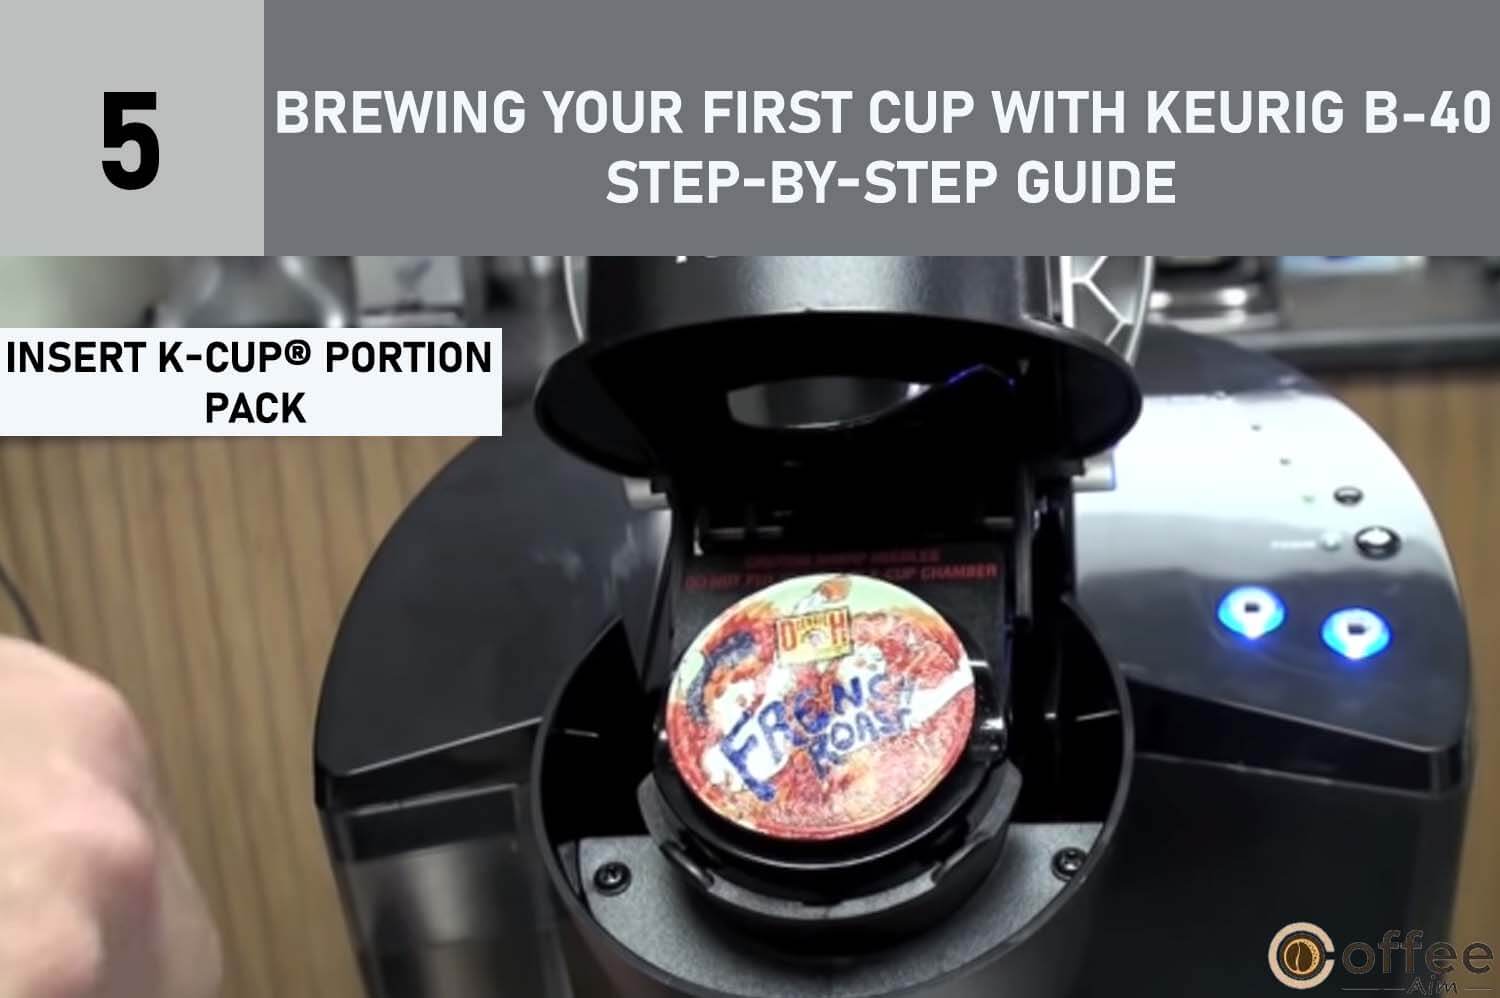
5. Insert K-Cup® Portion Pack:
Properly place the selected K-Cup® portion pack into the K-Cup Holder.
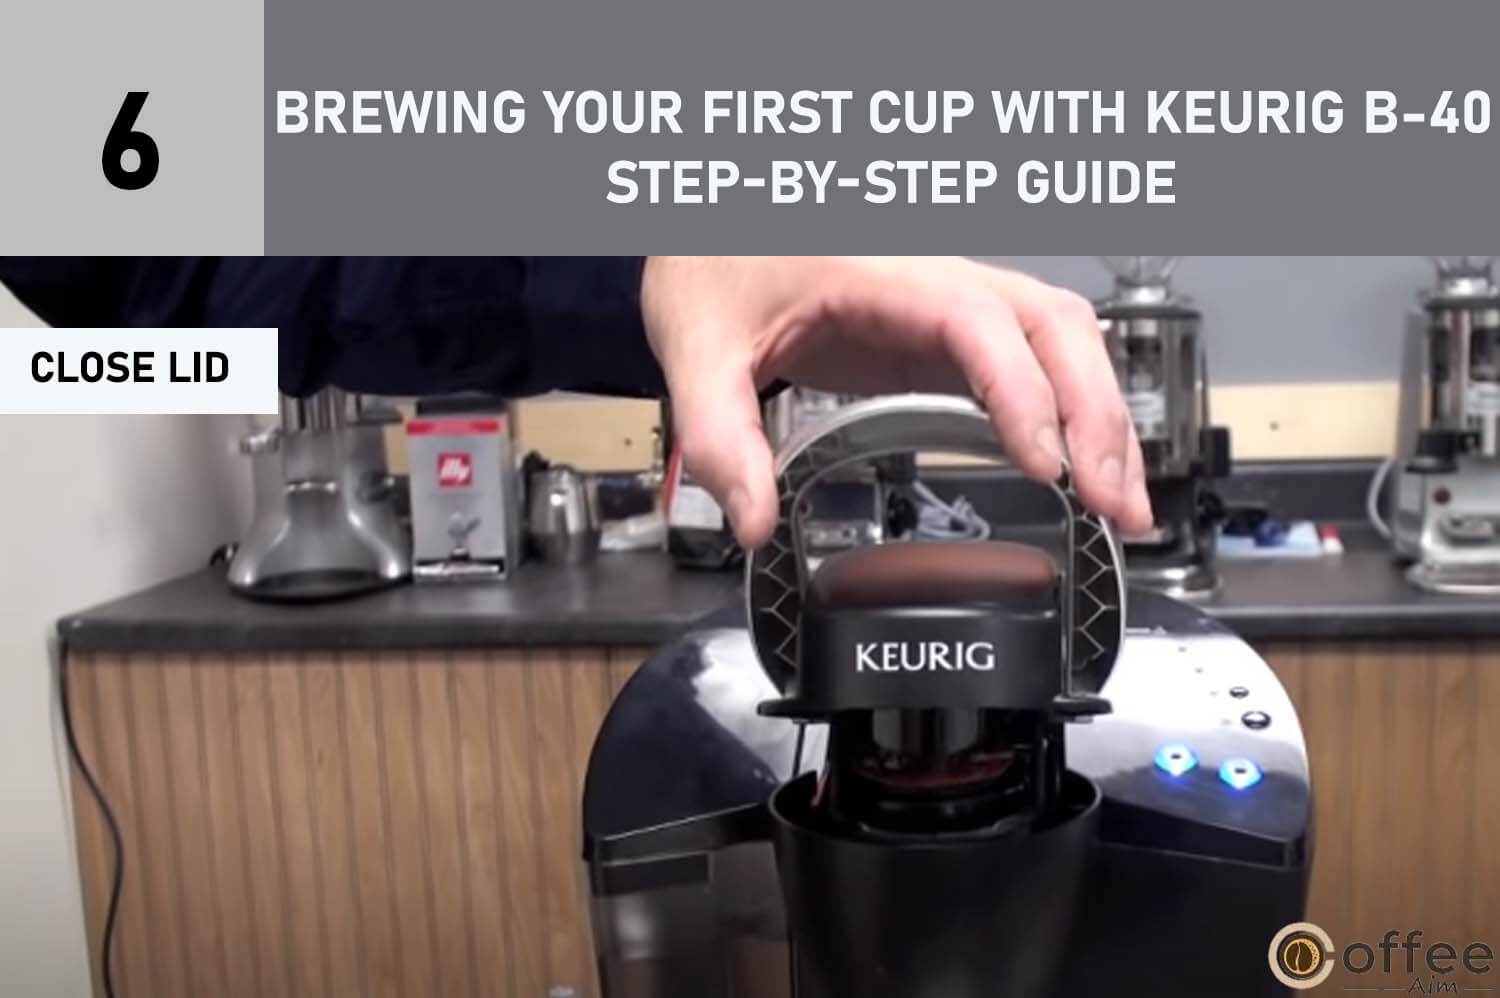
6. Close Lid
Lower the Handle completely to close the Lid, ensuring the K-Cup is securely in place.
7. Start Brewing
Press the Brew Button below the flashing green light on the LED Control Center to begin brewing. The green light above the Brew Button will remain lit throughout the brewing process.
![The image illustrates the process of "Initiating Brewing" to complement the heading "Brewing Your First Cup with the Keurig B-40: A Step-by-Step Guide" within the article "Mastering the Operation of the Keurig B-40."]](https://lh3.googleusercontent.com/CO6f3lZxMjD3FZyAcf4FwMcH5e14AjBd2GtTJiVx6gdE2v9jVQzlbvksX2mnd-CvCJOAY05TNtSFBYAToPIckwHIlB4eW2Mq6IHt0Nlgejgsg56u9Nd2LwPMd8r773gSKmT2YLtL3Z1kQru7tOeQLM4)
Important Reminder: If the Brew Button remains untouched for 60 seconds, it will automatically deactivate to prevent unintended activation. To re-enable the Brew Button, simply raise and lower the Handle completely before resuming the brewing process.
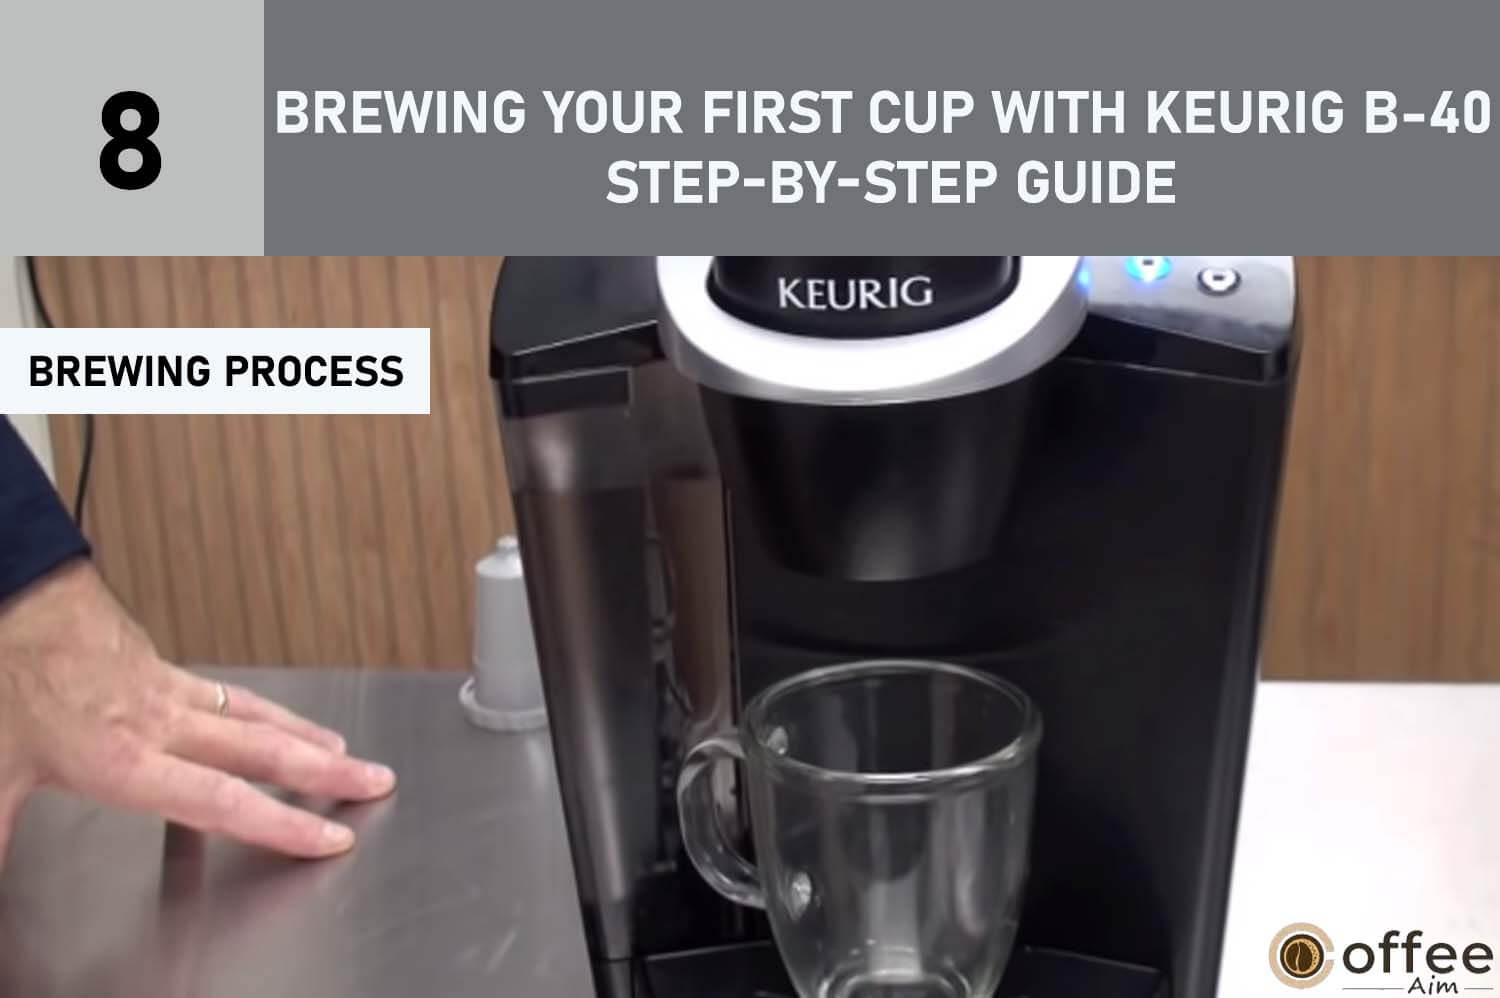
8. Brewing Process
A short pause may occur before brewing begins. The entire process typically takes around 40 seconds and concludes with a burst of air to remove all liquid from the K-Cup.
9. Discard Used K-Cup:
Lift the Handle to remove and dispose of the used K-Cup. Exercise caution, as the K-Cup will be hot.

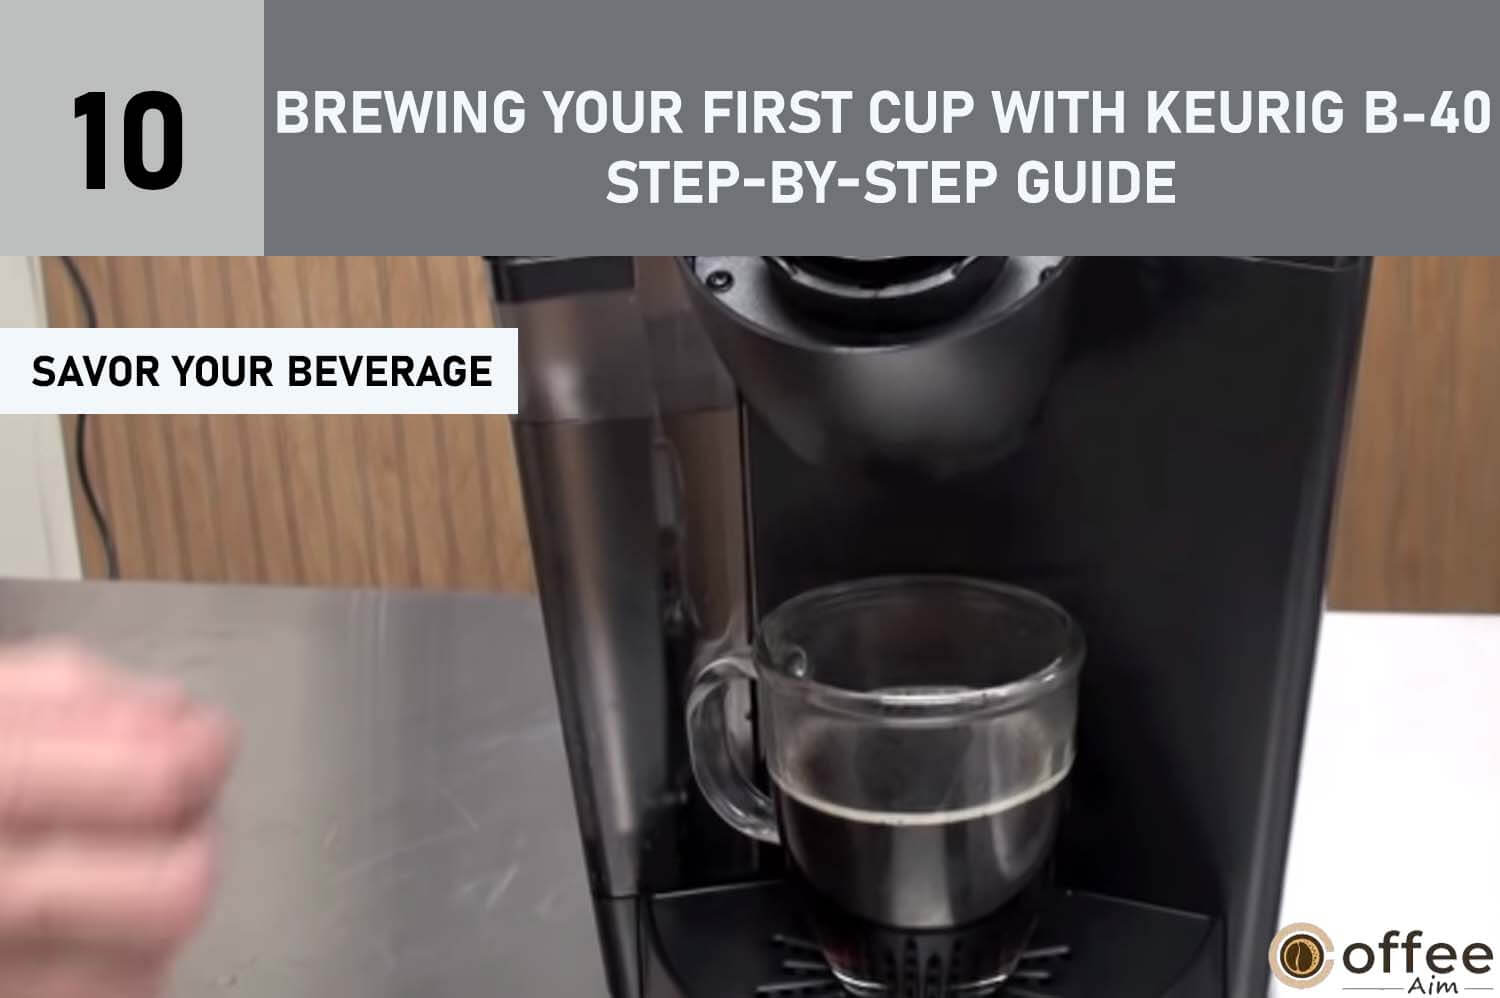
10. Savor Your Beverage
Now, enjoy your first cup of Keurig Brewed® gourmet coffee or tea, delighting in its rich flavor and aroma.
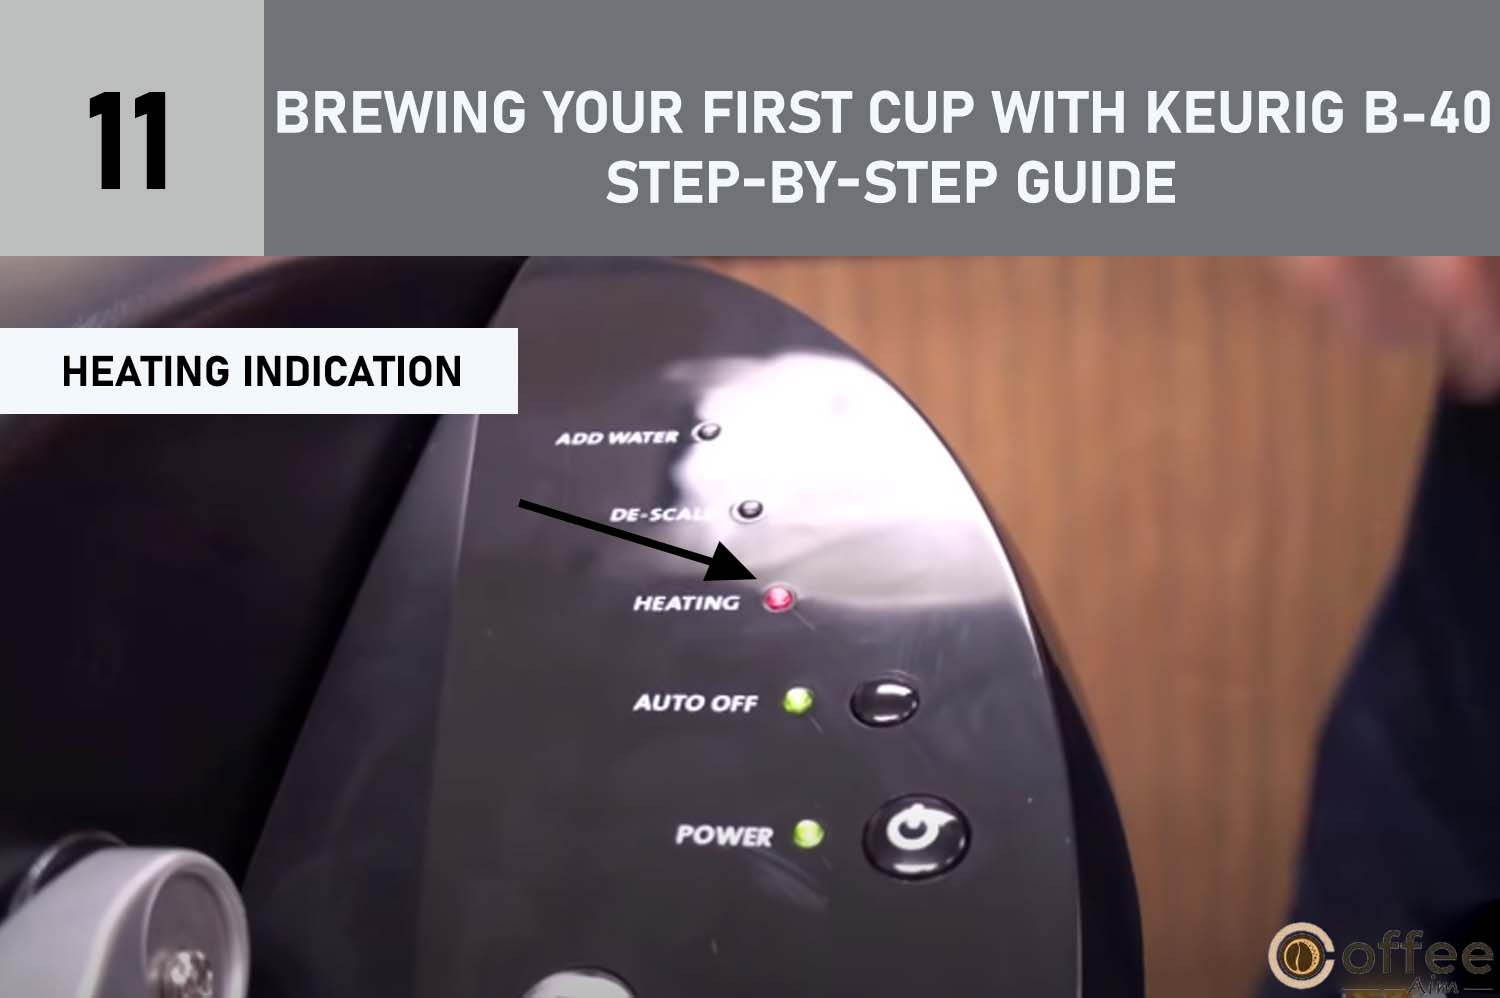
11. Heating Indication
The red light next to ‘HEATING’ on the LED Control Center may illuminate, indicating the Brewer is reheating water for the next brew cycle. The Brewer will be ready for the next use in approximately 15 seconds.
Key Point: After each brew, your Brewer will refill in readiness for the next cycle. The pump will emit a vibrating sound during this process, which is a standard and expected occurrence.
Halting the Brewing Process: Expert Guidance
As a Keurig B-40 expert, following these straightforward steps will ensure a delightful and convenient brewing experience with your Keurig B-40 Brewer. Enjoy the variety of gourmet beverages at your fingertips!
Important Advice: After an interrupted brew, it’s possible to receive a reduced amount of coffee or tea in your cup during the next cycle. To address this, we suggest conducting a cleansing brew using water only following any terminated brew. This ensures your next brew will yield the appropriate volume.
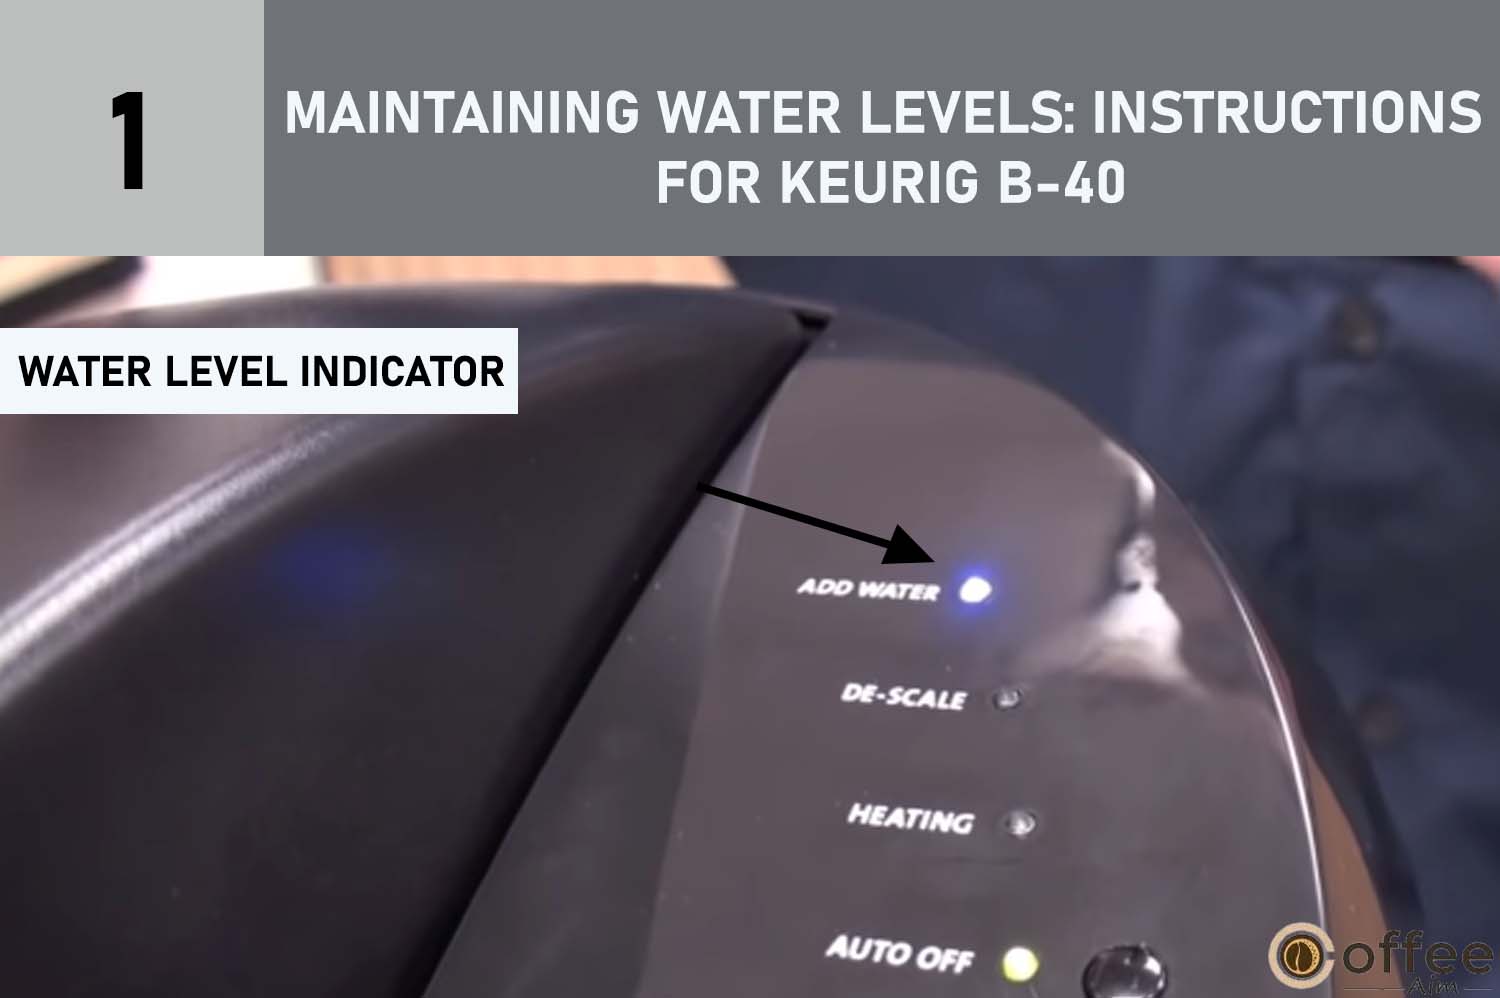
Maintaining Water Levels: Instructions for Keurig B-40
1. Water Level Indicator
The LED Control Center will alert you when the water level is low or if the Water Reservoir has been removed, shown by the illuminated blue light next to ‘ADD WATER.’ Brewing is disabled in this state.
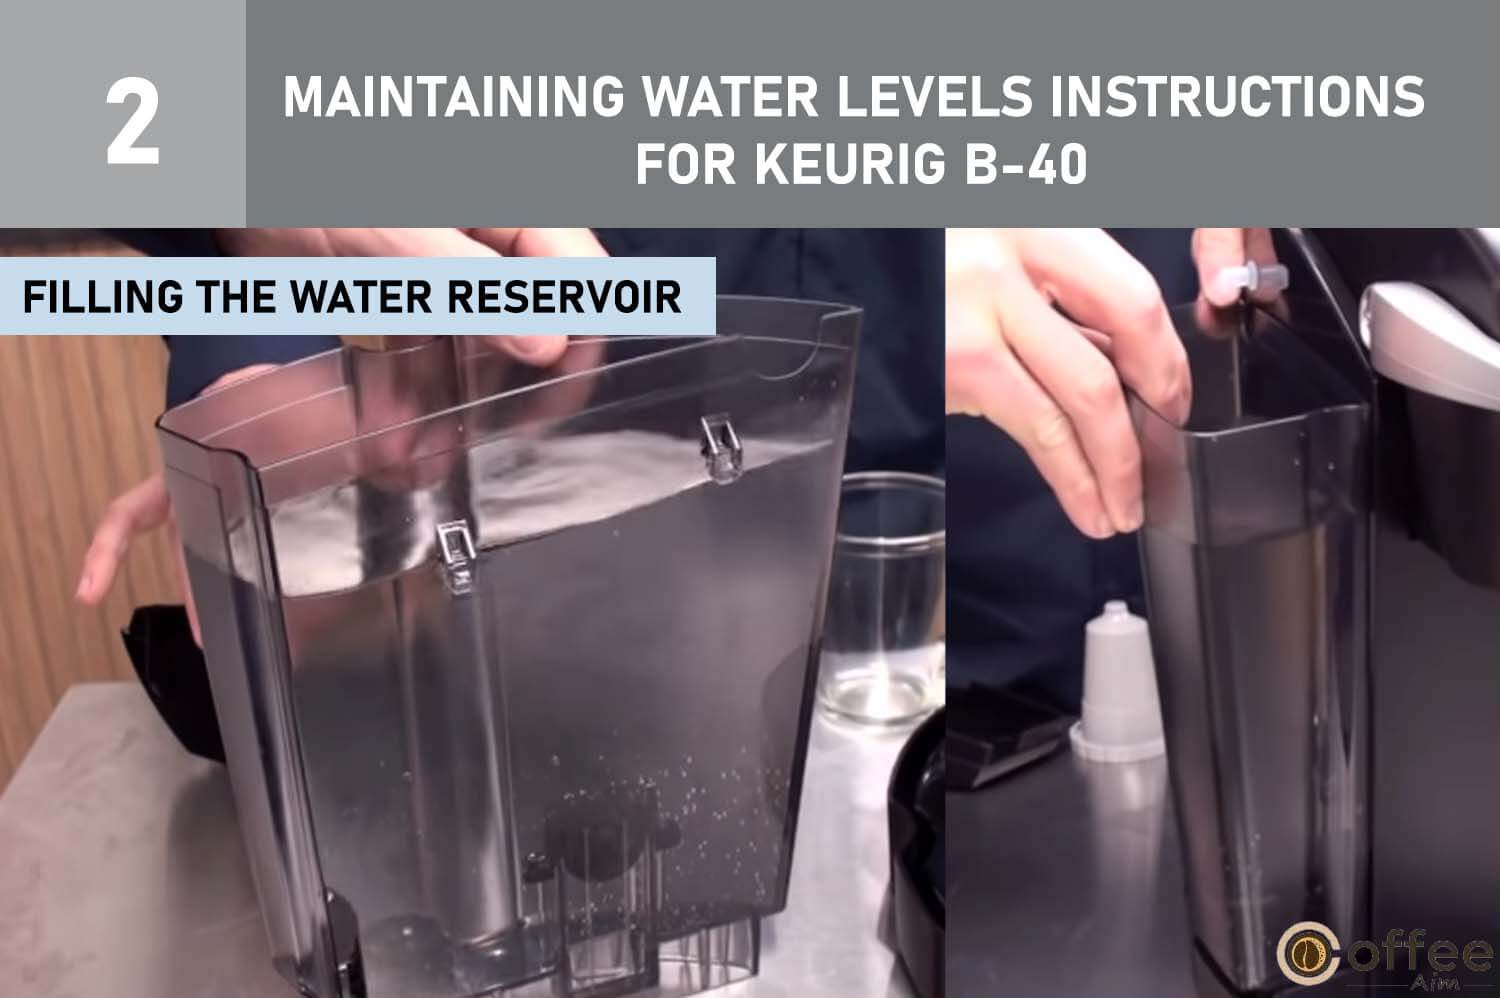
2. Filling the Water Reservoir
There are two ways to fill the Water Reservoir: a. Method 1: While the Water Reservoir is attached to the Brewer, lift off the Reservoir Lid and pour water directly into it. Then, replace the Lid. b. Method 2: First, remove the Water Reservoir from the Brewer by taking off the Lid and lifting it straight up and away. Fill the Reservoir with water, place it back on the Brewer, and replace the Lid.
As a Keurig B-40 expert, be attentive to the ‘ADD WATER’ indicator and follow these steps to maintain the appropriate water level, ensuring a seamless brewing experience with your Keurig B-40 Brewer.
Vital: Avoid removing the Water Reservoir while brewing.
Versatile Brewing Options: Hot Water for Various Uses
As a Keurig B-40 expert, explore beyond coffee and tea! Your Brewer can dispense hot water for making hot chocolate, cooking, soups, and more. Simply raise and lower the handle without adding a K-Cup® portion pack. The flashing green light above the Brew Button on the LED Control Center indicates readiness. Place a mug or cup on the Drip Tray, then press the Brew Button to enjoy hot water for your desired purpose.
Ensuring Optimal Performance: Purging the Brewer’s Inner Tank
As a Keurig B-40 expert, if your Brewer has been inactive for over a week, it’s essential to purge the water from the inner tank to maintain its performance.
- Water Reservoir Purging: If there is water in the Water Reservoir, remove the Lid, lift the Reservoir away from the Brewer, and discard the water. Rinse and refill the Reservoir with fresh water before placing it back on the Brewer. If the Reservoir is empty, simply refill it.
- Brewer Activation: Ensure the Brewer is turned on. Raise and lower the handle without inserting a K-Cup®, and wait until the red ‘HEATING’ light turns off.
- Brewing Preparation: The green light above the Brew Button on the LED Control Center will flash. Place a mug or cup on the Drip Tray and then press the Brew Button.
- Complete Purging: Repeat steps 2 and 3 two more times to thoroughly purge the water from the Brewer’s inner tank.
By following these steps, you can maintain the optimal functioning of your Keurig B-40 Brewer, ensuring a delightful brewing experience.
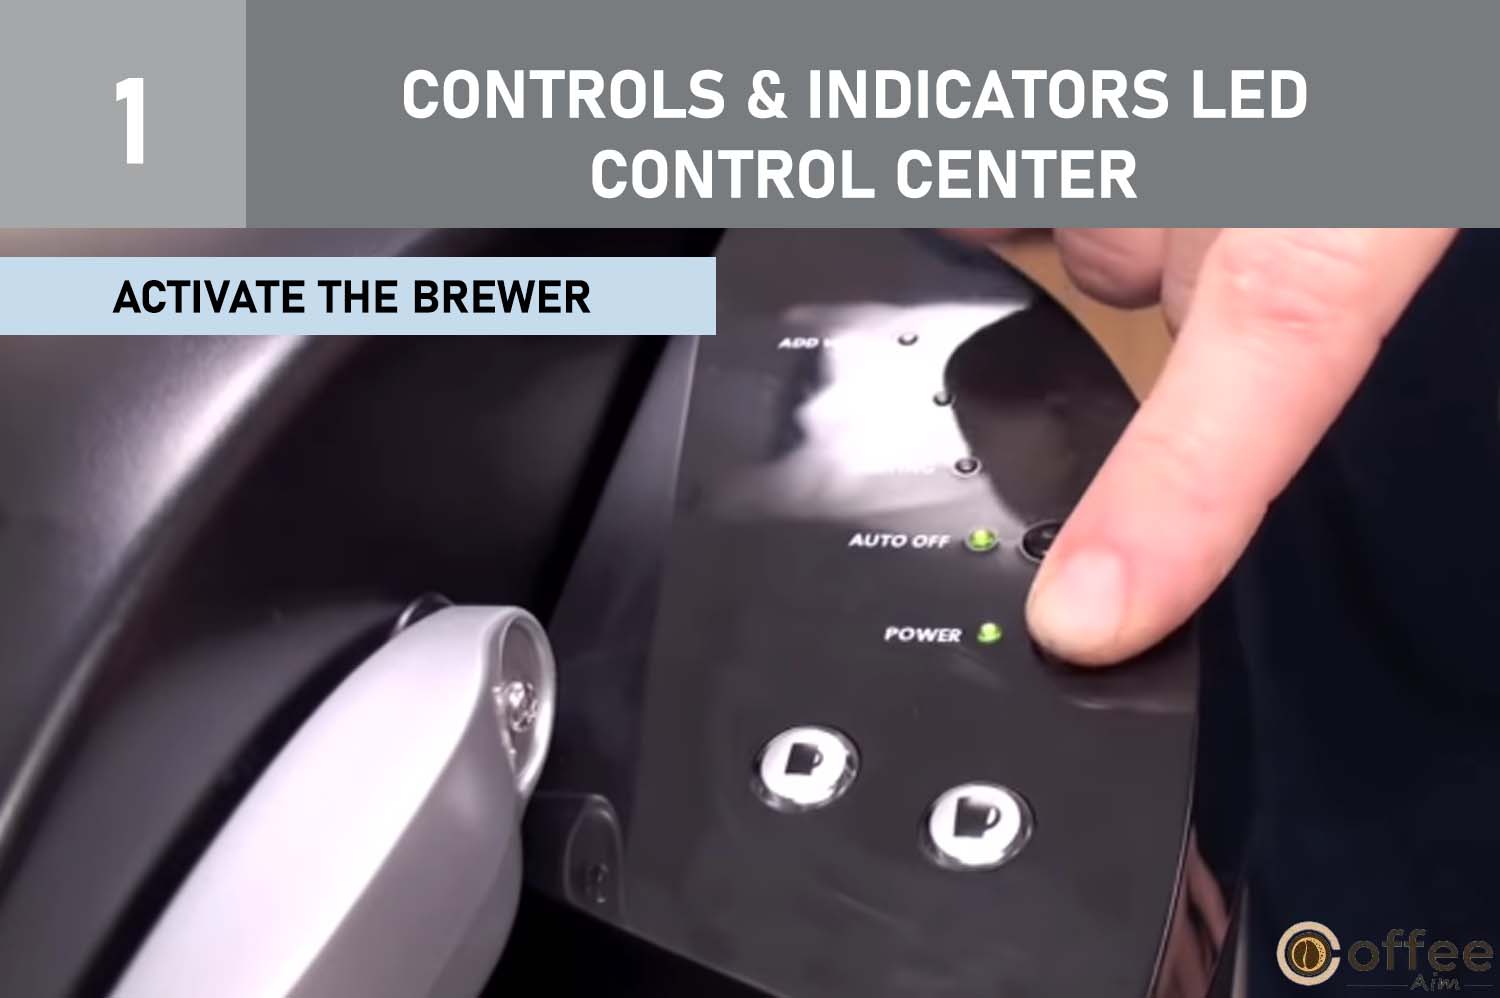
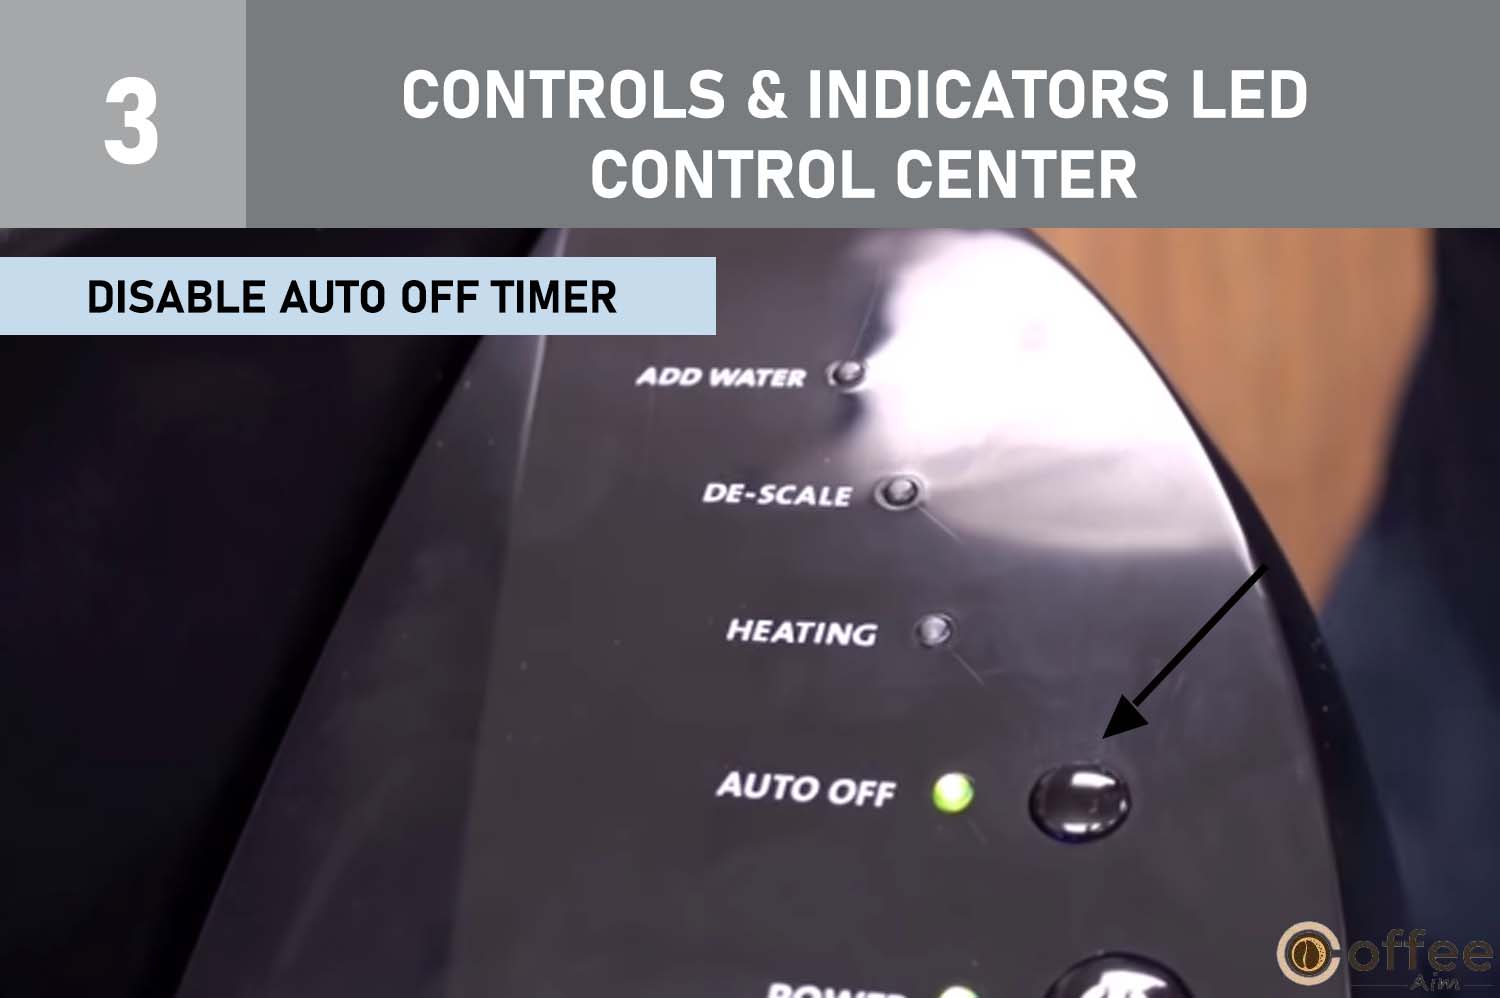
CONTROLS & INDICATORS LED Control Center
As a Keurig B-40 expert, follow these simple steps to set the Auto Off Timer, ensuring your Brewer turns off automatically two hours after the last brew:
1. Activate the Brewer
Press the Power Button to power on the Brewer.
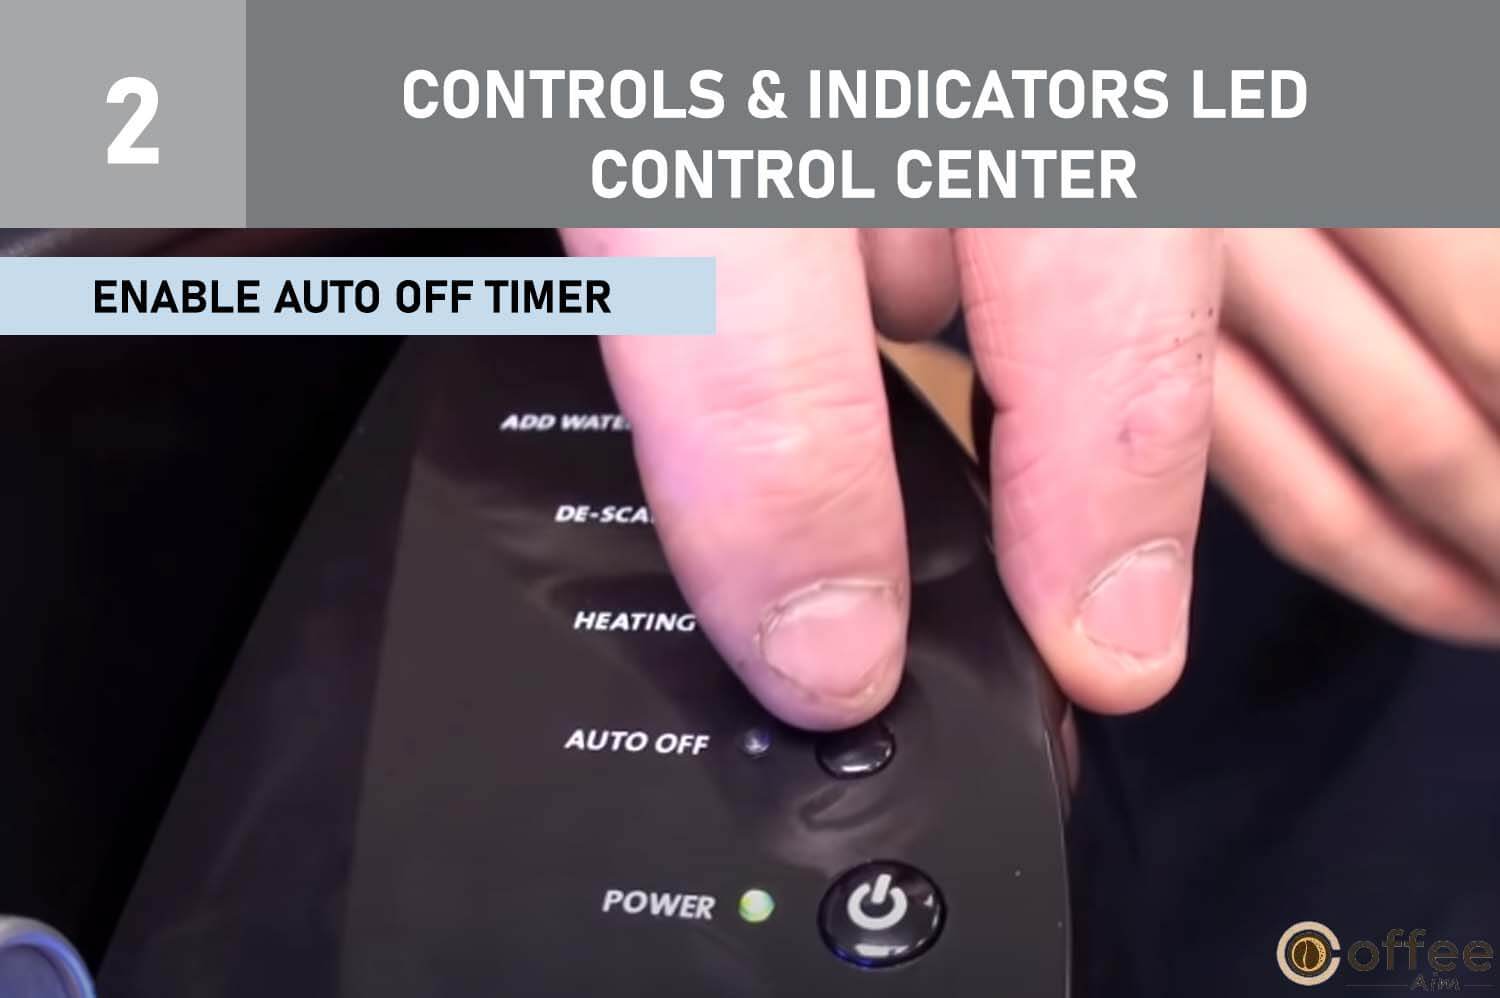
2. Enable Auto Off Timer
Press the black button above the Power Button on the LED Control Center to activate the Auto Off Timer feature. The green light next to ‘AUTO OFF’ will illuminate, indicating that the timer is now active. Once enabled, your Brewer will automatically power off two hours after the last brew.
3. Disable Auto Off Timer
To deactivate the Auto Off Timer, press the black button again. The green light next to ‘AUTO OFF’ will turn off, and the timer will be disabled.
By utilizing this user-friendly Auto Off Timer feature, you can enjoy energy efficiency and peace of mind with your Keurig B-40 Brewer.
Maintaining External Hygiene: Expert Cleaning Guide
Cleaning External Parts
As a Keurig B-40 expert, it is essential to clean the Brewer’s external components regularly for optimal performance:
1. Safe Cleaning Practices
Avoid immersing the base unit in water or any liquid. Instead, use a damp, non-abrasive cloth with mild soapy water to clean the Housing and other external parts.
2. Drip Tray Care
The Drip Tray can collect up to 8 ounces of overflow. Periodically inspect and rinse the Drip Tray and Drip Tray Plate. To remove the Drip Tray Assembly, gently slide it toward you while keeping it level to prevent spills. Both the Drip Tray and Drip Tray Plate are dishwasher safe for easy cleaning.

By adhering to these expert recommendations, you can ensure that your Keurig B-40 Brewer stays clean and well-maintained, guaranteeing a delightful coffee experience every time.
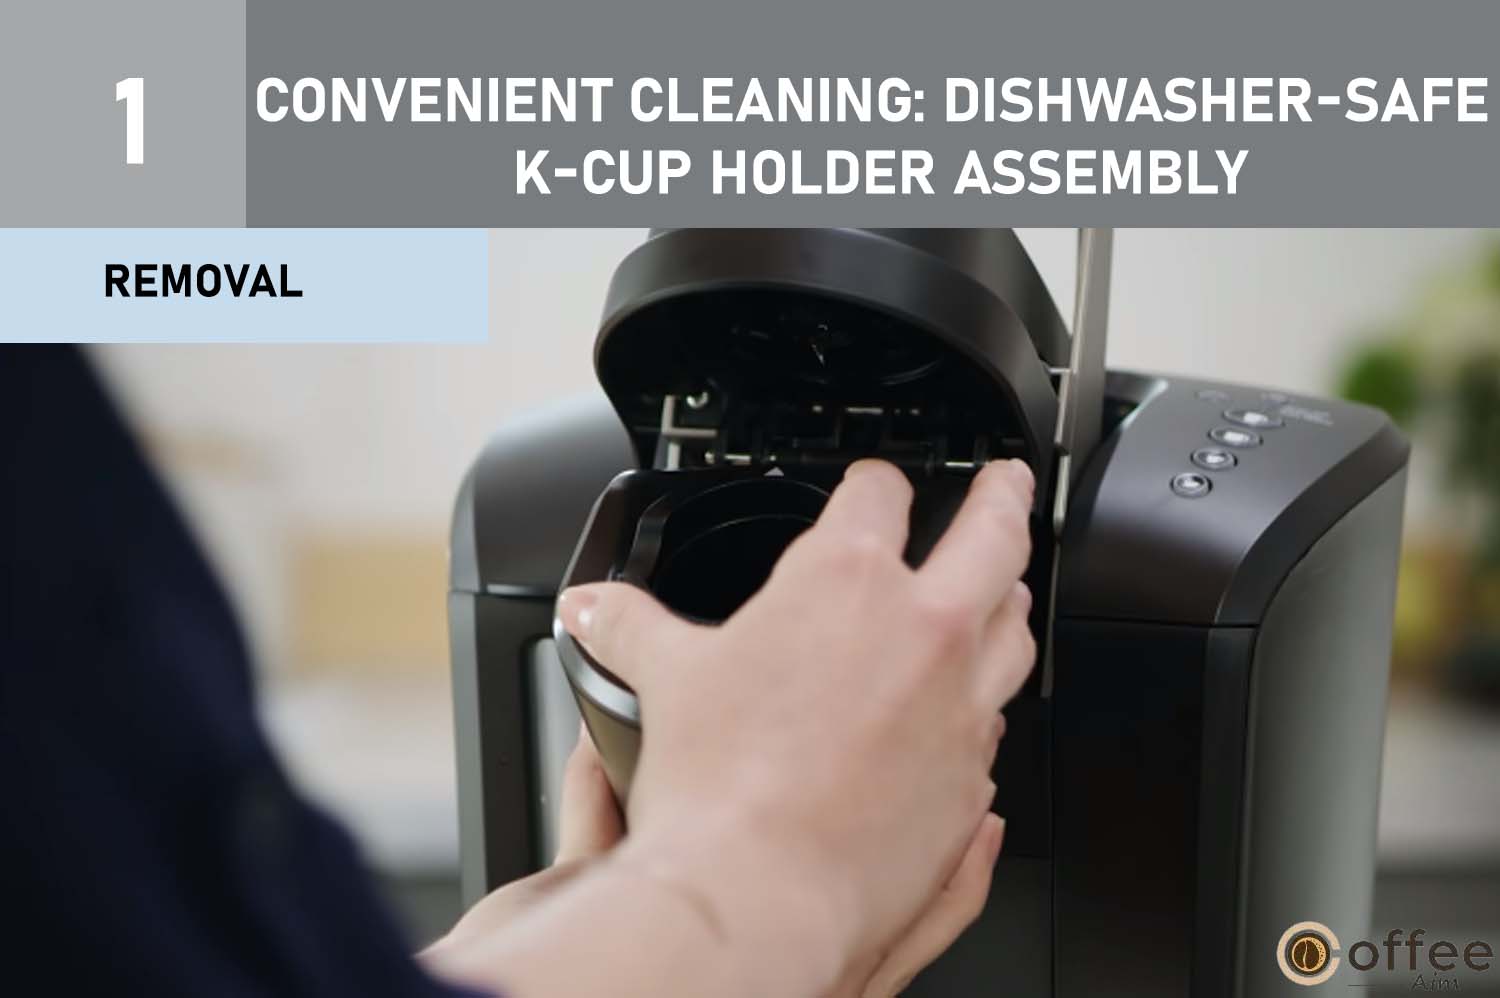
Convenient Cleaning: Dishwasher-Safe K-Cup Holder Assembly
As a Keurig B-40 expert, easily clean the K-Cup Holder Assembly by following these steps:
1. Removal
Lift the Handle to open the cover. With one hand, grasp the top of the K-Cup Holder, and with the other hand, push up on the bottom from underneath until it releases from the Brewer.

2. Dishwasher Cleaning
The K-Cup Holder Assembly is dishwasher safe. After cleaning, realign the K-Cup Holder with the opening, using the two front ribs as a guide, and snap it back into place from the top.

With this dishwasher-safe feature, maintaining the cleanliness of your Keurig B-40 Brewer becomes effortless and convenient.
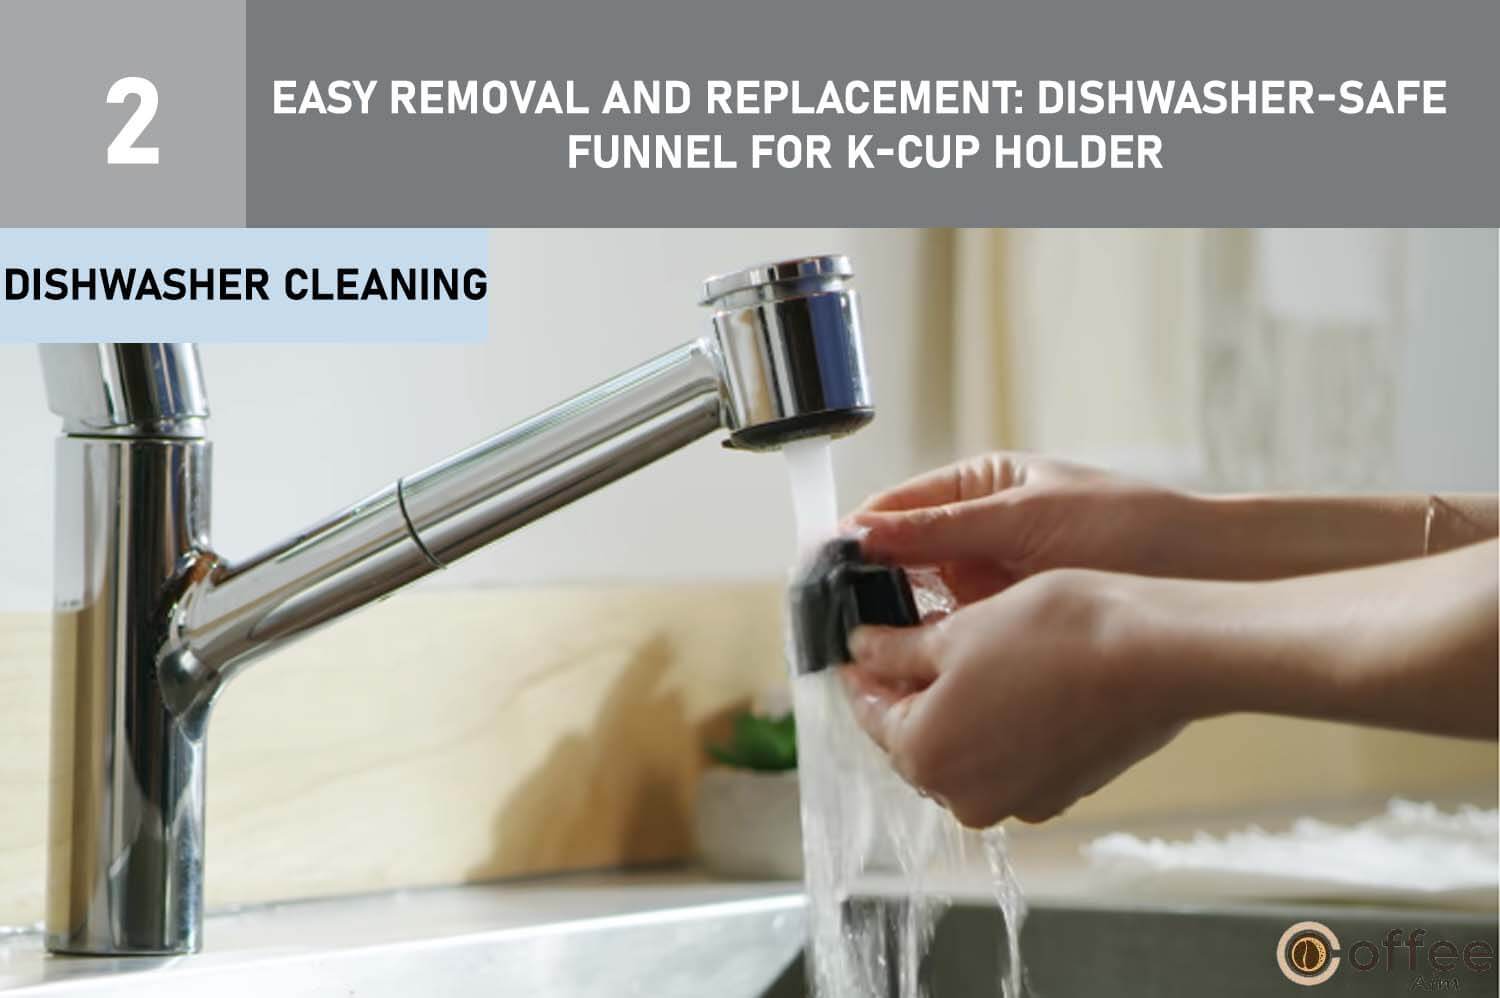
Easy Removal and Replacement: Dishwasher-Safe Funnel for K-Cup Holder
As a Keurig B-40 expert, follow these simple steps for removing and replacing the Funnel in the K-Cup Holder:
1. Removal
Pull the Funnel from the K-Cup Holder until it snaps off.
2. Dishwasher Cleaning
The Funnel is dishwasher safe, making cleaning a breeze.
3. Replacement
To reattach the Funnel, simply snap it back onto the K-Cup Holder Assembly.
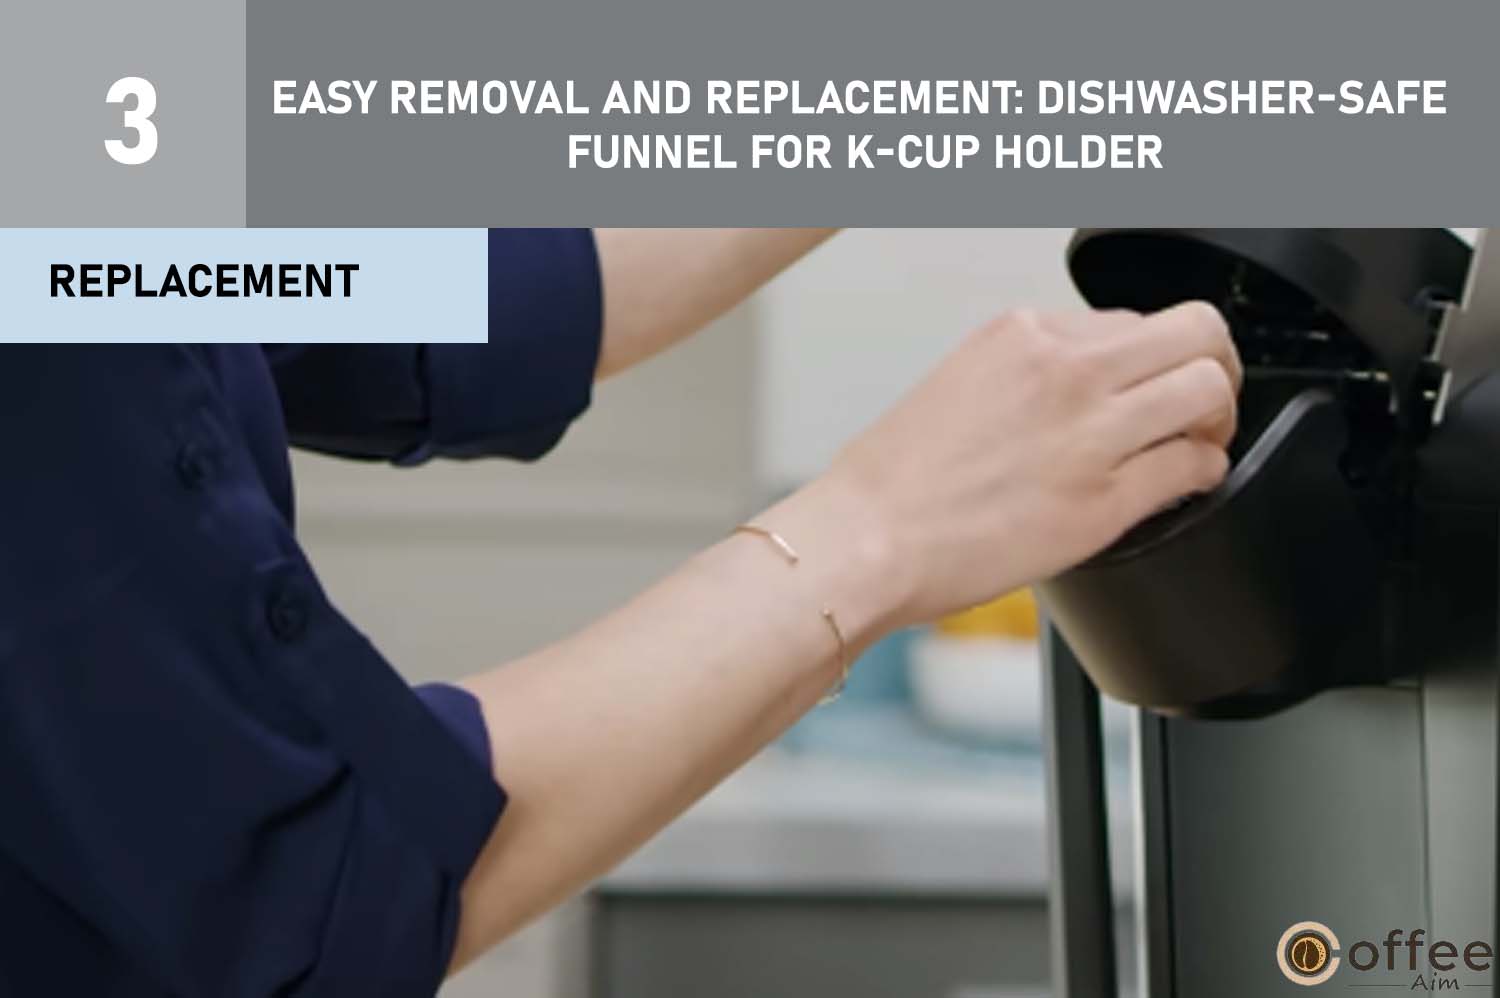
With the dishwasher-safe Funnel feature, maintaining cleanliness and hygiene in your Keurig B-40 Brewer is both effortless and hygienic.
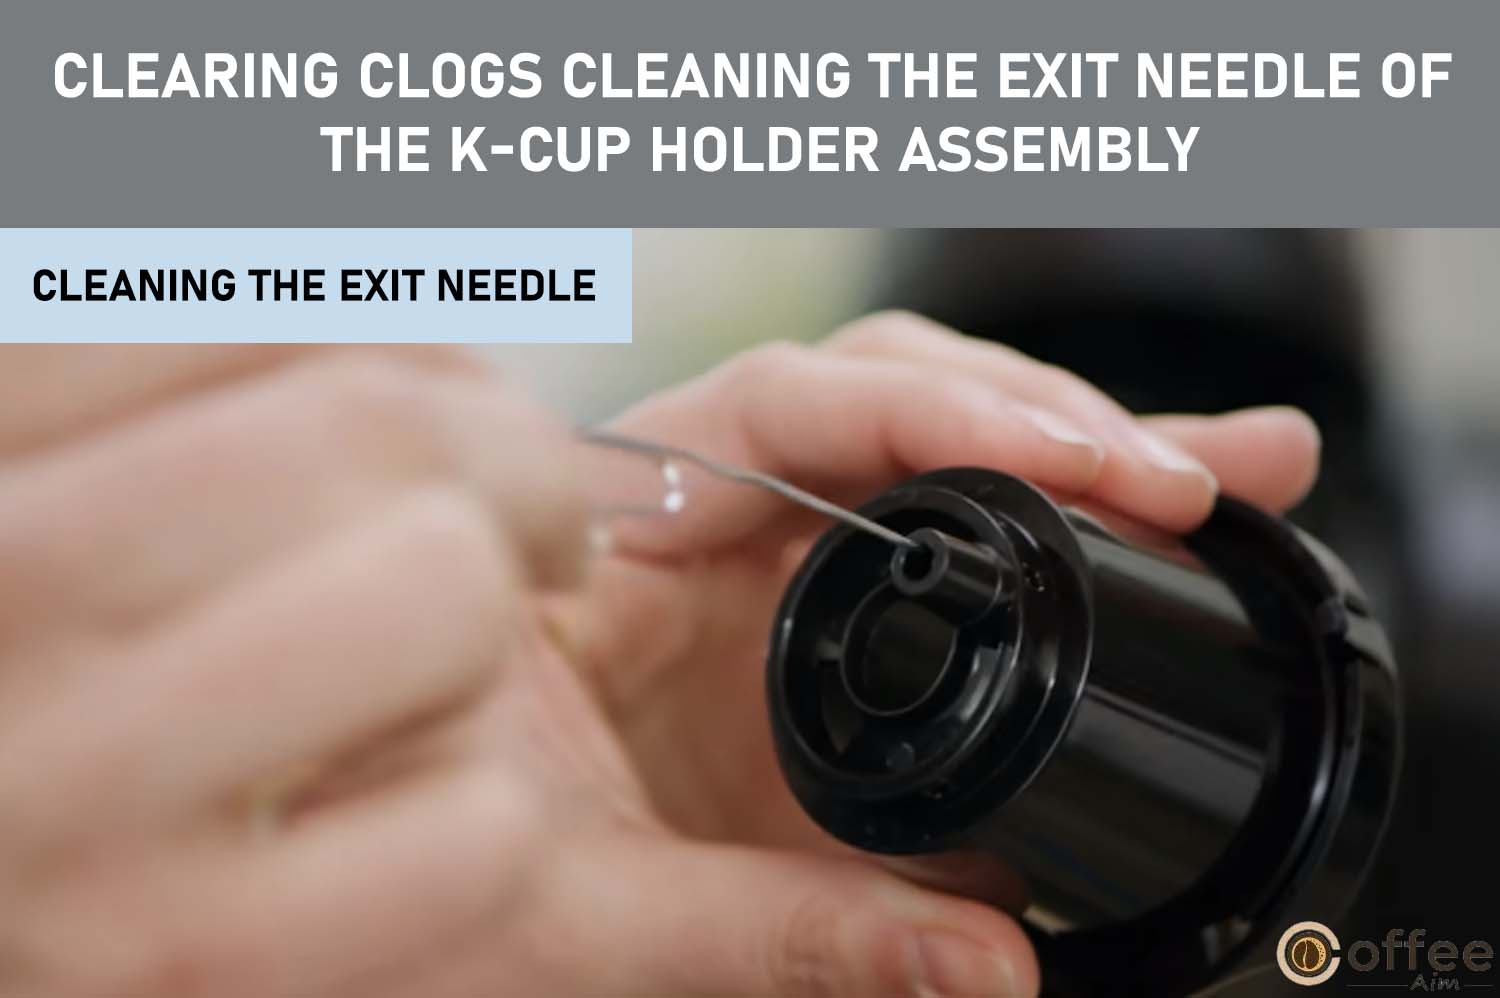
Clearing Clogs: Cleaning the Exit Needle of the K-Cup Holder Assembly
As a Keurig B-40 expert, learn how to handle potential clogs in the Exit Needle effectively:
1. Locating the Exit Needle
The Exit Needle is situated on the inside bottom of the K-Cup Holder Assembly.
2. Clog Clearing Procedure
In case of clogs caused by coffee grinds, use a paper clip or a similar tool. Remove the K-Cup Holder and gently insert the paper clip into the Needle to loosen and push out the clog.
3. Dishwasher-Safe Cleaning
The K-Cup Holder is dishwasher safe, ensuring effortless cleaning.
With this knowledge, you can maintain a smooth brewing process and enjoy uninterrupted coffee delights from your Keurig B-40 Brewer.
Safety Precaution: Be Cautious of the Sharp Needles in the K-Cup Chamber
As a safety reminder, please be mindful of the sharp needles located both above and in the bottom of the K-Cup Holder. To prevent any risk of injury, avoid inserting your fingers into the K-Cup Chamber while handling the Brewer.
Proper Cleaning of Water Reservoir and Lid
As a Keurig B-40 expert, ensure the Water Reservoir Lid is cleaned with a damp, non-abrasive cloth using soapy water. However, the Lid should not be placed in the dishwasher. For the Water Reservoir, it can be either cleaned in the dishwasher or washed with soapy water and thoroughly rinsed. Avoid drying the inside with a cloth to prevent lint buildup.

Safety Reminder: Thoroughly Rinse Water Reservoir After Cleaning
As a precaution, make sure to thoroughly rinse the Water Reservoir after cleaning to eliminate any residue of cleaners or cleaning solutions. This step is crucial to avoid potential contamination of the water supply in the Brewer.
Maintaining Optimal Performance: De-Scaling Your Brewer
As a Keurig B-40 expert, regular de-scaling of your Brewer is essential to prevent the accumulation of calcium deposits or scale, which can impact its performance. The mineral content in water varies by location, affecting the rate of scale buildup. De-scaling every 6 months helps maintain the heating element and internal components that come in contact with water. The Brewer’s built-in sensors will detect scale interference and signal the need for de-scaling when the ‘DE-SCALE’ light illuminates.
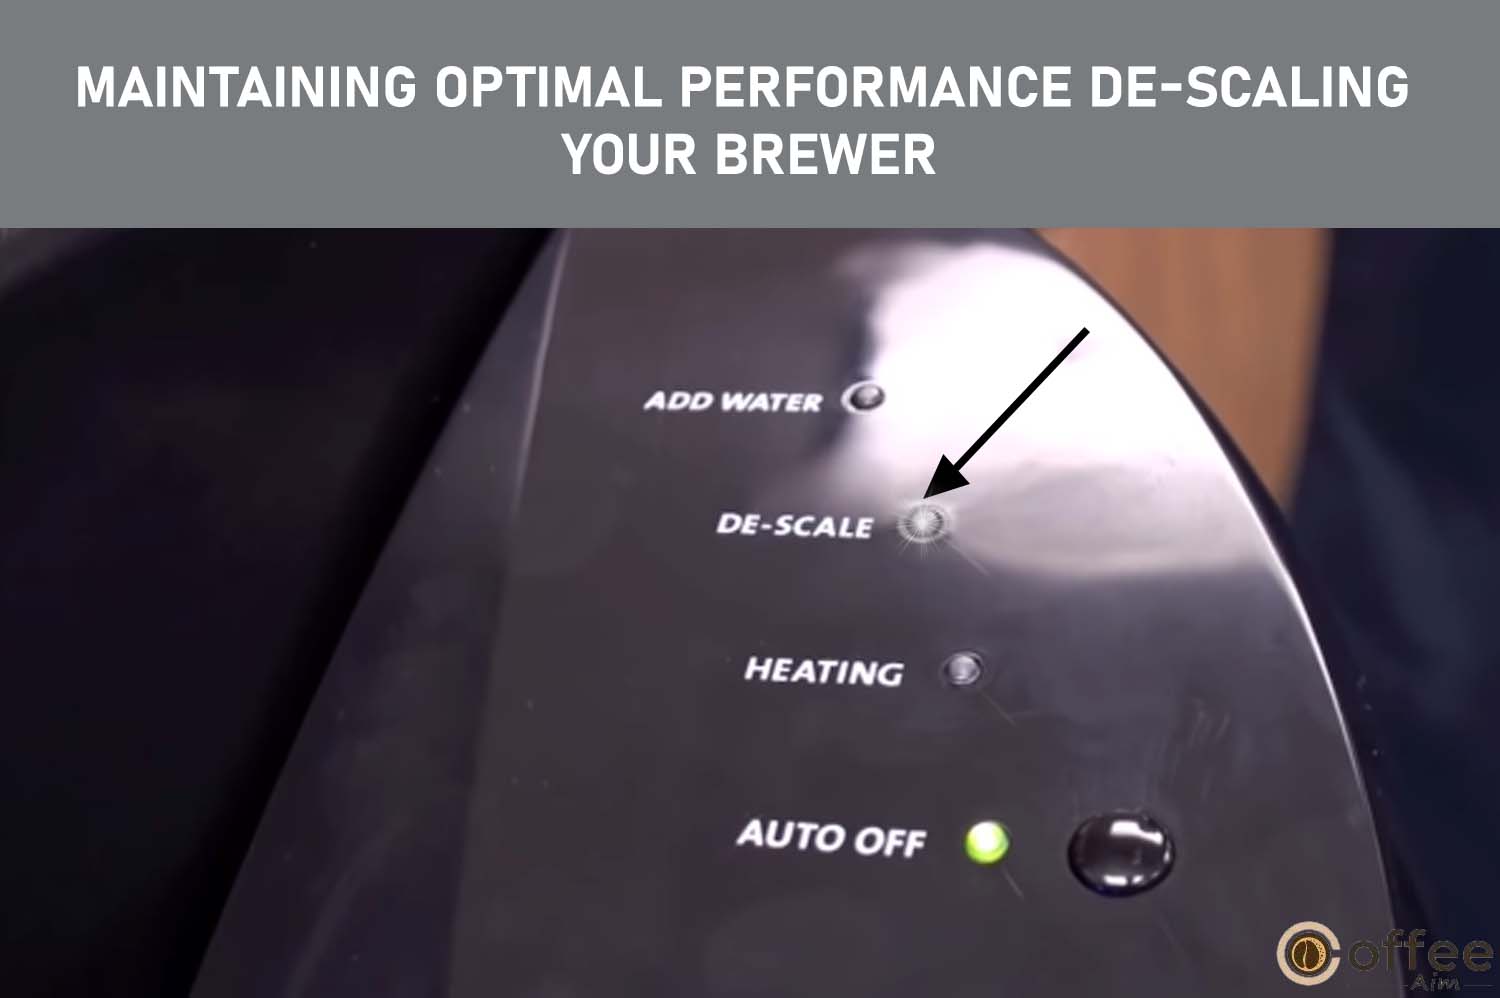
Important De-Scaling Reminder : As a Keurig B-40 expert, take note that the Brewer will still function when the red ‘DE-SCALE’ light is illuminated. However, it is crucial to perform de-scaling promptly to prevent potential damage caused by continued scale build-up. Delaying de-scaling may lead to harm, prompting the red light to blink as an urgent alert to de-scale immediately to protect the Brewer from potential damage.
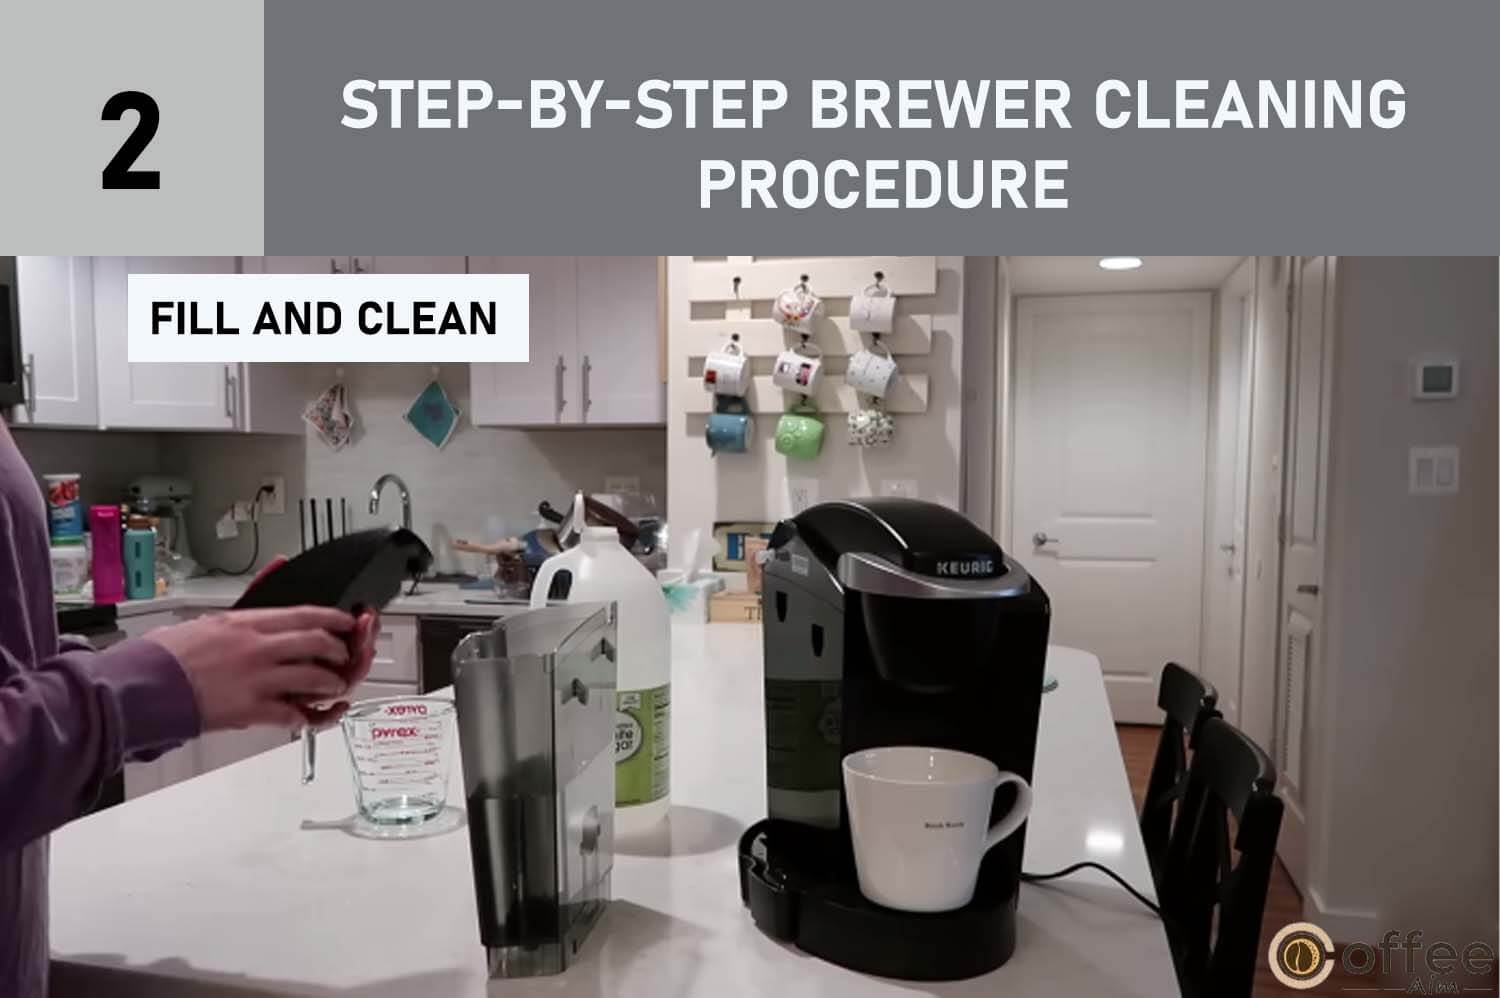
Step-by-Step Brewer Cleaning Procedure
As an expert on Keurig B-40, follow these instructions to ensure proper cleaning and maintenance of your Brewer:
1. PREPARE
- Gather 48 ounces of undiluted white vinegar, an empty sink, and a ceramic cup (avoid using paper cups).
- Empty the water from the Water Reservoir.

2. FILL AND CLEAN
- Pour the vinegar into the Water Reservoir, filling it up to the line just below the clear viewing area’s top edge.
- Place a ceramic cup on the Drip Tray, then run a brew cycle by pressing the Brew Button without using a K-Cup portion pack. Empty the contents of the cup into the sink.
- Repeat the brew process until the Water Reservoir is empty, emptying the cup contents into the sink after each cycle. Ensure the green Brew light flashes by opening and closing the lid between each cycle.
- Thoroughly rinse the Water Reservoir and fill it with fresh water.
- Allow the Brewer to stand for 4 hours while still on.
3. RINSE
- Ensure the Water Reservoir is filled with fresh water.
- Place a ceramic cup on the Drip Tray and run a regular brew cycle without using a K-Cup. Pour the contents of the cup into the sink.
- Repeat the brew process until the Water Reservoir is empty.
- If you detect any residual taste, perform additional rinse cycles as needed.

Following these steps will maintain your Keurig B-40’s performance and cleanliness, ensuring you continue to enjoy delicious coffee or tea with each brew. Regular cleaning is essential to prevent scale buildup and maintain optimal Brewer functionality.
Note. Should the red ‘DE-SCALE’ light continue to be displayed on the LED Control Center even after completing the de-scaling procedure, it is advised to repeat the de-scaling process outlined above
Storage
Proper Storage and Precautions for Your Brewer: To ensure the longevity of your Brewer, it is essential to empty the Water Reservoir before storing it. Store the Brewer in an upright position to prevent water leakage from the inner tank, especially in cold environments where freezing could cause damage. Before using it after storage, rinse the Water Reservoir with fresh water and perform three cleansing brews without a K-Cup. When relocating the Brewer, turn it off, unplug it, and empty the Water Reservoir. If the Brewer has been in freezing temperatures, allow it to reach room temperature for 2 hours before use.
Troubleshooting: Resolving Power and Brewing Issues
| Situation | Solution |
| Brewer Not Powering On Brewer Won’t Brew on First Use | • Ensure the Brewer is securely plugged in. • Try a different outlet and check the circuit breaker. • Turn on the Power Button and verify the power light is illuminated. • Resolution • To enable brewing, prime the Brewer by filling the internal hot water tank. Look for the flashing red light next to ‘DE-SCALE’ on the LED Control Center (refer to page 6). • If the Brewer is cold/frozen, allow two hours for it to reach room temperature before powering on. |
| Brewer Not Brewing | Ensure the K-Cup is placed correctly and the Handle is securely pushed down with the green light flashing.If the ‘ADD WATER’ light is on, add water to the Water Reservoir or ensure it’s properly seated.If the ‘ADD WATER’ light remains on after refilling, contact Customer Service at 1-866-901-BREW (2739). |
| Resolving Partial Cup Brewing Issues | Check for Clogged Exit Needle: If your Brewer is brewing a partial cup, the Exit Needle may be clogged. Refer to page 9 for cleaning instructions.Clean K-Cup Holder: If necessary, clean the K-Cup Holder and rinse it under the faucet (see page 9).Verify Water Reservoir Placement: Ensure that the Water Reservoir was not removed during brewing. If it was, replace the Water Reservoir and perform a cleansing brew.Address ‘DE-SCALE’ Light: If the red ‘DE-SCALE’ light is on, descale the Brewer as instructed on page 9.Further ‘DE-SCALE’ Light Troubleshooting: If the ‘DE-SCALE’ light persists after repeating the descaling procedure twice, contact Customer Service at 1-866-901-BREW (2739).” |
| Automatic Shutoff | Check if the Auto Off Timer feature is activated.If the green ‘AUTO OFF’ light on the LED Control Center is illuminated, press the black button to disable the Auto Off Timer feature. |
Keurig B-40 Warranty Information
Keurig provides a limited one-year warranty for your Brewer to ensure that it is free from defects in materials and workmanship when used under normal home conditions, starting from the date of purchase. To register your purchase and enjoy the warranty benefits, it is highly recommended to fill out and return the enclosed warranty card.
Coverage and Replacement: Keurig stands behind the quality of its Brewers. If your Brewer develops any issues covered by the warranty within the specified period, Keurig will repair or replace it at no cost to you, provided you can provide proof of purchase. In case a replacement Brewer is required, it may be either new or refurbished, and a new one-year warranty will be applied to the replacement unit.
Applicability: This warranty is valid for Brewers operated in the United States and Canada. While the warranty confers specific legal rights, you may also have additional rights under state or provincial laws, depending on where you reside.
What’s Not Covered: The limited warranty does not extend to cover consequential or incidental damages, such as property damage or any costs incurred due to warranty breach, even if foreseeable. Some states or provinces may not permit the exclusion or limitation of incidental or consequential damages, so these restrictions may not apply to all customers.
Exclusions: The warranty will not cover damages caused by unauthorized services or the use of non-genuine Keurig parts. Additionally, external causes like abuse, misuse, inappropriate power supply, or acts of nature are not covered.
Other Limitations: This warranty is the exclusive remedy for any defects in the Brewer and supersedes all other express warranties, whether written or oral. Any implied warranties, including those of merchantability or fitness for a particular purpose, are limited in duration to the period of this limited warranty. Some states or provinces may not allow limitations on how long an implied warranty lasts, so these limitations may not apply to you.
Obtaining Warranty Service: While Keurig Brewers are designed for long-lasting performance, in case you encounter any issues covered under warranty, contact Keurig Customer Service at 1-866-901-BREW (2739). Please do not attempt to return your Brewer for servicing without first obtaining an Authorization to Return number (ATR) from Keurig Customer Service. Brewers returned without an ATR number will be returned without servicing.
Keurig is committed to ensuring that your Brewer operates at its best, and this warranty is a testament to the quality and reliability of Keurig products. Remember to follow the instructions provided in the warranty and care for your Brewer appropriately to enjoy years of satisfying brewing experiences.
Conclusion
In conclusion, the Keurig B-40 is a user-friendly and versatile coffee maker that offers convenience and quality in every cup. By following the simple steps outlined in this guide, you can confidently brew your favorite beverages and explore a wide variety of flavors with ease. Remember to maintain and clean your Brewer regularly to ensure optimal performance and to enjoy the best-tasting coffee or tea. Embrace the versatility of the Keurig B-40 and discover the joy of having a perfect cup of your favorite beverage at your fingertips. Cheers to many delightful brewing moments with your Keurig B-40!
FAQs
How Do You Use A Keurig For Dummies?
- Fill the water reservoir.
- Place your cup on the drip tray.
- Insert a K-Cup into the holder.
- Close the lid and select your brew size.
- Press the brew button and enjoy!
How Do I Change The Water Filter In My Keurig B40?
- Remove the water reservoir.
- Take out the old filter.
- Rinse the new filter under cold water.
- Insert the new filter into the reservoir.
- Reattach the reservoir to the Keurig B40.
Why Is My Keurig B40 Leaking Water From The Bottom?
Possible reasons for Keurig B40 leaking from the bottom could be:
- Loose or damaged water reservoir.
- Faulty water pump or valve.
- Cracked water lines or tubing.
- Clogged or damaged internal components.
- Overfilled water reservoir.
How Do You Use A Keurig Coffee Maker For The First Time?
To use a Keurig coffee maker for the first time:
- Unwrap the cord and plug the brewer into a grounded outlet.
- Place a cup on the drip tray.
- Fill the water reservoir with fresh water.
- Press the power button to turn it on.
- The brewer will automatically fill with water and heat it.
- Once heated, press the brew button to start a cleansing brew.
- Discard the hot water from the cup.
- Now, the brewer is ready for use. Insert a K-Cup, close the lid, and press the brew button to enjoy your first cup.